Egan
This documentation will flip you through the step by step how to install and setup the incredible Egan WordPress theme. Egan is an responsive news and magazine theme for WordPress lovers, those who are looking for a indispensable media to share their discoveries and latest news.
This beautiful news WordPress theme is neat and clean, well-equipped with innumerous technologies Like Bootstrap 3, Less, Newskit, and a lot more.
Installation
Follow our installation guideline if you are having problem to install the theme.
Homepage Settings (Without Installing Demo Data)
Step 01
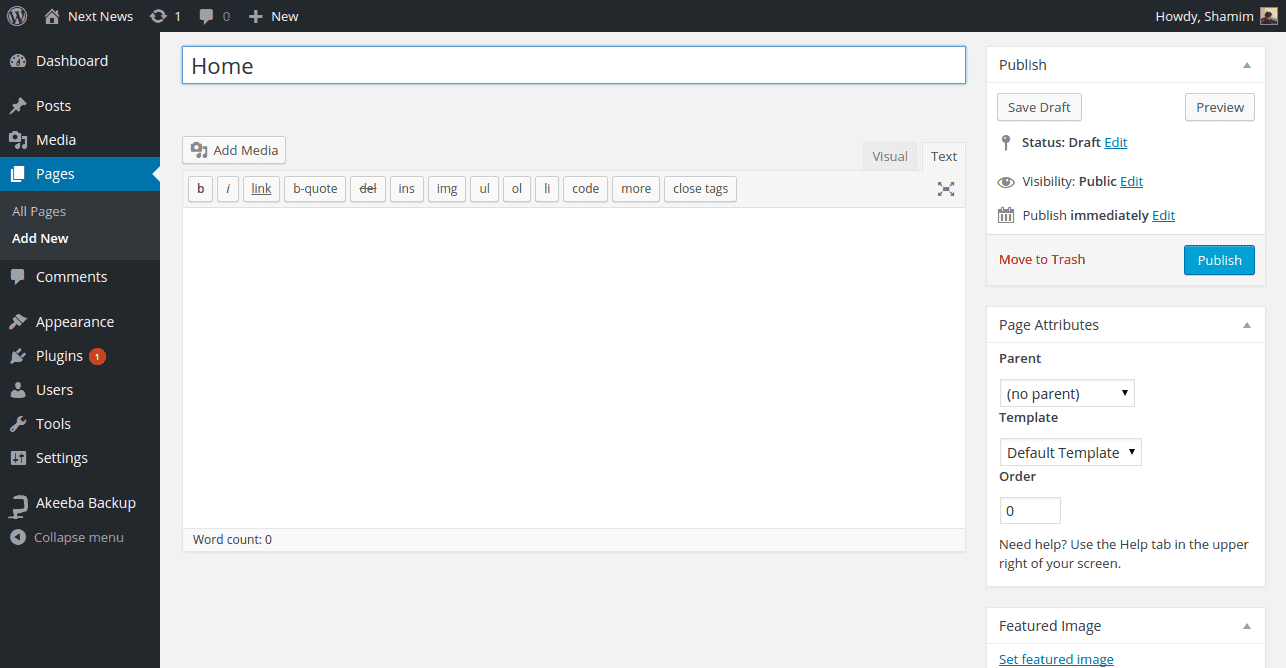
If you want to install Tx Next theme in your website except demo data, you have to first create a page from Admin Panel >> Pagers >> Add New Page You can see in the image below I have created page called “Home”.
Step 02
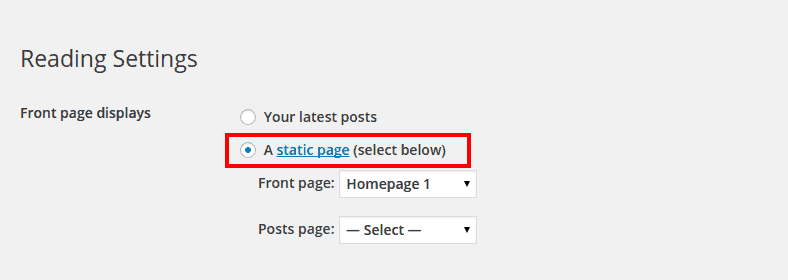
When you have created your page, now its time change the page reading for Tx News. To change the page reading for newly created page head to the Admin Panel >> Settings >> Reading Check the box next to A static page (select below) under Front Pager display. and select your page in which you display Tx Next content. In my turn Its Home.
Homepage Settings (After Installing Demo Data)
After finishing all installation process, the very first setting, we recommend to define is Home Page. To have Homepage the same as Tx Next demo, change the following setting:
- Head over to Admin Panel >> Settings >> Reading
- Check the box next to A static page (select below) under Front Pager display. Select Homagepage 1 under the Front Page title. Flip through the image below.

Layout Structure
This screenshot will give a quick overview of the layout structure of Tx Next WordPress theme.

Header Settings
The headers contains a couple of widget. To set the header as the Demo looks, please flip through the instruction carefully:
Primary Menu Settings
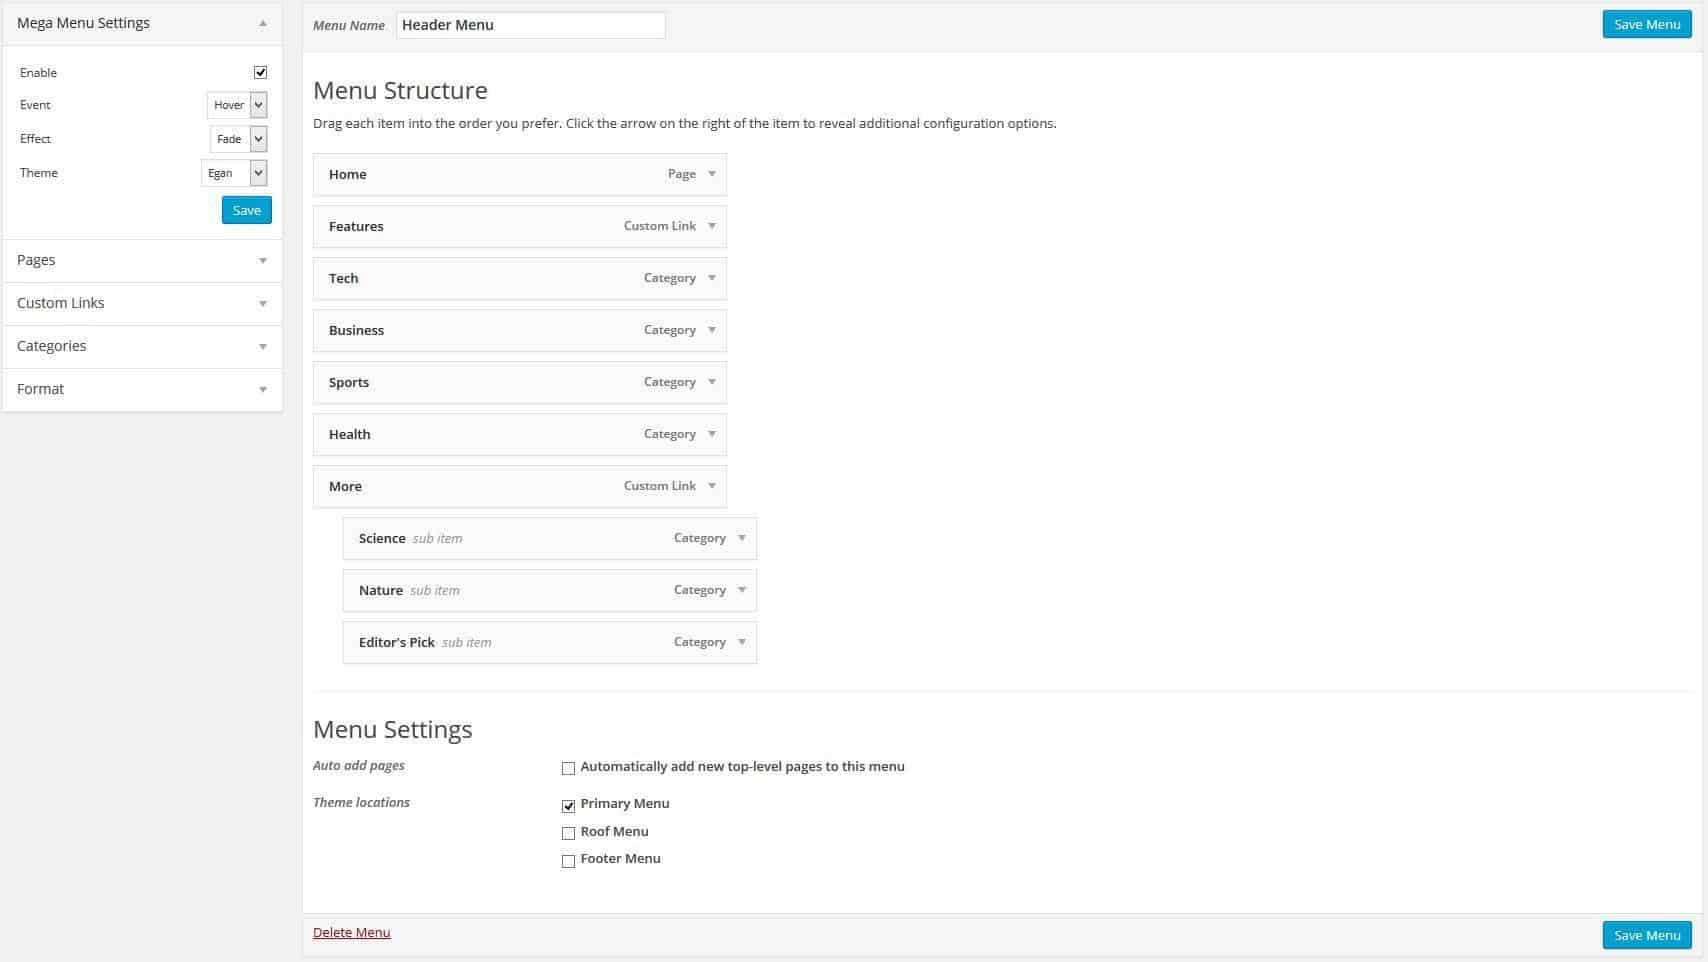
Navigate to Dashboard >> Appearance >> Menus and create the primary menu. The primary Menu Look like the following.
Frontend View

Max Mega Menu Theme Import
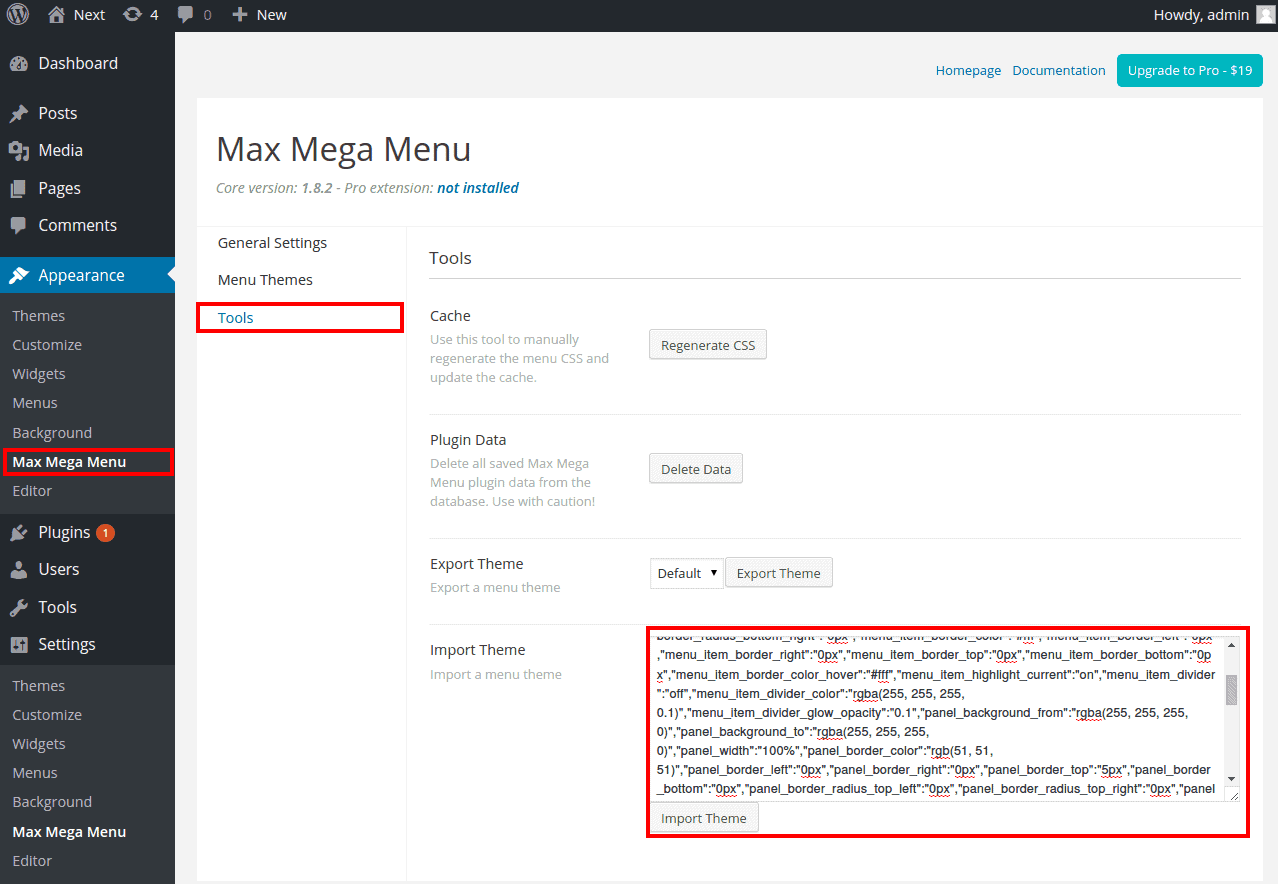
Primary menu is using Max Mega Menu theme to give engaging megamenu. If you want to have menu like our Demo theme. Head over to Dashboad >> Appearance >> Max Mega Menu >> Tools. Open up max-megamenu.txt from Themes to dummy-data folder. Copy the entire code of max-megamenu.txt and paste it in Import Theme text field.
Search box Settings
Navigate to Dashboard >> Appearance >> Widgets and place the Search widget into Search box widget area.

Slideshow Settings
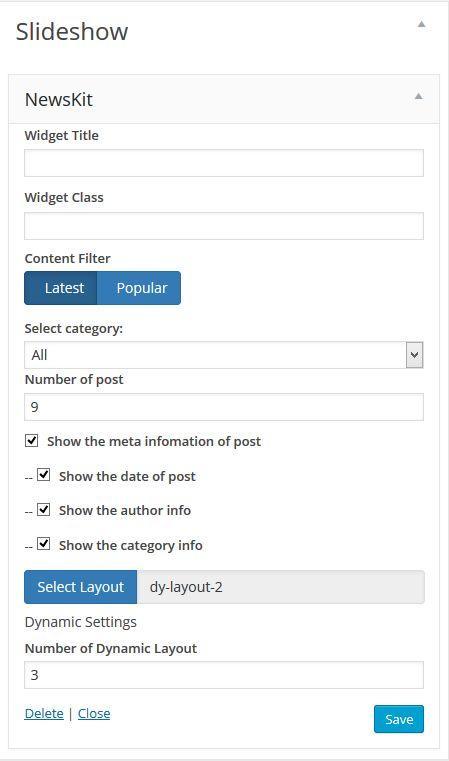
Slide show is another interactive layout of Newskit. Just navigate to Dashboard >> Appearance >> Widgets >> Slideshow, then drag & drop Newskit into Slideshow as shown below:
Frontend View

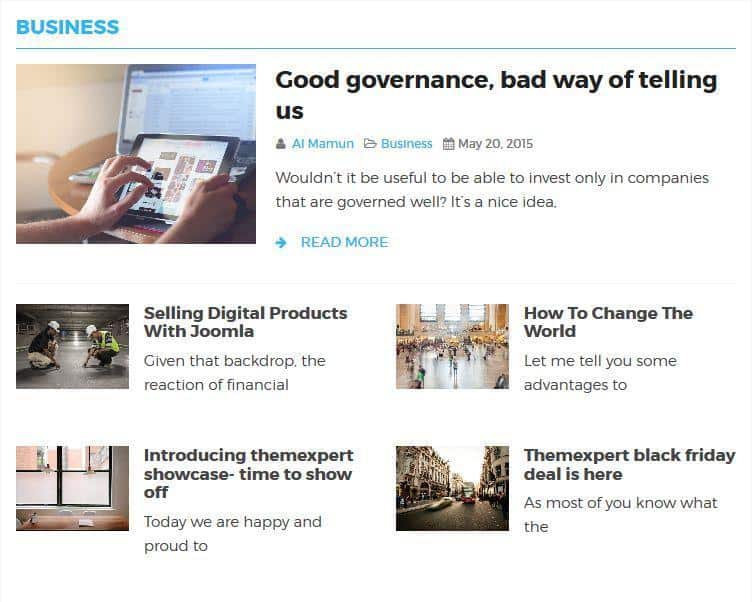
Main Content – Newskit - Static Layout 1
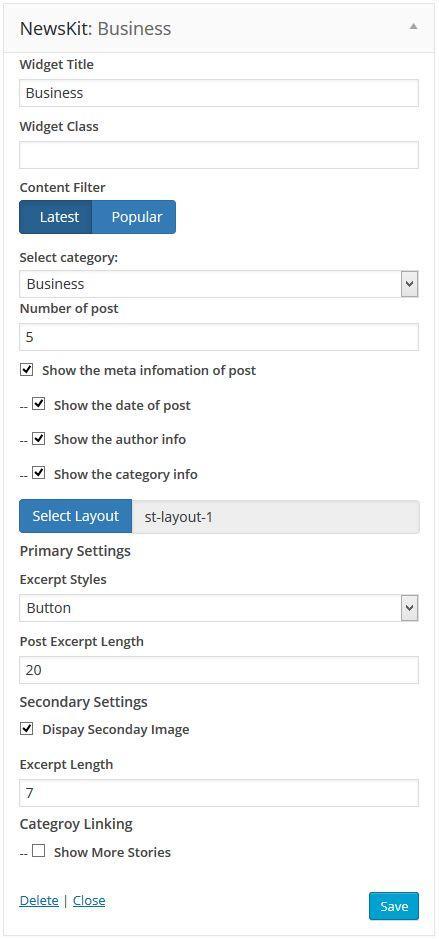
Navigate to Dashboard >> Appearance >> Widgets >> Main Content, drag & drop Newskit into Main Content.
Frontend View
Main Content – Ads Banner
Step 01
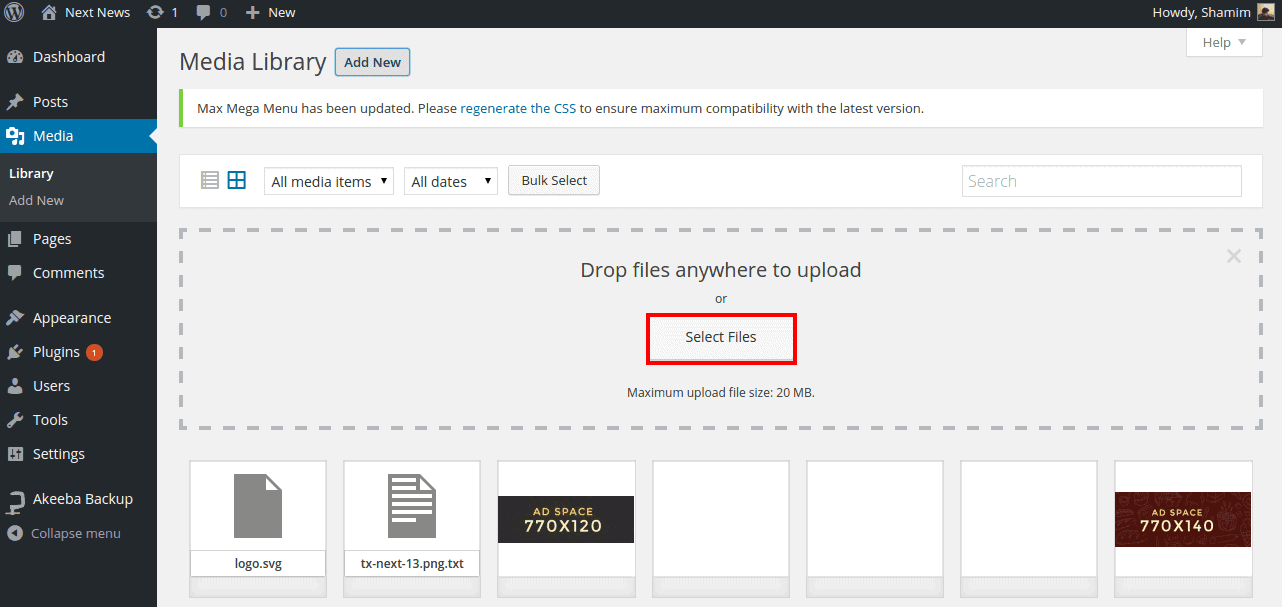
Go to Dashboard >> Media >> Add New
Back-end Settings
- Upload Image or select existing image
- Copy the link of the image
Step 02
Head over WordPress Administration >> Appearance >> Widgets
- Click and drag Text Widget to Main Content
After that use the HTML code below , paste them into Text widget to display the image and the recommend size for the image on the ads banner is 770 x 140
<a href="https://www.themexpert.com/joomla-templates/spaghetti" target="_blank"><img src="/Your_Image_source_goes_here" /></a>Frontend View

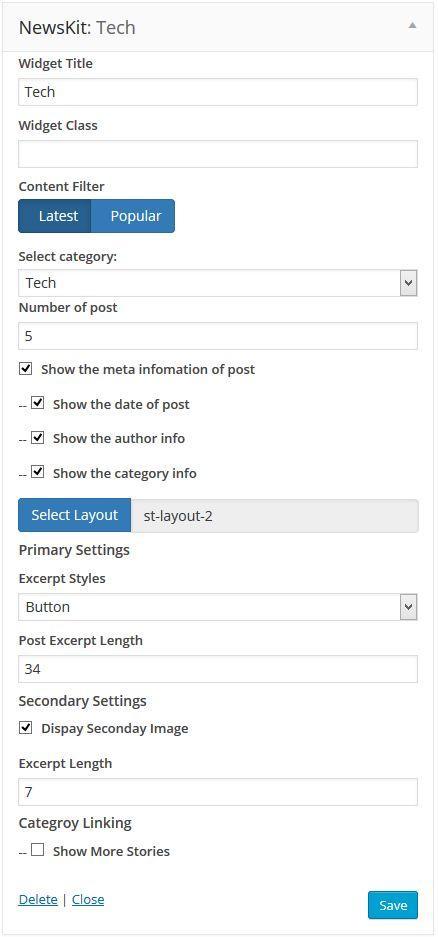
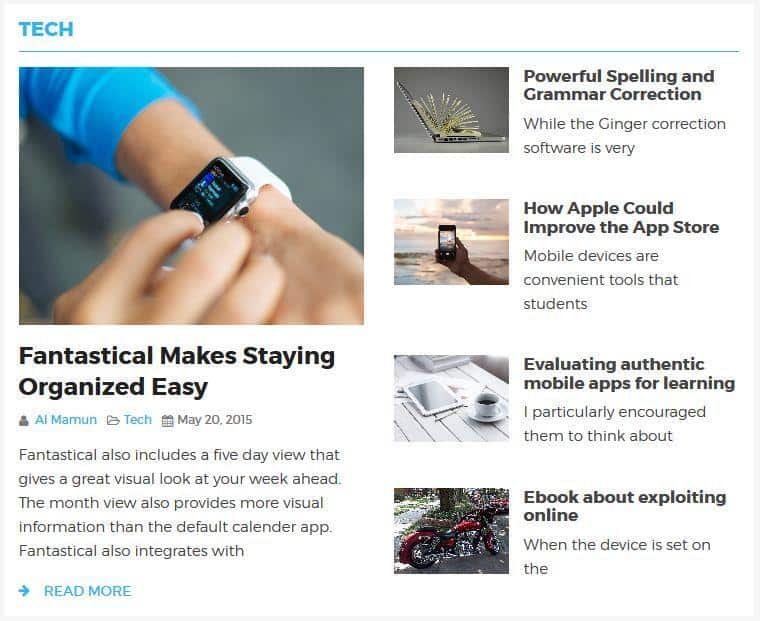
Main Content – Newskit - Static Layout 2
Navigate to Dashboard >> Appearance >> Widgets > Main Content, drag & drop Newskit into Main Content.
Frontend View
Main Content – Newskit - Dynamic Layout 1
Navigate to Dashboard >> Appearance >> Widgets > Main Content, drag & drop Newskit into Main Content.
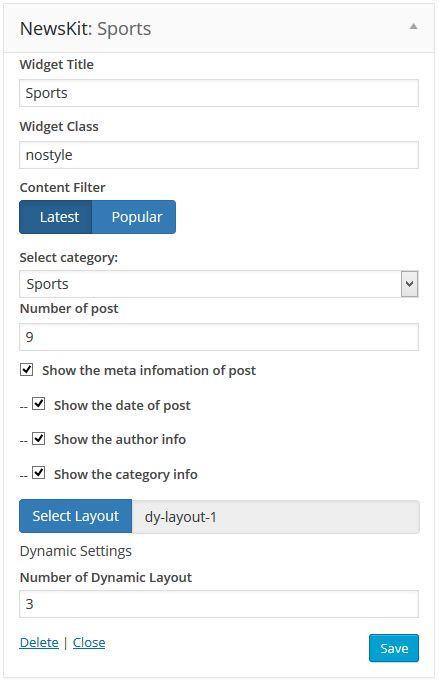
Frontend View
Sidebar Setting
The sidebar areas are used to display the widgets in the secondary column. To get the image sidebar like our demo site, please add the following widget with content and setting, I am going to describe you.
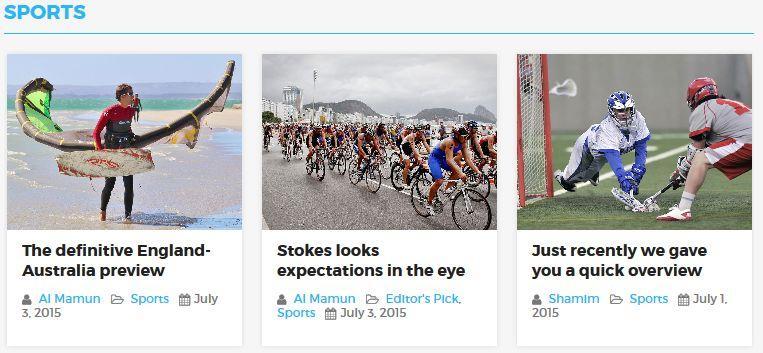
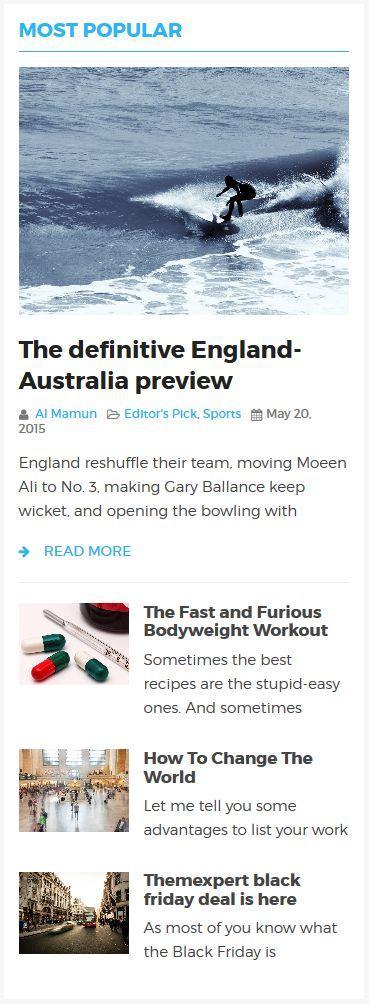
Sidebar – Newskit: Most Popular ( Static Layout 4 )
Navigate to Dashboard >> Appearance >> Widgets >> Sidebar drag & drop Newskit into Sidebar.
Backend Settings

Frontend View
Sidebar– Ads Banner (Position 1,3,5)
Step 01
Go to Dashboard >> Media >> Add New
- Upload Image or select existing One
- Copy the link of the image
Step 02
Head over WordPress Administration >> Appearance >> Widgets Click and drag Text Widget to Sidebar.
After that use the HTML code below , paste them into Text widget to display the image and the recommend size for the image on the ads banner is 370 x 370
<a href="#"><img src="/Your_Image_source_goes_here" /></a>Frontend View

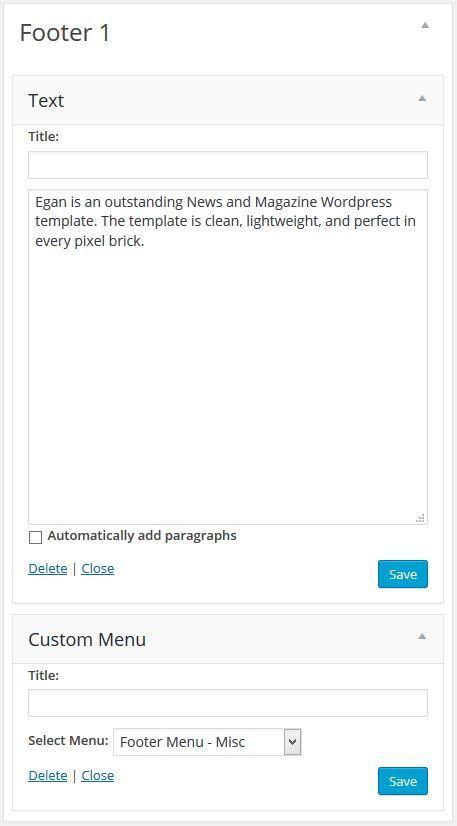
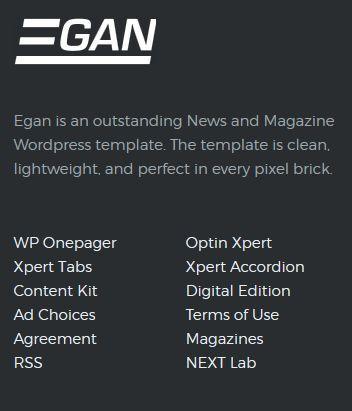
Footer 1
Head to Administrator >> Appearance >> Widgets >> Footer 1 Find Text and Custom Menu Widget from the list of the Widgets, click and drag it to Footer 1.
Backend View
Frontend View
Footer 2
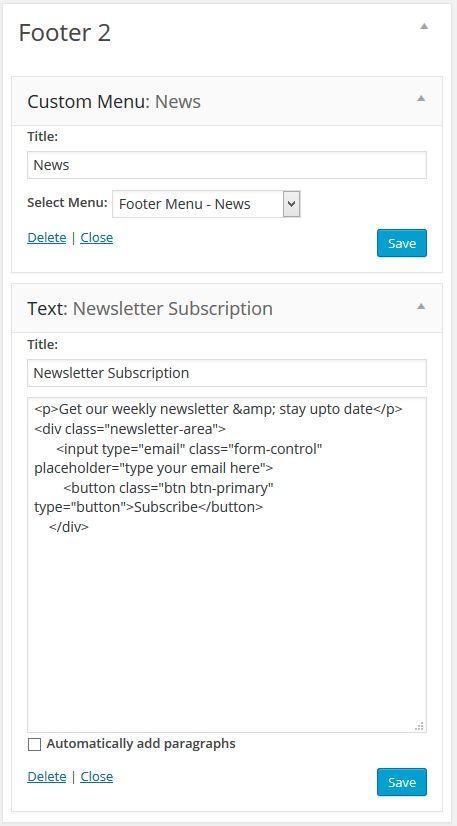
Head to Administrator >> Appearance >> Widgets >> Footer 2 Find Text and Custom Menu Widget from the list of the Widgets, click and drag it to Footer 2.
Backend View
Frontend View

Footer 3
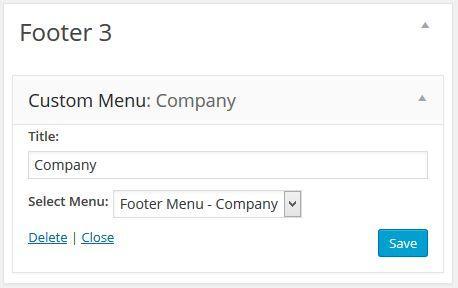
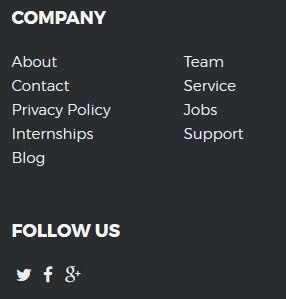
Head to Administrator >> Appearance >> Widgets >> Footer 3 Find Text Widget from the list of the Widgets, click and drag it to Footer 3.
Backend View
Frontend View
Customizer Settings
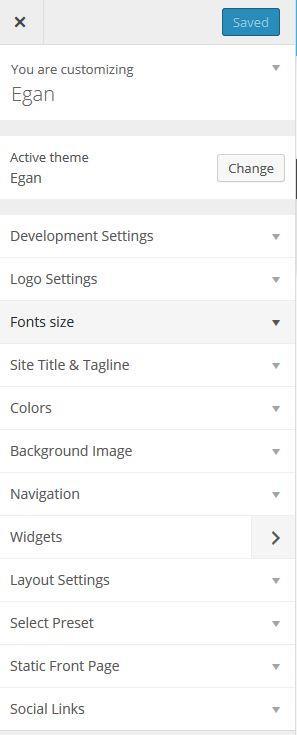
There are several customizing options in theme customizer like Logo settings, Presets, Social Links etc, to get those settings go to Administrator >> Appearance >> Customize
