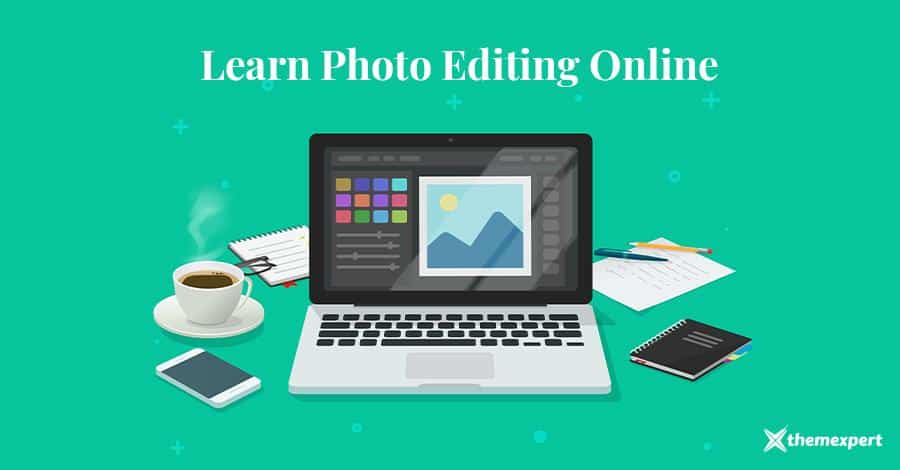
If you're a beginner and determine to learn photo editing, and at the same time, you aren't ready to pay money for learning it, then you have reached ...
If you're a beginner and determined to learn photo editing, and at the same time, you aren't ready to pay money to learn it, then you have reached the right place. This article is consists of some of the basic steps that will show you a way to be a pro editor.
Using a fairly standard PC and some digital photo editing software, you're pretty much ready to roll. You can choose any editing tool and free PSD templates resources for your starting.
I'm offering a very simple way of delving into editing if you're a novice.
Let's start.
Best Photo Editing Tools
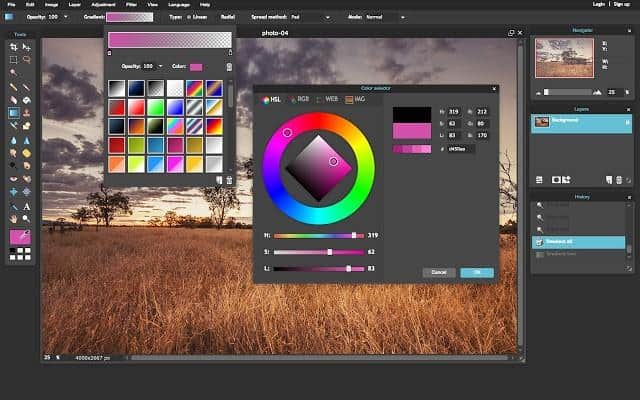
Before diving into photo editing, choose a photo editing tool or software. There are several free and paid photo editing tools available on the market. You need to know which one is suitable for you.
Without including Adobe Photoshop as the best editing tool, it can not be fulfilled. It is arguably the best photo editing software so far. Let's have a look at its features.
- Sophisticated touch-up and retouching features
- Extensive filters and brushes
- Multi-layer editing
- 3D design functionality
- Pro editing tools
- Best-known photography software
Canva is a simple graphic design software with a huge following. It operates on a freemium model and comes with multiple photo editing tools and products. Unlike other editing software, you can download Canva on your mobile phone and edit your photos instantly.
- Over 8,000 templates
- Photo blur and vignette
- Image cropping and straightening
- Image transparency tool
- Design grids and photo frames
- Stickers and badges
- Add texture
- Speech bubble maker
- Photo enhancer
Adobe XD is a powerful, collaborative, easy-to-use platform that helps you and your team create designs for websites, mobile apps, voice interfaces, games, and more.
- Adobe font integration
- Responsive resize
- Interactions
- Triggers
- Auto-animate
- Preview
- Overly support
This online photo editor is available via your browser, the iPhone and Android platforms, and provides several simple one-click functions and a relatively robust toolset. Perhaps the best feature of this app is just how easy it is to use.
- Over 2 million free effects
- Filters and overlays
- Creative editing app
- Mobile and desktop downloads or web interface
- Various Pixlr versions to choose from
Packed with design features you already love plus unique inventions like the Arc tool and Vector Networks, Figma helps you keep the ideas flowing. No need to stop to install, save, or export. It's what any good cloud software should be.
- Plugins include stock imagery, charts, fonts, color accessibility, and more.
- Instant arc designs
- Less manual resizing
- Stretch to fill
- Private plugins
- Easy development.
Another giant photo editing software from the same owner of Adobe Photoshop and Adobe XD. It will allow you to edit your pics in a straightforward, intuitive interface with a host of fantastic features, including:
- Face detection for photo organization
- Camera and lens-based corrections
- Brush and gradient adjustments
- Fixing and blurring tools
- Presets and professional filters
- Customizable sliders
- Multiple device support and sync
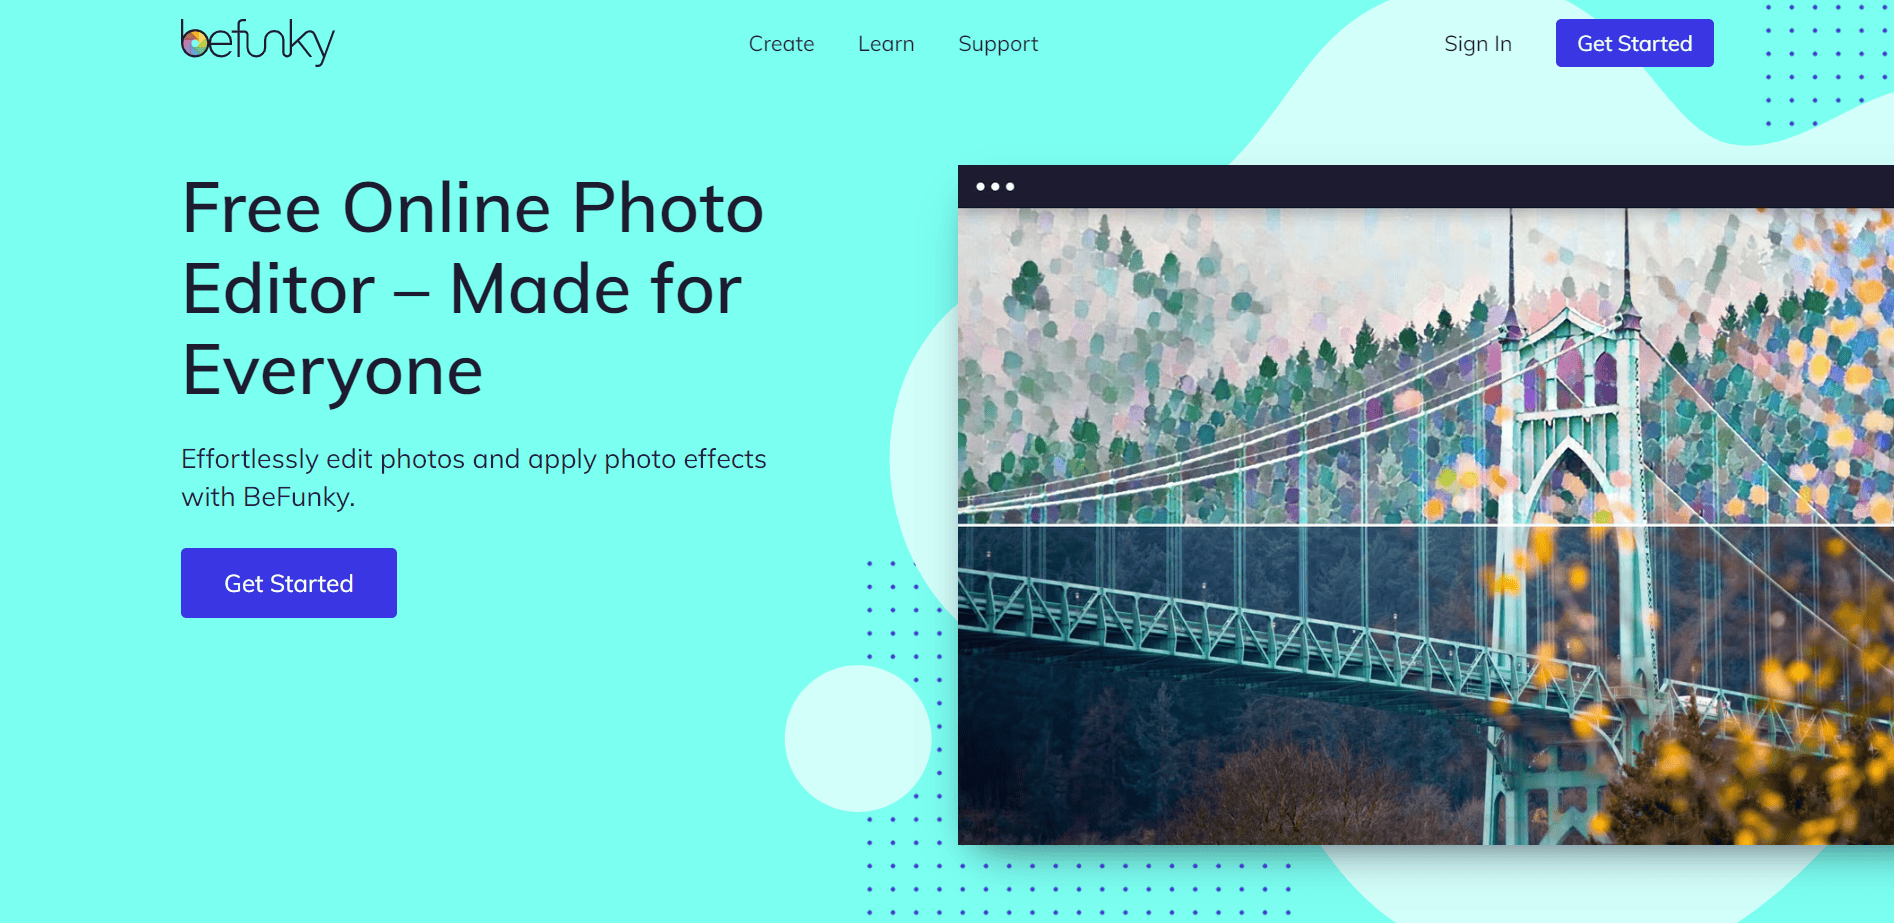
If you want a free, easy-to-use design software with a lot of features, look no further than BeFunky. This all-in-one online creative platform has everything you could ever need to create stunning graphics and edit photos directly from your browser or mobile phone.
- Crop and resize photos
- Turn images into art
- Background remover
- Batch photo editor
- One-click portrait retoucher
- Collage maker
- Hundreds of templates
- Thousands of vector graphics
- Millions of free stock photos
How to Learn Photo Editing?
You need to see what is a good image and a bad one. The key is in your perception. Edit your images as per your judgment. Here, I am telling you the key points, but setting the standard level is totally up to you. For example, you can adjust the white level at whichever position you want to.
These are the key points you should follow;
- Crop you image
- Adjust White Balance
- Adjust Contrast
- Remove Noise
- Sharpen Your Image
- Finalize Your Image and Share
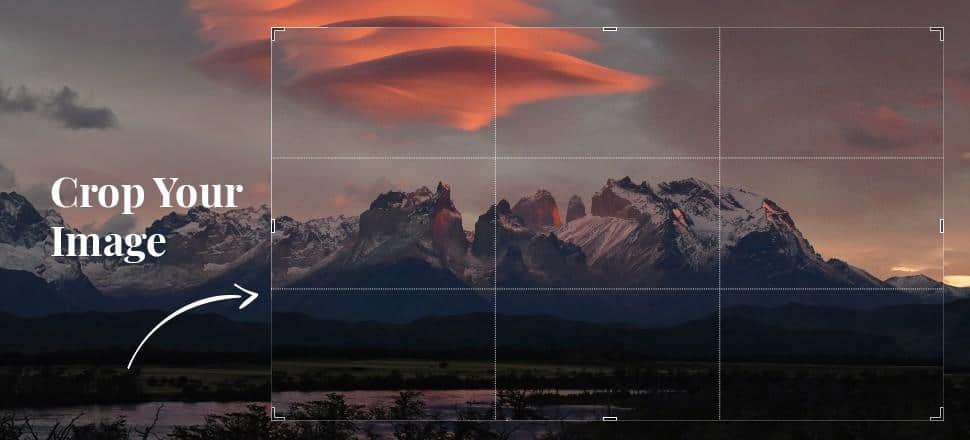
Crop Your Image
The ability to crop images can be a really useful task for improving your composition. When you're cropping your photo, always focus on these points;
- When cropping, remember to make the shot look like an unedited photo; if possible don't stray from standard photo shapes and sizes. Long thin photos look cropped, but cropped photos which are the same dimensions as the original don't.
- Rotating the image to line up the vertical and horizontal lines with the edges of the image will also help make your image more striking. So, rotate your image if it is needed.
Sometimes cropping an image by as little as 5% can make a world of difference, at other times cropping out over half of a photo can turn an insignificant area of a large image into a stunning new shot. So be careful while you're cropping an image.
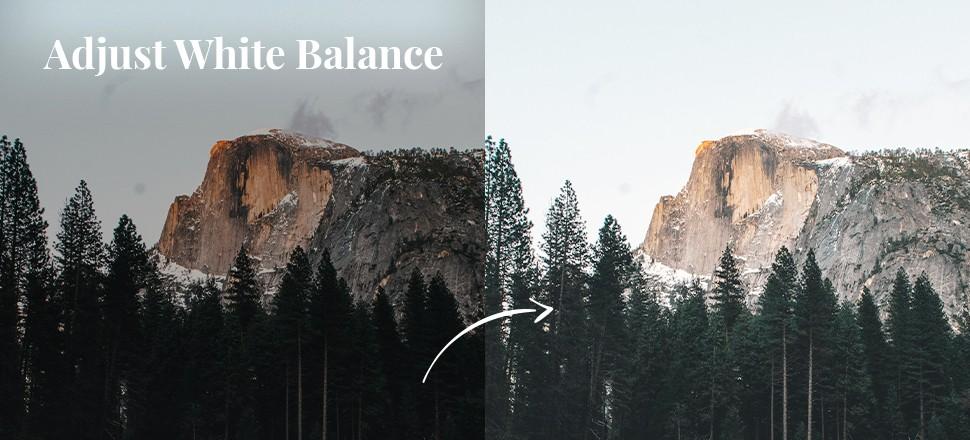
Adjust White Balance
White balance relates to color levels, not exposure levels. There are many people think high white level means more attractive image. That's a myth. Increase white level in a certain point; never do it over.
- If your image has an overall color tone that you find displeasing or unnatural, you can adjust white balance to fix it.
- Most editing programs let you pick from preset modes like "flash," "daylight," or "cloudy" to calibrate the image for the lighting conditions better when it was shot.
- In addition, many have both a "temperature" and a "tint" slider that you can fiddle with to fine-tune the overall lighting cast on an image.
Adjust Contrast
There is nothing rocket science about contrast in my opinion. It is simply to do with the strength of the blacks on the photo. Simply, contrast is the range of dark to light tones.
- When it's extra high, you see a stark image, where all tones, regardless of color, are either very dark or very light.
- When it's extra low, you see a flat image where no elements in the frame stand out.
- Typically, you want a middle contrast that avoids either of those extremes. But if you prefer either of those effects, you can adjust the contrast to achieve that.
Remove Noise
Noise removal is a crucial part of an image editing. Image with noise makes distraction. We loose concentration when you see an unclear and noised image. So remove noise to make it brighter.
- It is vital to view your photo at 100% so you can see what the adjustments are doing to the image.
- Noise removal makes every pixel of your image more clear. It dramatically enhance the appeal of an image.
- Remove noise as much as you can. Remember, noise removal doesn't impact on the resolution of the images.
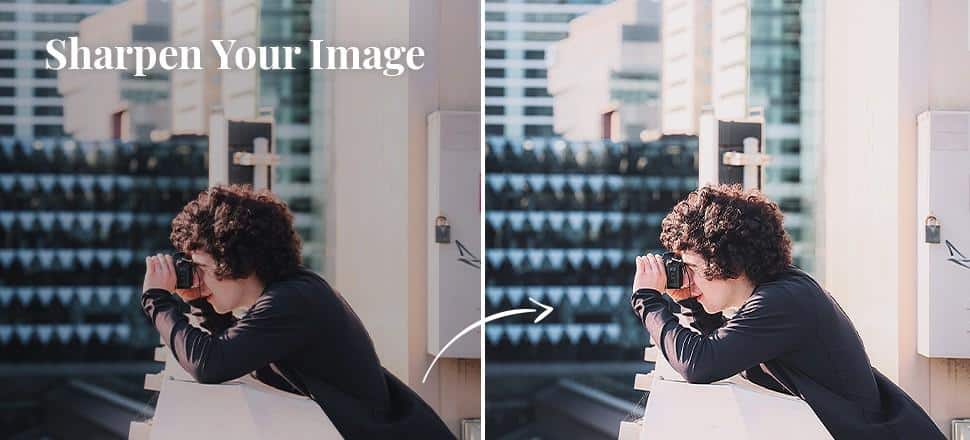
Sharpen Your Image
Sharpening an image gives it a crisper, cleaner look. Many programs offer multiple sharpening tools. Experiment with your editing program's additional sharpening features to see the effect each produces.
- Begin by adjusting the overall amount of sharpness (on a scale from 0 to 100). Start at 50 percent, then adjust the level up or down to get the sharpness you prefer.
- You need to look closely at individual areas of the frame to evaluate the effect of each sharpness adjustment.
- Having super-fine details won't matter much for social media posts, but it will make a big difference for any image you plan to enlarge and print.
Finalize Your Image and Share
After you've done all of your editing, set your photos aside. Then come back later and examine them to see if you're happy with each one. If not, make additional editing adjustments where needed.
Then, because RAW files are so large, you need to convert them to JPGs before you email, post, share or print your edited photos. You should also save all of the final edited versions of images alongside the original images they came from.
The Sky Is the Limit
All of the editing techniques mentioned here are fairly basic, but should be more than enough to help you improve your photos. Good software packages can do many things if you take the time to learn them properly. With a little patience and careful practice, you can be an expert of this sector.
I know, there are a lot of topics that I skipped. However, as a beginner, you can learn this steps and then go for further mission to get expertise. Let us know your feedback after reading this article through the comment box.