What can make your website from good to great?
Have any idea?
What can make your website from good to great?
Have any idea?
Adding a few simple features or some interesting finishing touches will give a real lift to your website. Sliders are the most common and widely used element on website homepages. You can place all your important content in an interactive and visually appealing slideshow at the top of the page before the main content.
The extensions of Joomla sliders are being downloaded and sold by the thousands. But if you are using Quix page builder, you don't need to spend extra money to buy an extension for a slider.
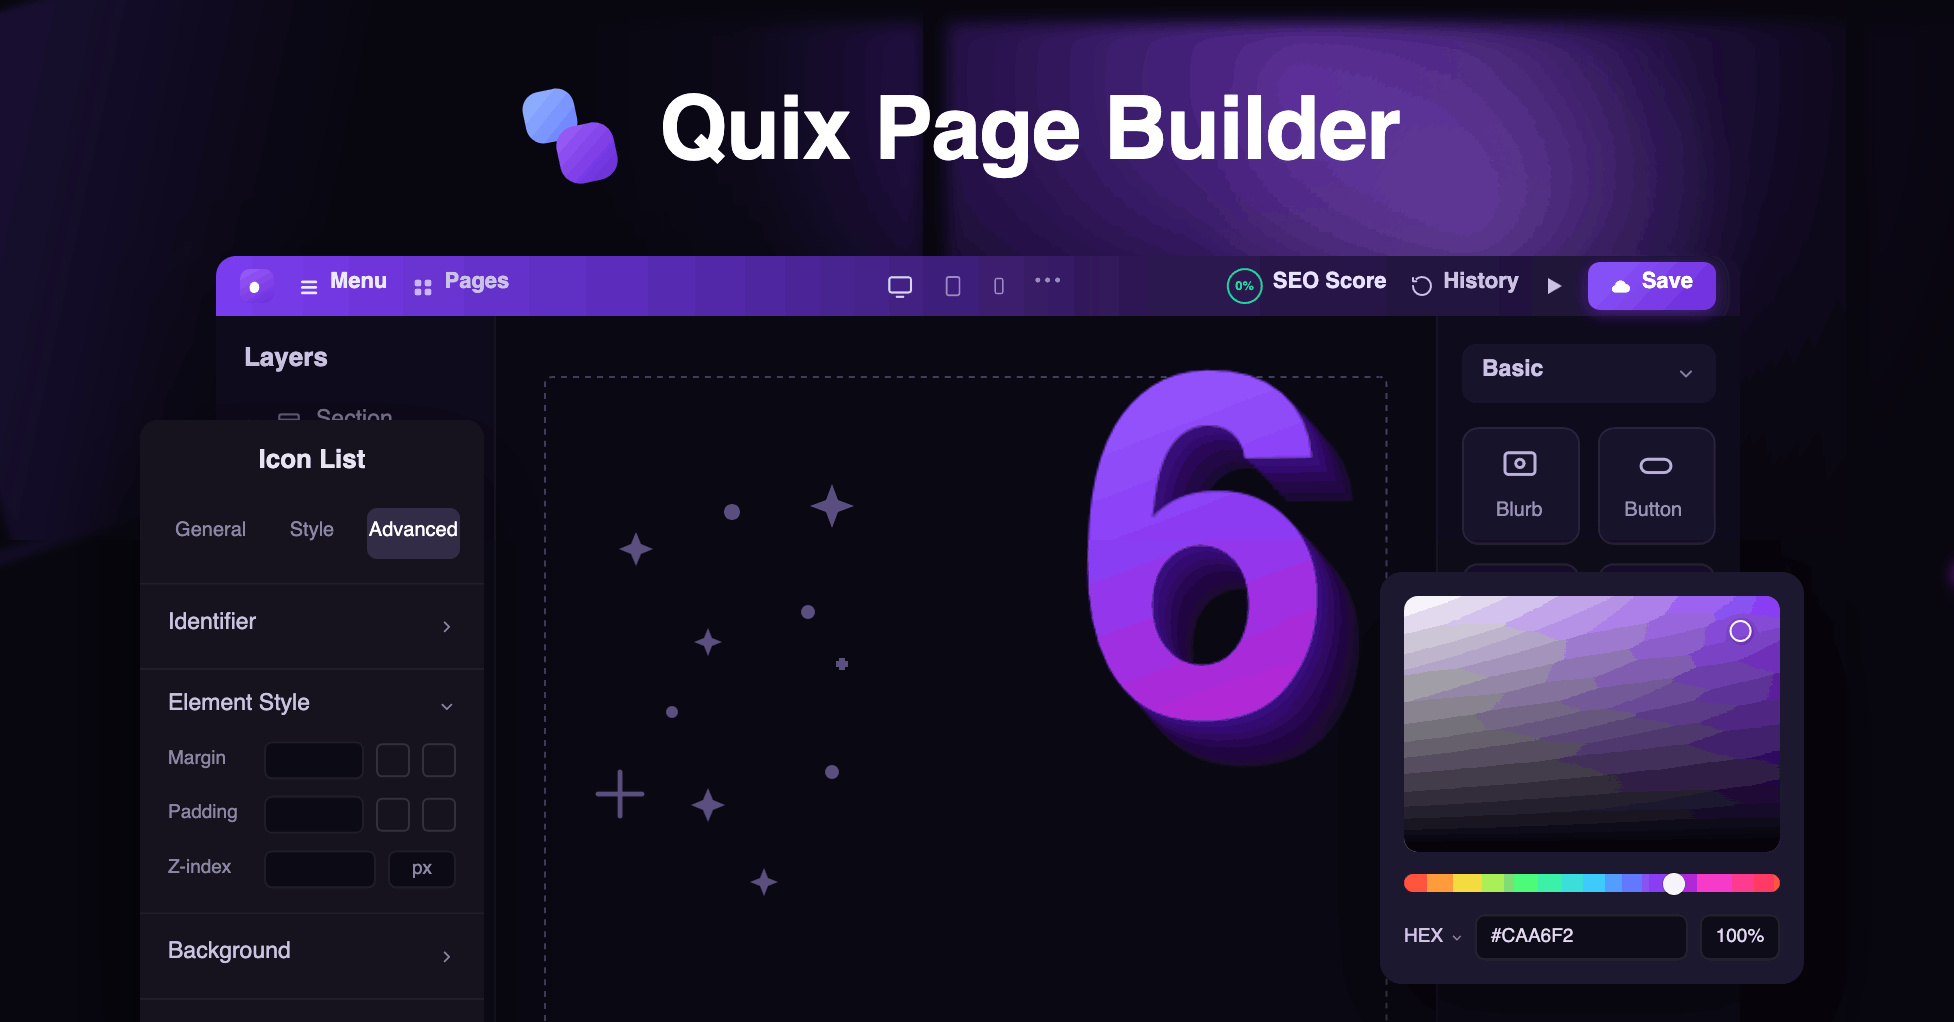
The Quix is one of the most popular page builder for Joomla, come with 27 powerful and flexible elements that will dispel your dependency from third party extensions.
In today's post, I am going to show you how to create a beautiful slider with Quix page builder.
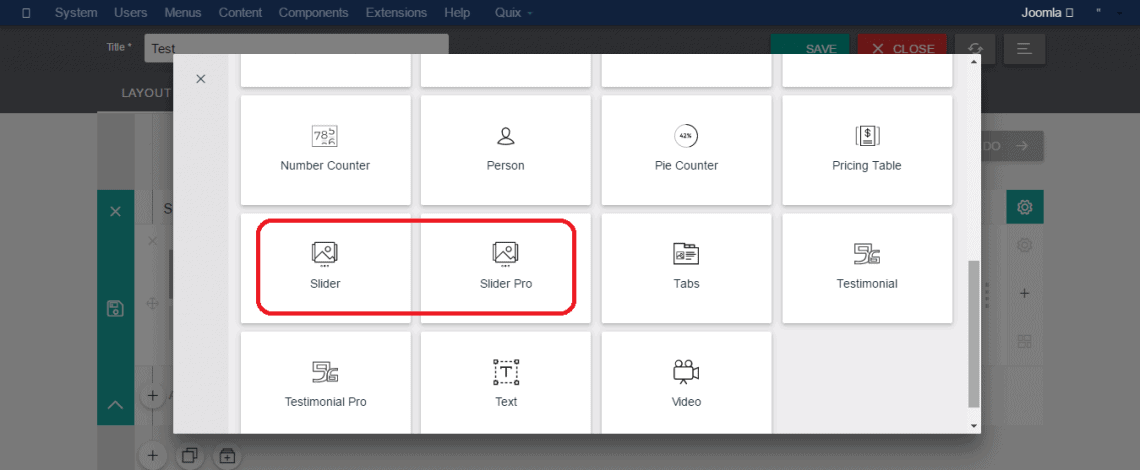
Whatever you are a free or a PRO user of Quix you will get a slider element with it. And you will get another slider named Slider PRO if you are a PRO user. There have a lot of customization options in the PRO version that lets you create an eye-catching Slider for your Joomla site.
Before launch to the central part let's have a look some example of beautiful sliders those are built with Quix page builder.
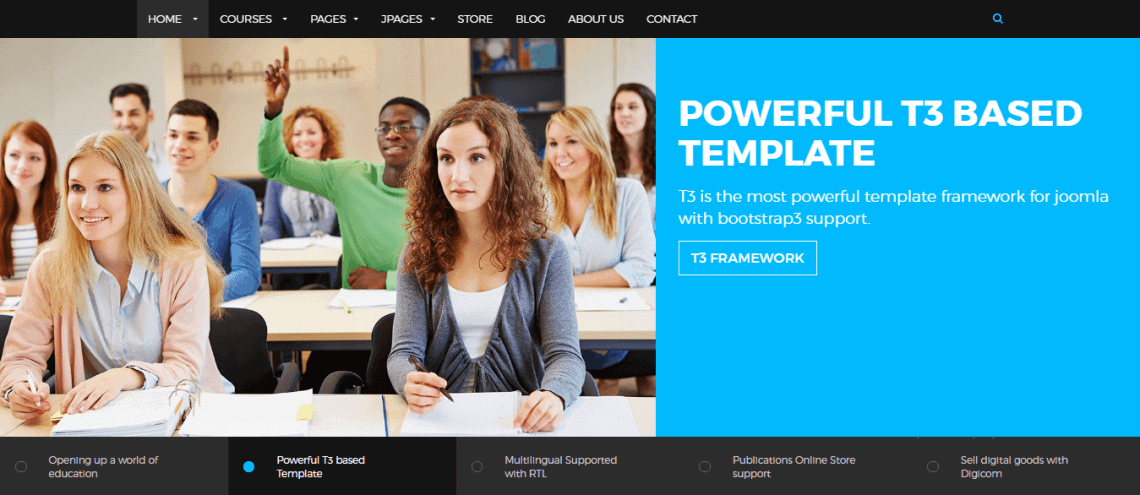
This image has collected from Academia - Responsive Education Joomla Template that fits perfectly for schools, colleges and language centers.
How to Create a Beautiful Slider using Quix?
Insert Slider Element:
At the very beginning step, you have to insert a slider element. So, choose a section of your website where you want to inject the slider and then do it.
Usually, the slider suits at the top section of a website after the menubar.
After inserting an element, you have to customize some settings which will ensure the stunning outlook of that element.
Now I'll give a short brief about the settings of Quix slider element.
Configure General Settings:
You can see few following options inside general settings tab.
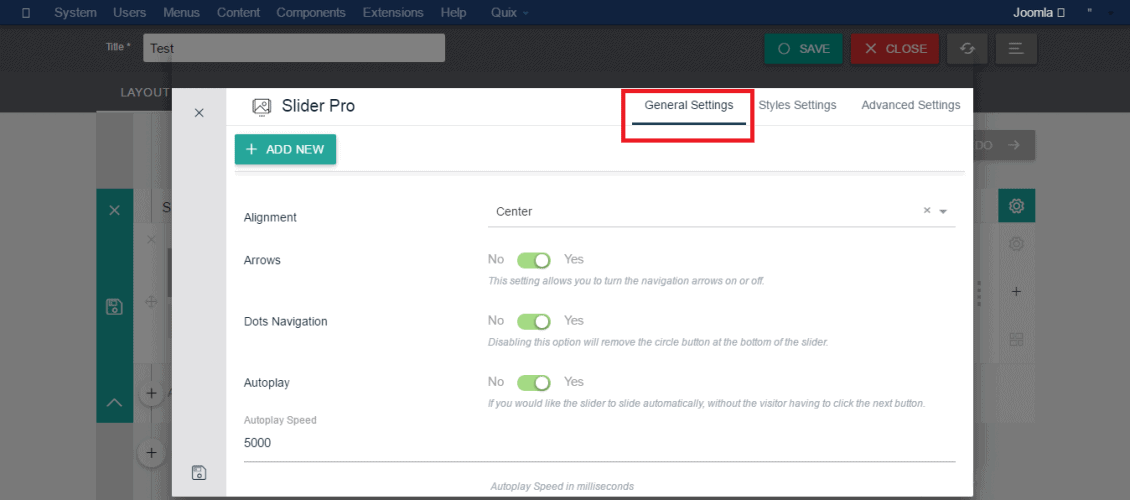
- Add New: When you click on this button, it will add a new slide in the slider.
- Alignment: Choose the alignment of text from this option. You will see three types of alignment option there. _Left, Right and Center_.
- Arrows: This setting will define whether you display the arrow key around the slider or not.
- Dots Navigation: You can determine whether you show the dots navigation at the bottom of the slider or not.
- Autoplay: If you would like the slider to slide automatically, without the visitor having to click the next button, then turn this setting to "YES" otherwise keep it to "NO".
- Autoplay Speed: You will see this setting only when you turn the autoplay option ON. Just _insert the number of time in milliseconds_ that will define the time interval between two slides.
When you add a new slide in the slider, you will get another setting panel and can customize every slide. Just click on anyone, it will take you to the configuration option.
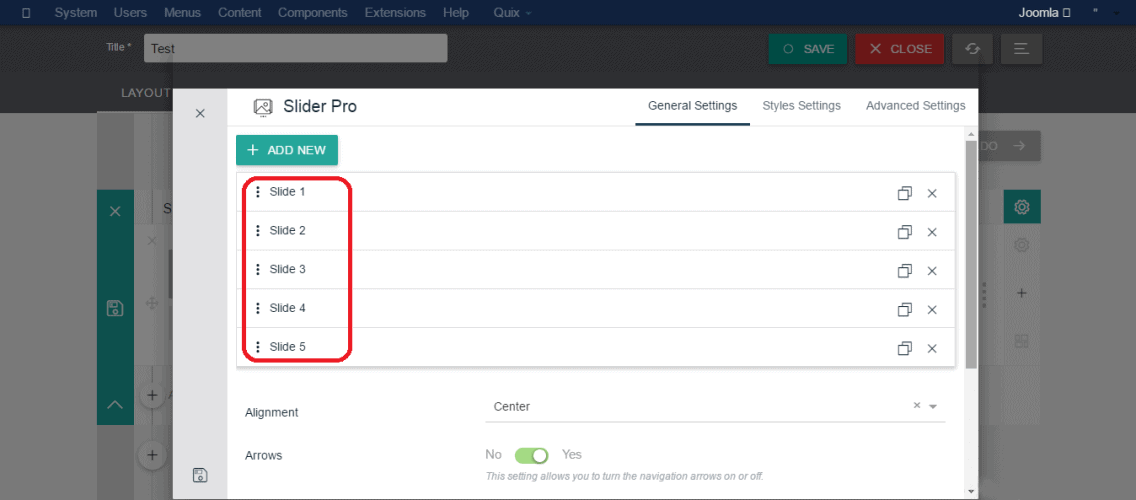
You'll get the following options among each slide.
- Title: The title of the slide goes here.
- Enabled Button: If you want to put a button on a slide then enable it otherwise keep it disable. When you enable the button option, then you can see three more options. These are included with the button option.
- 1. Text: You can also define this as _CTA (Call To Action) button_. Just insert your action text here.
- 2. URL: To where you want to functionalize this action? Insert that URL link here.
- 3. Open New Window: If you want to open your link in a new window then turn this option ON otherwise keep it OFF.
- Background Image: Insert the slider image here. You need to upload a picture and then insert it using the right button. Quix will auto-generate the file path in the following field.
- Background Color: In the case of, you don't want to insert a background image then you can also set a background color from this option.
- Content: Put the message here, that you want to exhibit to your clients at first glance.
Configure Styles Settings
You can see few following options inside styles settings tab.
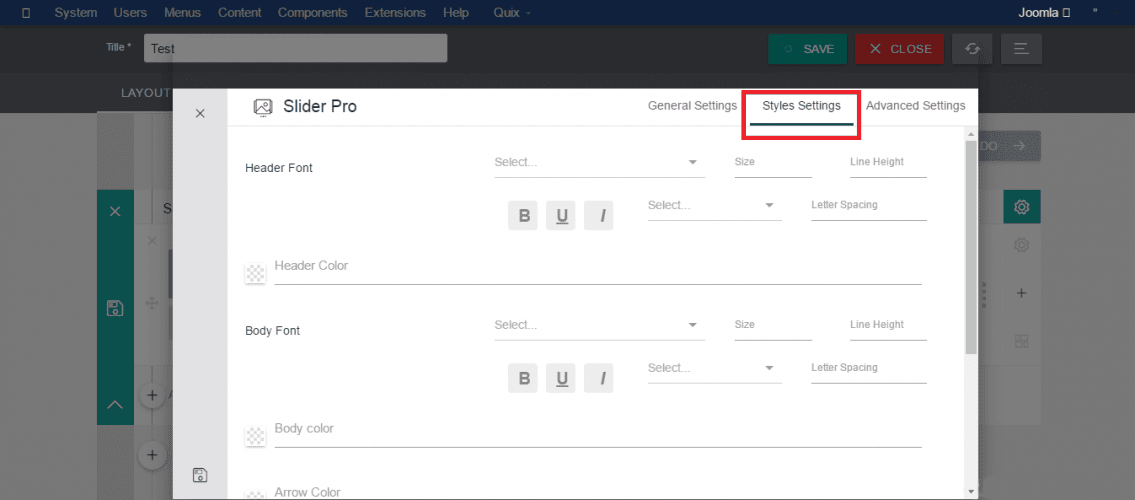
- Header Font: Choose the font of the title text from here.
- Header Color: Choose the color of the title font.
- Body Font: As usual of the title font, choose the font of the body text.
- Body Color: Choose the color of the body text. Quix lets you the option to choose the color using the _color picker or HTML color code.
- Arrow Color: You can define the color of arrow sign from this field.
- Dots Nav Color: You can also define the color of dots nav from this field which will display at the bottom of the slider.
- Use Custom Style For Button: Now in this setting option, you have full freedom to customize or design the call to action button according to your choice. When you enable Custom style for Button, you will see some more settings as below.
- 1. Button Background Color: Define the background color of the button.
- 2. Button Text Color: Define the text color of the button.
- 3. Button Border Width: Here in this field, you can see a straight line. Just drag your mouse over it and push it to the right side. You can notice that the much you push the mouse to the right side, the much the number increased at the right box. This figure defines the width of the border in pixels.
- 4. Button Border Color: Define the border color of the button.
- 5. Button Border Radius: The border radius property is used to add rounded corners to an element. Increase the value of this field as much as you want.
- 6. Button Hover Background Color: If you want to change the background color of the button while you hover the mouse over it, then define the color here.
- 7. Button Hover Text Color: As same as the button hover background color, specify the button hover text color here.
- 8. Button Hover Border Color: And also specify the button border color for mouse hover action.
- Padding: If you need some space inside of the element specify it in this field with digits.
Configure Advanced Settings
If you want to fetch some extra style in the slider, Quix also allows you to do this using Quix Advanced settings.
Just write your own attributes in a CSS class of your templates stylesheet and insert those class name.
Read: How Advanced Style Settings Can Save Your Time and Coding?
Final Words
I have tried to brief all setting options of the slider element in above. Hope you got it and now able to create an outstanding slider on your own. You can also use our dedicated Jommla extension Xpert Slider.
Got questions? Write in the comment section and hit the submit button.