Are you looking to build a robust and dynamic website with ease?
Joomla 4 is the perfect solution for you! This powerful content management system (CMS) offers a user-friendly interface, extensive customization options, and an array of features to help you create the website of your dreams.
In this step-by-step guide, we will walk you through the process of installing Joomla 4, from downloading the software to setting up your site. Whether you're a seasoned web developer or just starting out, this guide will provide the knowledge and tools you need to get your website up and running in no time. So, let's get started!
What is Joomla 4?
Joomla 4 is a powerful and open-source content management system (CMS) used to create and manage websites. It was released in 2021 as the latest version of Joomla and offers several new features, enhancements, and improvements over its predecessor, Joomla 3.
Joomla 4 provides an intuitive and user-friendly interface that makes it easy for users to manage their website content. With a wide range of customization options, including templates, themes, and plugins, Joomla 4 allows users to create websites that meet their specific needs and requirements.
Key features of Joomla 4 include a responsive design, enhanced security, improved accessibility, and integration with social media and third-party apps.
Joomla 4 is well-suited for a wide range of websites, from simple brochure-style sites to complex corporate websites, and is known for its scalability and performance.
Technical Requirements
| Software | Recommended | Minimum |
| PHP | 8.0 | 7.2.4 |
| Supported Databases | ||
| MySQL | 5.6 + | 5.6 |
| PostgreSQL | 11.0 + | 11.0 |
| Supported Web Servers | ||
| Apache | 2.4 + | 2.4 |
| Nginx | 1.18 + | 1.10 |
| Microsoft IIS | 10 + | 8 |
Download Joomla! 4
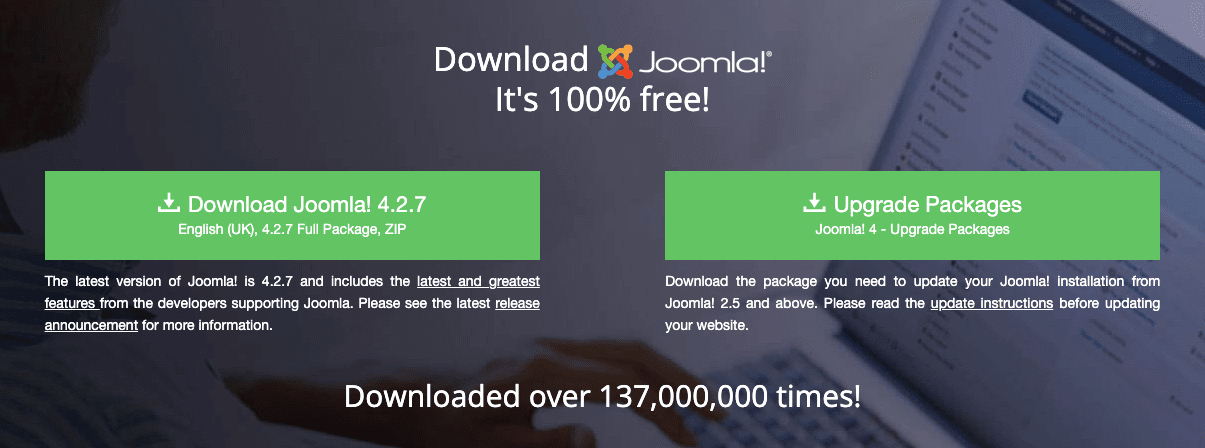
Go to the official Joomla website and click on the "Download" button. From the "Download Joomla!" page, select the latest version of Joomla 4 and click the "Download" button.
Install Joomla! 4 on the server manually
Here is a step-by-step guide to installing Joomla 4 on a server manually:
Upload Joomla! 4 to your server
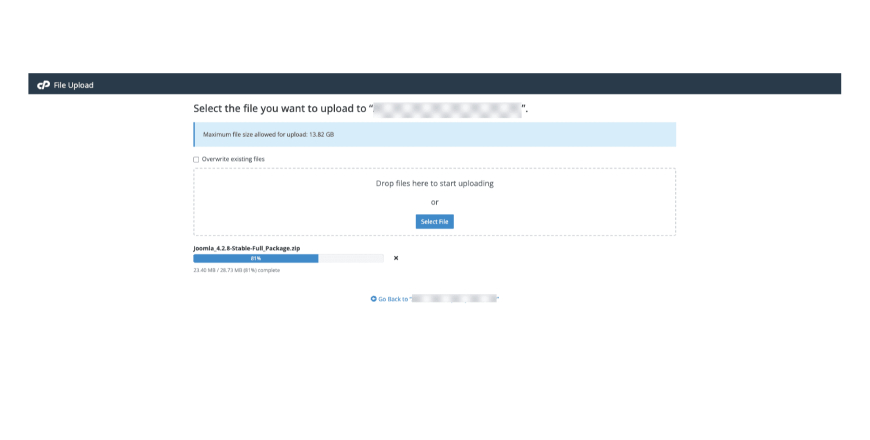
There are two main ways to upload Joomla 4 to your server: via FTP client or through the cPanel file manager. If you're using an FTP client, you'll need to download and install an FTP client such as FileZilla and then connect to your server using the FTP details provided by your hosting provider.
If you're using the cPanel file manager, log in to your cPanel account and navigate to the "File Manager" section.
Create a database
To create a database, you'll need to log in to your cPanel account and navigate to the "MySQL Databases" section. From there, you can create a new database, a new database user, and assign the user to the database.
Start the installation process
Once you've uploaded Joomla 4 to your server and created a database, navigate to the Joomla 4 installation folder using a web browser. You should see the Joomla 4 installation wizard. Follow the instructions provided by the wizard to complete the installation process.
Configure your site
After completing the installation process, you'll need to configure your site. This includes setting up your site title, admin username, and password, among other things. Follow the instructions provided by the wizard to complete the site configuration process.
Log in to the admin panel
After completing the site configuration process, you'll be able to log in to the Joomla 4 administrator panel. From there, you can start customizing your site, adding content, and managing your website.
Note: The exact steps may vary based on the specific hosting provider and server environment you're using. Make sure to consult your hosting provider's documentation for more information.
Install Joomla! 4 on localhost
Here is a step-by-step guide to installing Joomla 4 on localhost:
Download and install a local server software
To install Joomla 4 on a localhost, you need to set up a local web server environment. You can use popular server environments such as XAMPP, MAMP, WAMP, or any other that you prefer. Start by downloading and installing the software.
Next, place the Joomla 4 installation zip file into the document root folder, which is typically the htdocs folder for XAMPP or MAMP. Unzip the Joomla 4 installation zip file within the htdocs folder. You are now ready to begin the CMS installation process.
Create a database
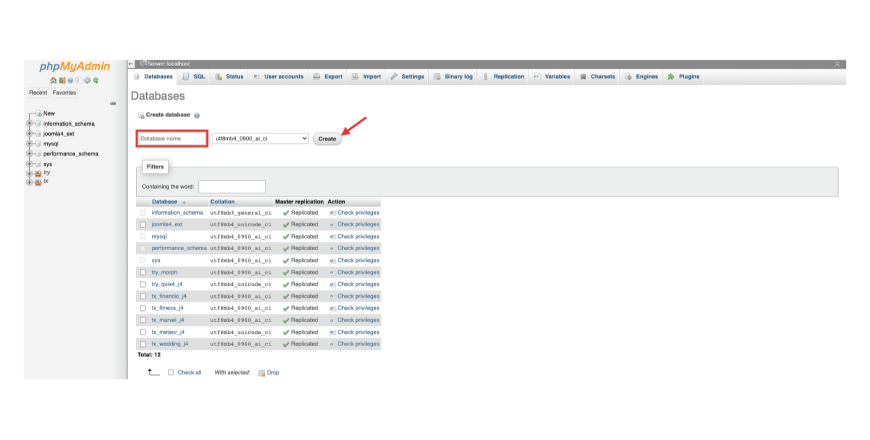
To create a database, you'll need to use the local server software's database management tool, such as phpMyAdmin. From there, you can create a new database and set up a new database user.
Start the installation process
Once you've extracted the Joomla 4 package and created a database, navigate to the Joomla 4 installation folder using a web browser. You should see the Joomla 4 installation wizard. Follow the instructions provided by the wizard to complete the installation process.
Configure your site
After completing the installation process, you'll need to configure your site. This includes setting up your site title, admin username, and password, among other things. Follow the instructions provided by the wizard to complete the site configuration process.
Log in to the admin panel
After completing the site configuration process, you'll be able to log in to the Joomla 4 administrator panel. From there, you can start customizing your site, adding content, and managing your website.
Install Joomla! 4 with App Installer
Here is a step-by-step guide to installing Joomla 4 with App Installer:
Log in to cPanel
Log in to your cPanel account using the login credentials provided by your web hosting provider. Go to the "Softaculous Apps Installer" section and click on it. Scroll down the list of available applications until you find the Joomla 4 option. Click on it to start the installation process.
Select the domain
Choose the domain you want to install Joomla 4 on. If you only have one domain, it should be pre-selected for you.
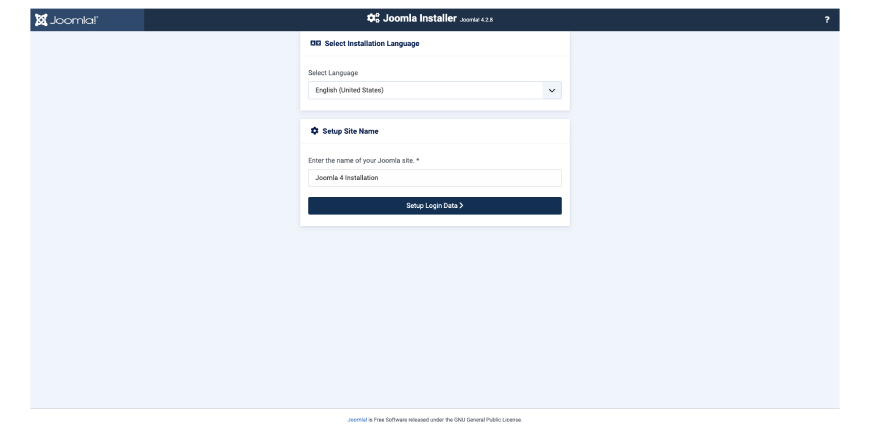
Configure the Joomla 4 installation
Fill in the required fields, such as the site name, admin username and password, and email address.
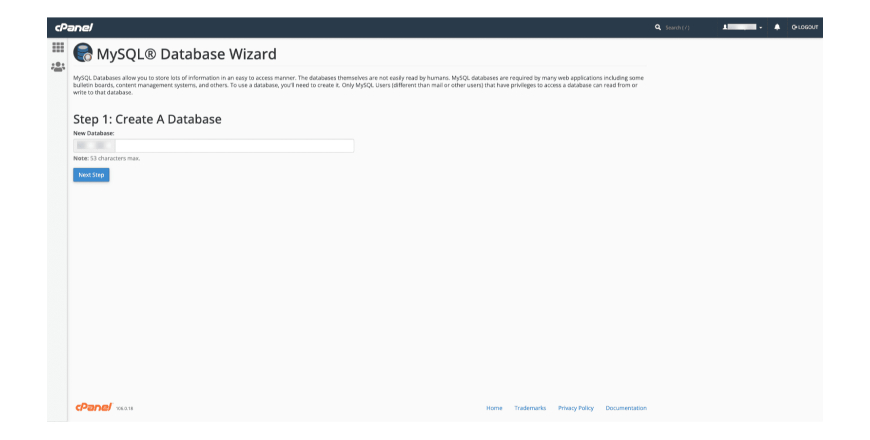
Create a database
If you don't have a database yet, cPanel will prompt you to create one. Fill in the required fields and click on the "Create Database" button.
Start the installation process
Once you've configured the Joomla 4 installation and created a database, click on the "Install" button to start the installation process.
Check the installation results
Once the installation process is complete, cPanel will display the results. If the installation was successful, you'll see a message indicating that Joomla 4 has been installed successfully.
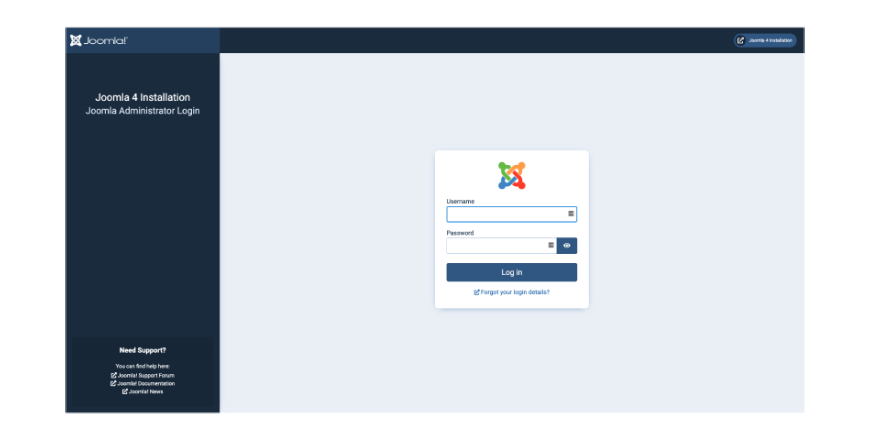
Log in to the admin panel
After the installation process is complete, you can log in to the Joomla 4 administrator panel using the admin username and password you specified during the installation process.
Note: The exact steps may vary based on the specific version of cPanel and the web hosting provider you're using. Make sure to consult the web hosting provider's documentation for more information.
Wrap Up
To wrap up, installing Joomla 4 can be a relatively easy and straightforward process, as long as you follow the steps carefully and have the necessary tools and resources at your disposal.
Whether you are installing Joomla 4 on a localhost or a server, the process requires you to set up a web server environment and then run the Joomla 4 installation script. By following the steps outlined in this guide, you will be able to install Joomla 4 successfully and start building and customizing your website.
Joomla 4 is a powerful and versatile content management system, and with its many features and plugins, you can create a professional and dynamic website that meets your specific needs.
Whether you are a beginner or an experienced web developer, Joomla 4 is an excellent choice for anyone looking to build and manage a successful website.