
Would you like to add a custom font to your website? Your website can look better with a custom font. This article shows you how to install a custom font on your Joomla website.
As the web grows, the need to add a custom font to your site becomes an integral part. Custom fonts can help you freshen up your template and differentiate your business from others. Another critical reason to load local fonts is to comply with new privacy requirements in Europe, the US, and elsewhere.
Multiple web fonts slow down your Joomla site; hence using a custom font, you can quickly eliminate site slowness. This post will explain how to add a custom font locally on Joomla template, which you can apply to any Joomla template.
1. How to find fonts for your business or website:
There are numerous locations from where you can obtain custom fonts. If you have enough budget choose a premium font or, if your budget does not permit it, you can obtain a free font.
Listed below are several well-known resources for choosing custom fonts.
- https://www.1001fonts.com
- https://fonts.adobe.com
- https://www.fontfabric.com/fonts
- https://www.creativefabrica.com/fonts
- https://fonts.google.com
There are two types of fonts available: TTF (TrueType Font) and OTF (OpenType Font).
TTF (TrueType Font): TrueType is an outline font standard created by Apple in the late 1980s to compete with Adobe's Type 1 fonts, which are used in PostScript. It is now the most widely used font format on the traditional Mac OS, macOS, and Microsoft Windows operating systems.
OTF (OpenType Font): OpenType is a scalable computer typeface format. It was constructed on the foundation of its predecessor TrueType, maintaining TrueType's basic structure while adding additional complicated data structures for specifying typographic behavior. Microsoft Corporation's registered trademark is OpenType.
OTF is more likely to be a “better” font, as it supports more advanced typesetting features, but these differences don't really matter for the average computer user.
Choose a font that is suitable for your business and website from the above resources.
2. Download the font:
Now choose a font that is suitable for your business or website from the above resources and download it. You can find your favorite font at https://fonts.google.com. Once you have selected the font, click the Download Family button to download it.
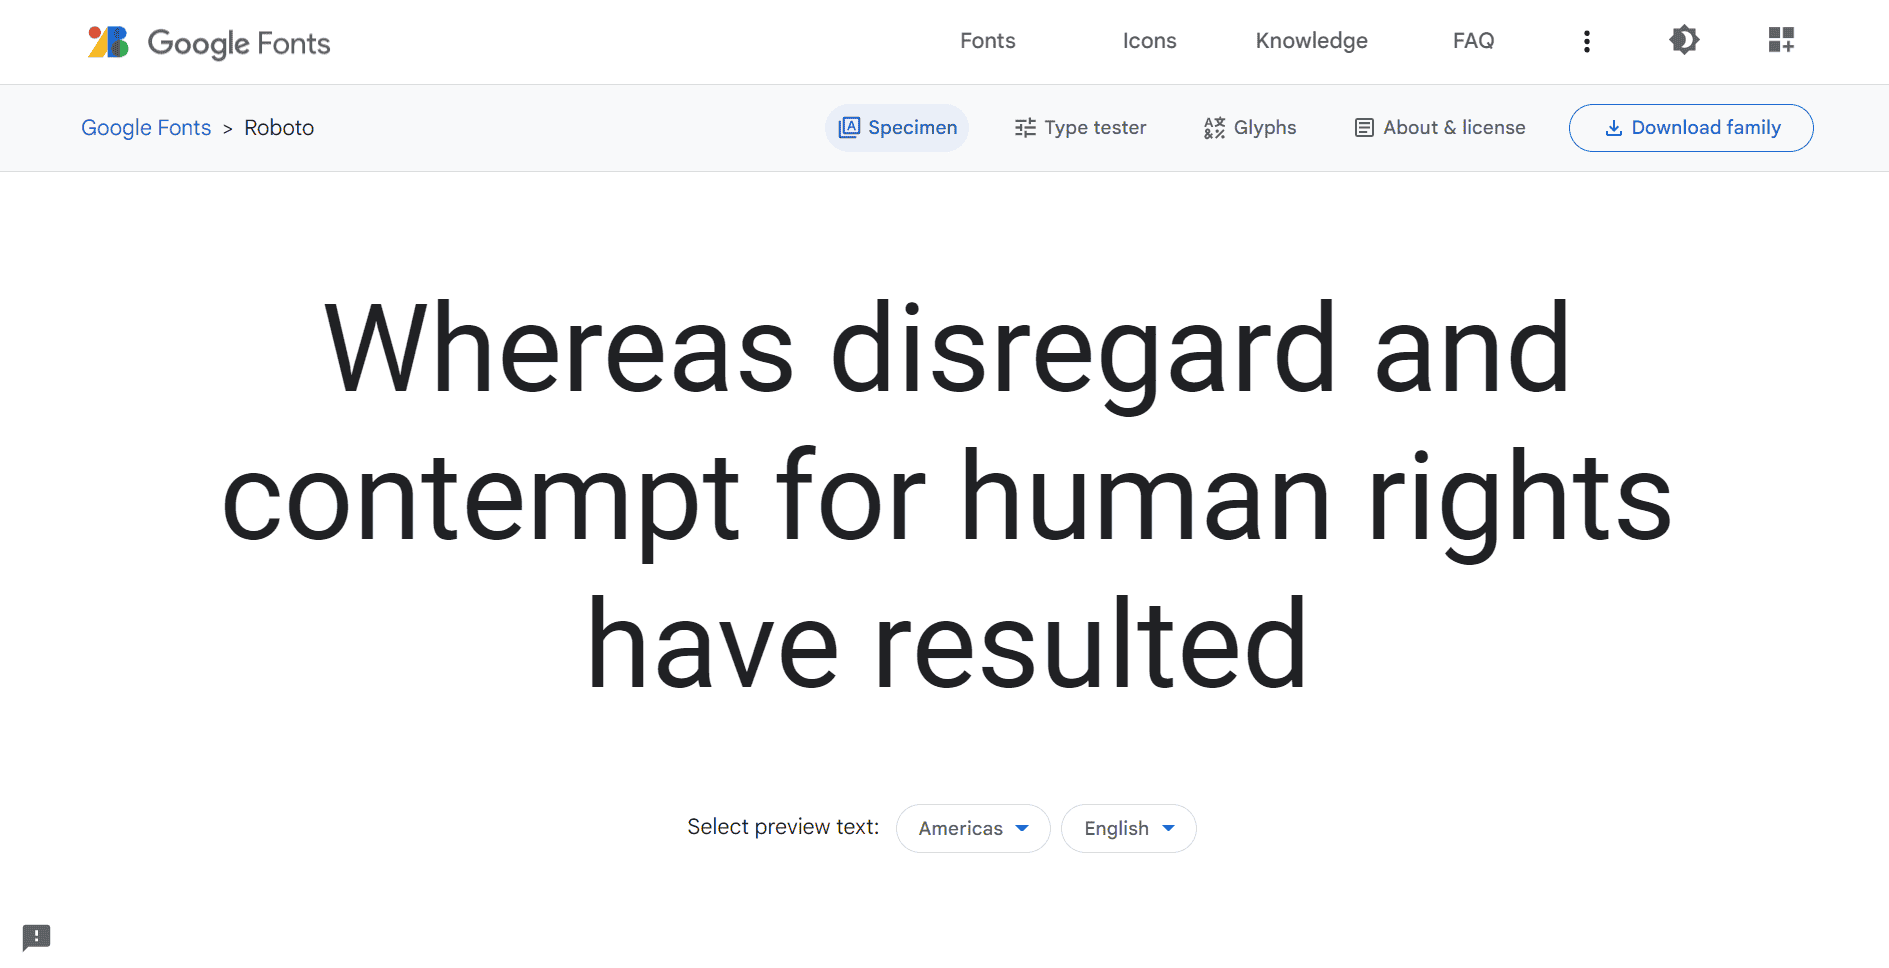
Here, we have downloaded and unzipped the Roboto font by Google in TTF format.
3. Make web-friendly font
You will most likely receive a TTF (TrueType Font) file from this website when you download the font from any of the above-mentioned resources. This file can be installed on your operating system but to install it on the website, we must utilize an internet converter to convert the font to WOFF (Web Open Font Format).
There are some websites that allow you to convert fonts for the web. For converting your custom font, visit https://transfonter.org/.

Add your TTF/OTF font and select WOFF and WOFF2. You can now convert by clicking the Convert button. Once the conversion is complete, download and extract the zip file.
The font files should be in .woff and .woff2 format with stylesheet.css attached.
Remember that converting to WOFF and WOFF2 is sufficient to support browsers like Firefox, Google Chrome, Internet Explorer, Opera, Safari, and other WebKit-based browsers since WebKit build 528.
4. Add the font to your Joomla template
The custom font is now ready for use on your website. It only needs to be installed on your template. The next step is to install a custom font.
Make a font folder inside your template if it does not exist. The WOFF font files need to be uploaded here.
Let's open or create the custom.css file in the “/templates/YOUR_TEMPLATE_NAME/CSS” directory.
- Copy all of the CSS from the stylesheet.css file that was generated when converting to WebFonts. You can now paste the code into the custom.css file. This code should be similar to:
|
|
- Change the font path by adding ../fonts/, resulting in code similar to:
|
|
5. Using the font
By following the CSS snippet, the font can be applied to the body or heading tags.
We will now show you how to use the font and it is the basics that you can follow:
|
|
The custom font has been successfully installed.