uHost
Key Features
- Fully Responsive
- Fast Loading
- Meaningful Trendy Layout
- SEO Optimized
- Dynamic Navigation Menu
- Smooth Collapsing Transaction
- Domain Searching Module
- WHMCH Supported
- Animation Slider
- Redux Framework
- CMB2
- Elementor Pagebuilder
- weForms
- One Click Demo Import
- MailChimp
- Instagram Widget
Requirements
In order to run uHost smoothly on your server, you need to fulfill this requirement listed below:
- Wordpress: 3.9+
Installation
Installing WordPress
To install this theme, you must have a working version of WordPress already installed on your server. If you need help installing WordPress, go through the link and follow the instructions: Installing WordPress
Installing Theme
There are a couple of simple steps to install uHost theme on your server. It's quite straightforward.
If you are starting from the scratch, we recommend you to follow the installation guide below to install with the pre-built existing demo data. This is the simplest way to get started.
On the other hand, if you already have an existing WordPress site and want to apply uHost theme, in that case, you just need to install the following package:
- uhost.zip
You can find this package inside the downloaded .zip file of uHost theme. So, before getting started with the installation process, Extract the .zip file and you'll find the desire uhost.zip in the Theme folder after the extraction.
- Log in to the WordPress Administration Panels.
- Now, go to
Appearance> Themes> Add New> Upload Themethen click on the Choose File button then select the uhost.zip file and hit upload. - After installation being done, roll over to
Appearance> Themes. - Find just uploaded theme on the Theme Thumbnail area.
- Click the Activate button below to the theme's thumbnail, to set it as default.
Do not forget to Activate the theme as default after installation process successfully been done.
To know more, visit WordPress Codex
Active Required Plugins
There are eleven plugins, required for uHost theme to work properly. Those are listed below:
- uHost Core : theme core functionality (CPTs and shortcodes).
- Elementor : Drag and Drop Pagebuilder.
- Redux Framework: Used to build its backend admin panel.
- CMB2 : For building meta boxes.
- WHMCS Bridge : For Purchasing a Web Hosting
- WHMCS Domain Checker : Allows available Domain Searching.
- One Click Demo Import : One Click Demo data importer.
- weForms : For Creating Contact Form (optional)
- Widget Importer & Exporter (optional)
- Instagram Widget : Showcasing Instagram Images (optional)
- MailChimp : Email Automation Tool (optional)
To activate those required plugins, simply go to Plugins
- Select all those eleven required plugins.
You can use the search module to find the desired plugins. The search box can be found on the right-top side of the module.
- Select Activate from the drop-down menu just above the list of plugins.
- Click to the Apply button next to the drop-down box and you are done.
To know more about the installation process of plugins, visit here: WordPress Codex
If there is any problem with automatic plugin installation, install them manually. You can find plugin bundle in your theme's /lib/plugins subdirectory. WooCommerce and Contact Form 7 can be found in WordPress plugins repository, install them through Plugins Screen
Import Demo Data
-
Log in to the WordPress Administration Panels.
- Go to
Appearance> Import Demo Data - Click on
Import Demo Databutton.
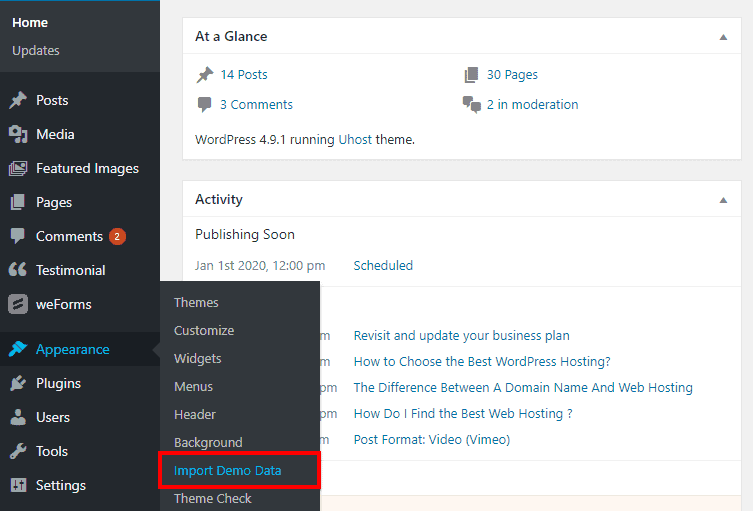
It will take some times to load all demo data on your server. Wait till it shows you a successful data importing message.
Theme Settings
You can differently customize theme according to your need using Easy Customization feature.
- Click on uHost at left-bottom corner of the module screen to open up Theme Setting panel.
Global Settings
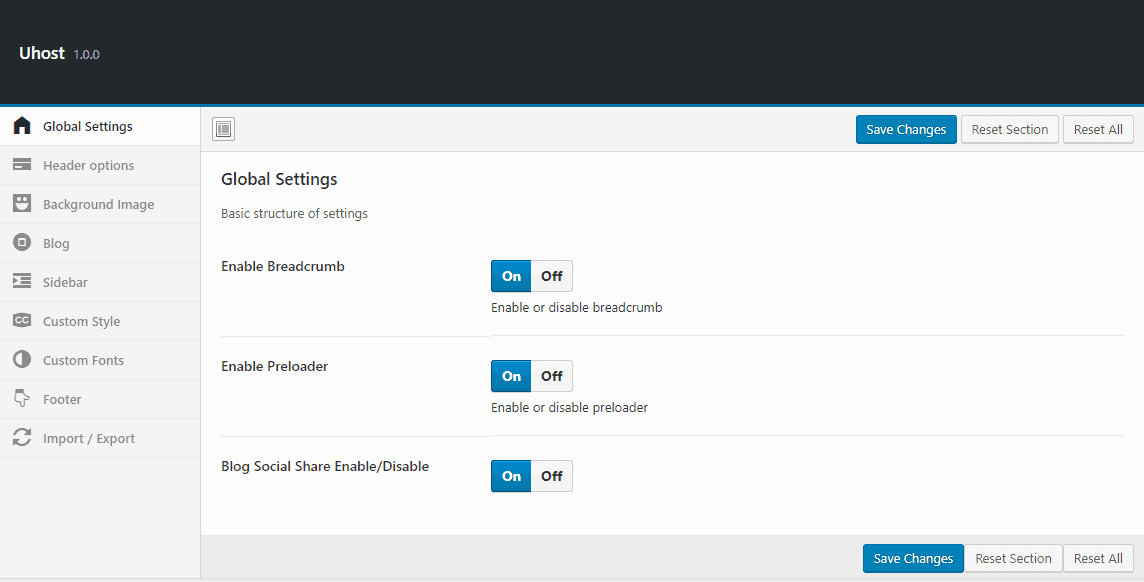
- Enable Breadcrumb : Allows you the control over enabling or disabling breadcrumb for your site.
- Enable Preloader : Allows you to enable or disable Preloader.
- Blog Social Share Enable/Disable : Allows you to enable or disable social sharing option.
Header Settings

- Logo : Upload your branding logo using the Upload button.
- Enable Header Top : Allows you to enable Header Top.
- Top Message : Put the message you want to show in header top position.
- Phone : Put the phone no the customers are allowed to contact through.
- Email : Put the email address the customers are allowed to contact through.
- Support URL : Put the link of your support page.
- login URL : Put the Link of your login page.
- Background Color : Allows you to choose Background Color.
- Menu Color : Allows you to choose menu color.
- Menu Hover/Active Color : Allows you to choose menu Hover color.
Background Image
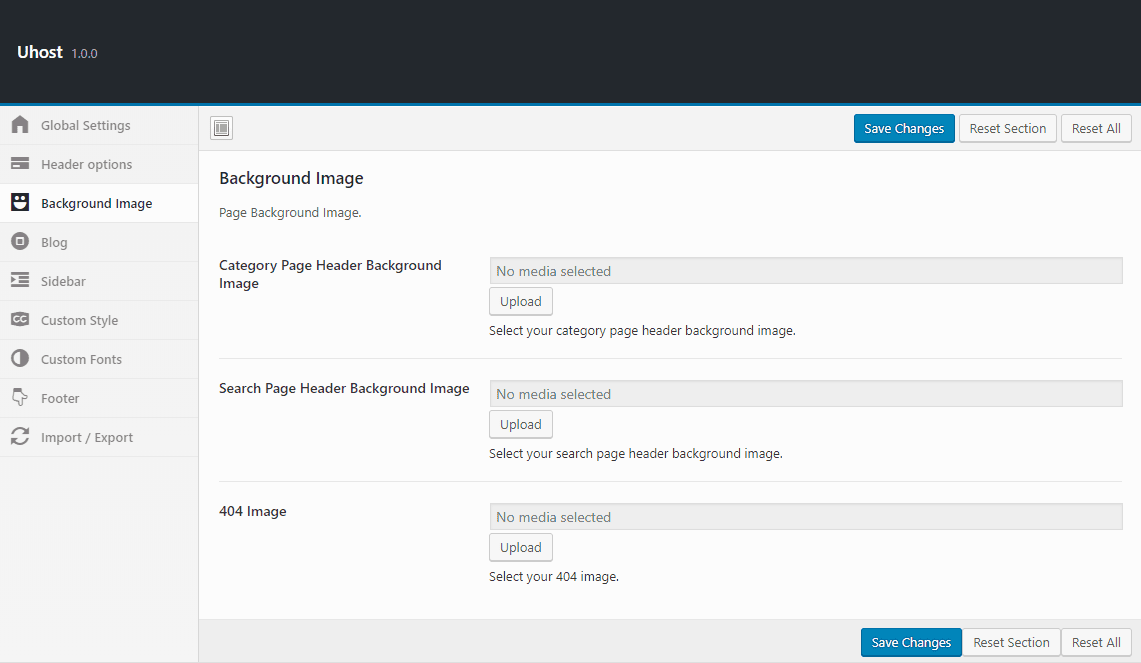
- Category Page Header Background Image : Choose and upload image for category page header background.
- Search Page Header Background Image : Choose and upload image for search result background.
- 404 Image : Upload the 404 image using the upload button next to this option.
Blog
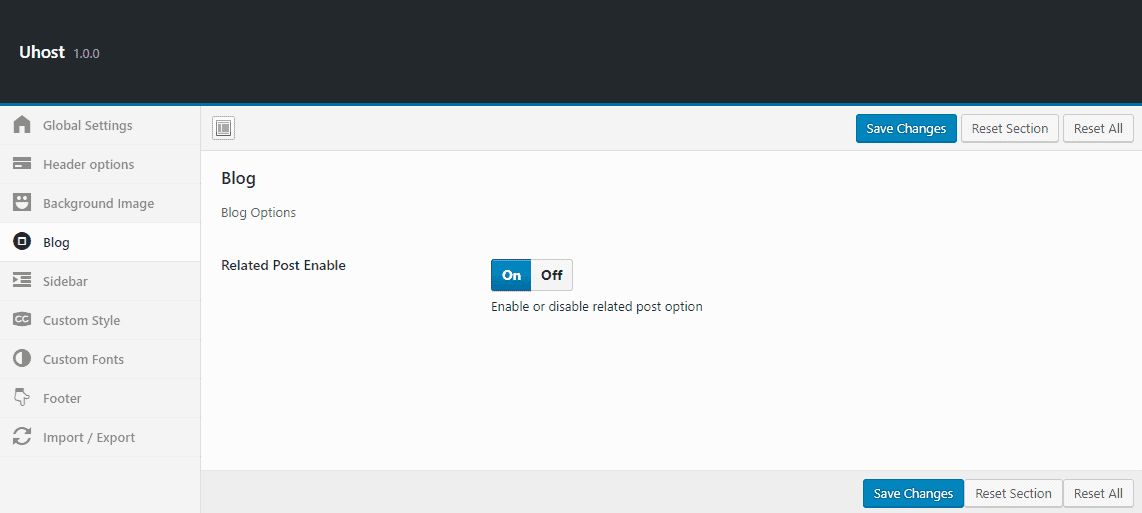
- Related Post Enable : Allows you enabling or disabling related post option.
Sidebar
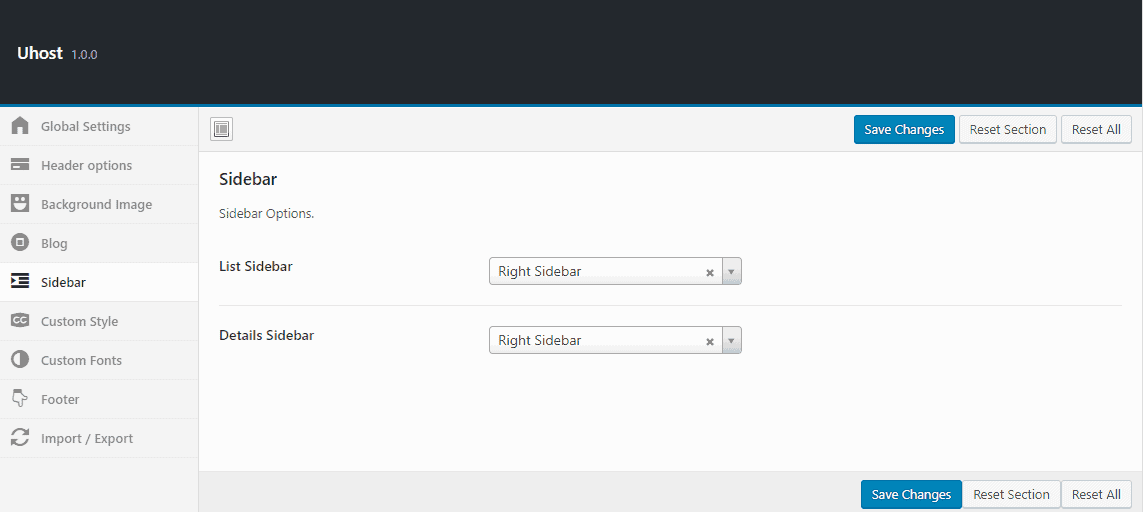
- List Sidebar : Choose the position of List SIdebar. Either you can disable- showing list sidebar, just to pick No Sidebar from the drop-down.
- Detail Sidebar : Choose the position of Details SIdebar. Either you can disable- showing details sidebar, unlikely the List Sidebar, just to pick No Sidebar from the drop-down.
Custom Style
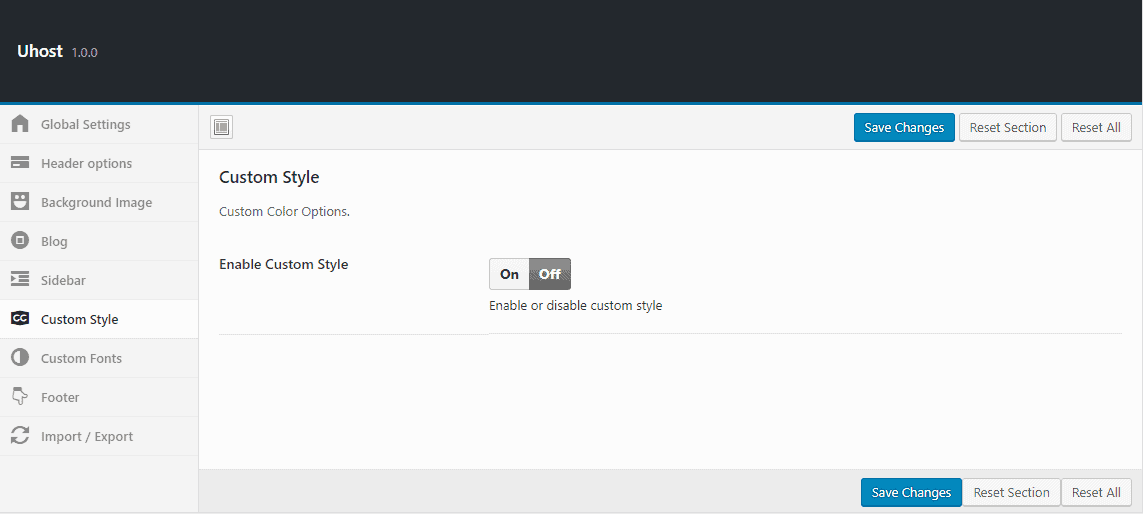
- Enable Custom Style : To enable this option, you can set the primary and secondary color for your site.
Custom Fonts
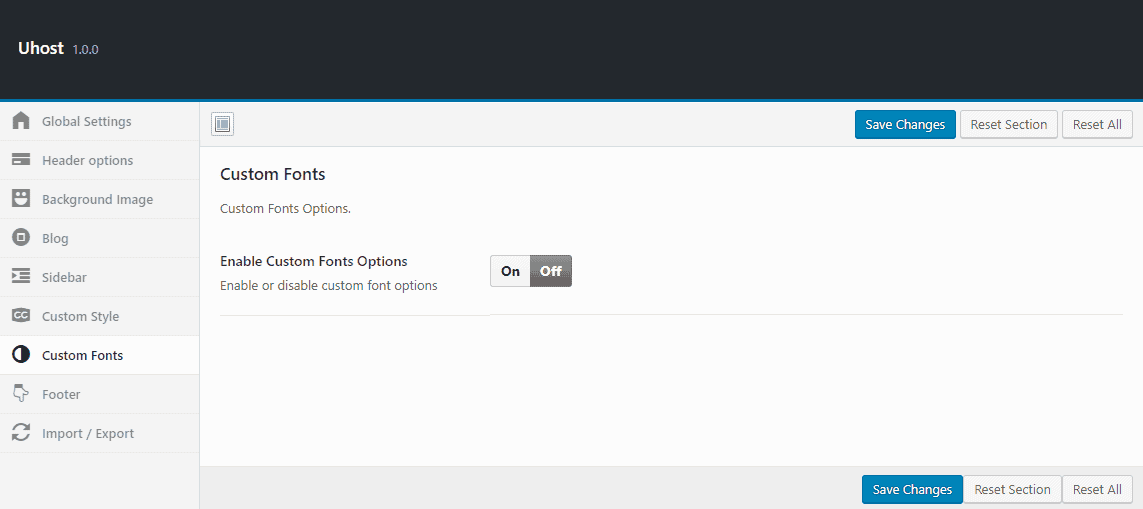
- Body Typography : Choose your preferred font family, font-weight and styles, font subset, size, line height, color including define text align for body.
- Heading Typography : Choose your preferred font family, font-weight and styles, font subset, size, line height, color including define text align for header.
- Menu Typography : Choose your preferred font family, font-weight and styles, font subset, size, line height, color including define text align for menu.
Footer
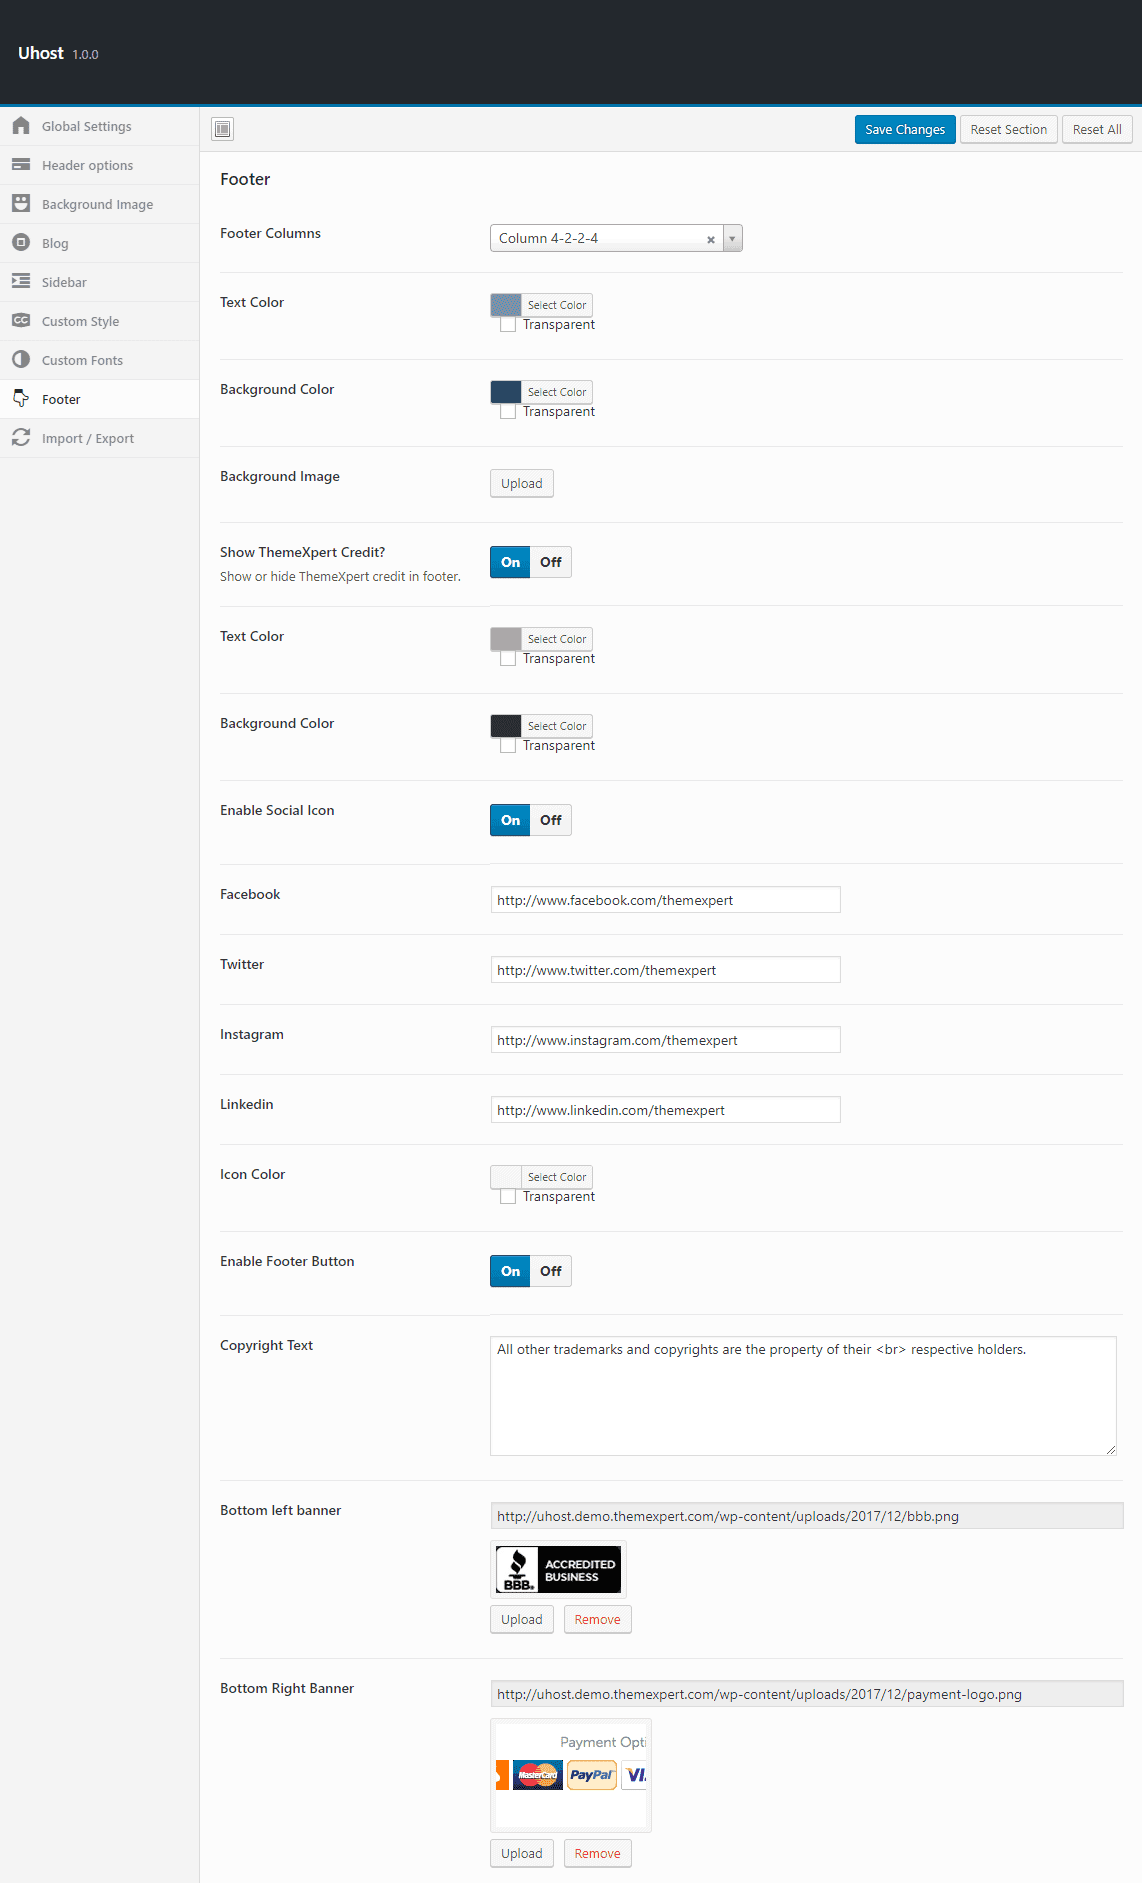
- Footer Columns : Define the number of columns to show the footer content.
- Text Color : Pick a color for the footer text.
- Background Color : Pick a color for the footer background.
- Background Image : Upload and select a image for the footer background.
- Show ThemeXpert Credit? :
- Text Color : Pick a color for the credit text.
- Background Color : Pick a color for the credit text background.
- Enable Social Icon : Enable showing social icon.
- Facebook : Put your facebook profile URL.
- Twitter : Put your Twitter profile URL.
- Instagram : Put your Instagram profile URL.
- LinkedIn : Put your LinkedIn profile URL.
- Icon Color : Choose social icon color.
- Enable Footer Button : Allows you to enable footer button.
- Copyright Text : Put the copyright text.
- Bottom Left Banner : Upload the bottom left banner.
- Bottom Right Banner : Upload the bottom right banner.
Import / Export
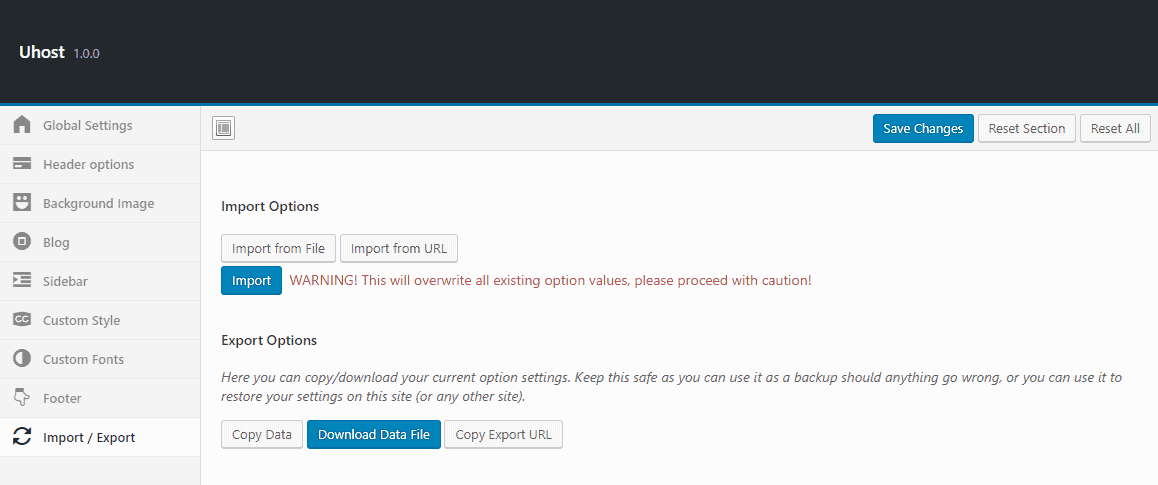
- Import : This button allows you to import your custom theme settings if you have preserved any.
- Download Data File : This button allows you to download the theme options as a .json file for further use in any other wp-themes. You just have to import that .json file using the Import button then.
How To's
Setup Homepage
- Go to
Settings > Reading - Select A Static page on Your homepage displays option.
- Choose your preferred home variation from the Homepage drop-down menu.
- Select Blog from the Post page drop-down menu.(optional)
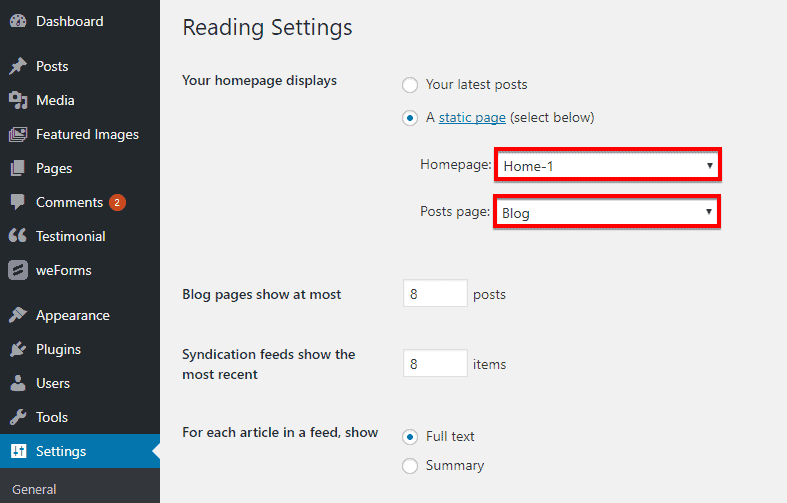
- Use the left-bottom Save Changes button to save the settings.
Front-end appearance :
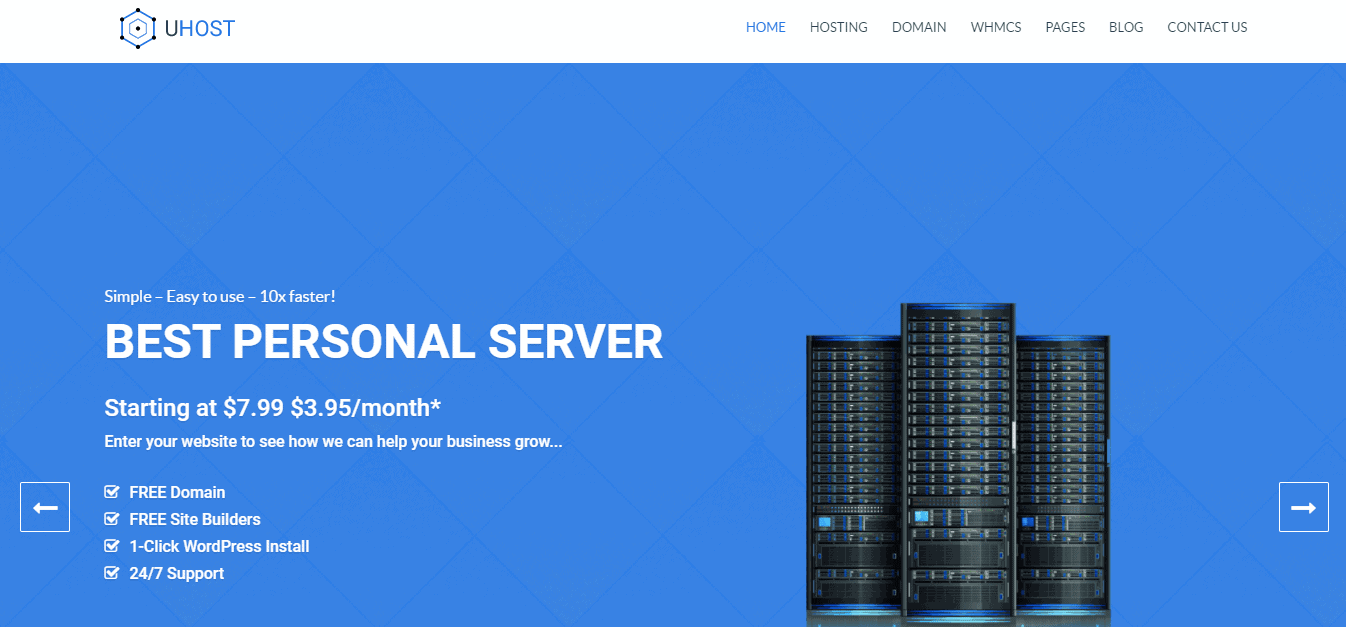
Home 1: 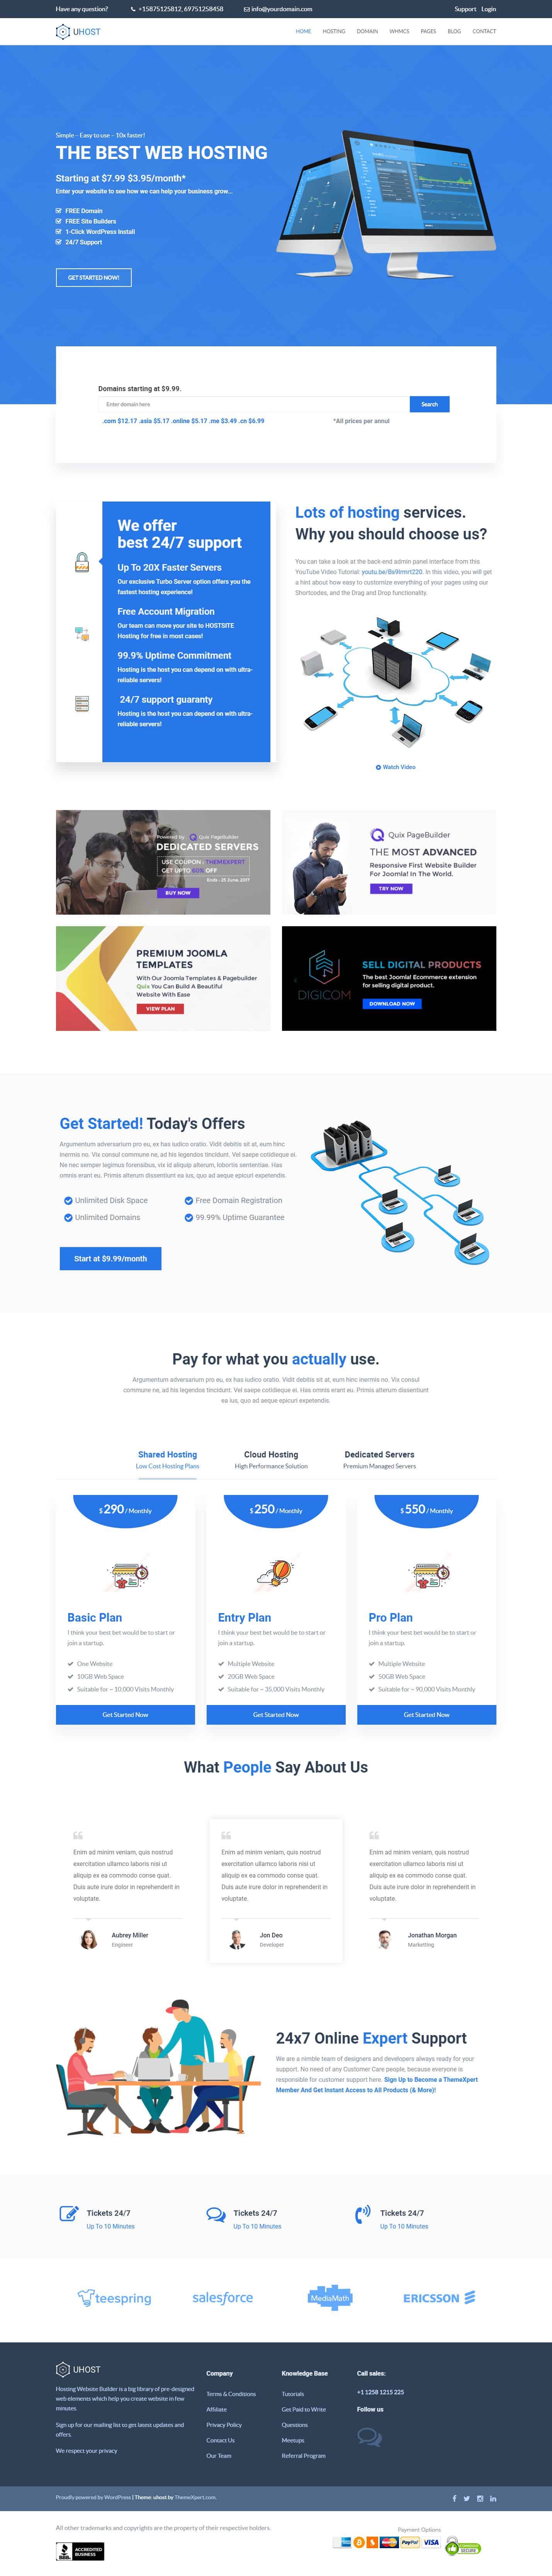
Home 2:
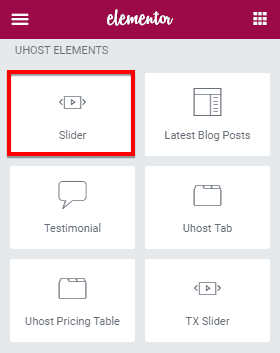
Elements
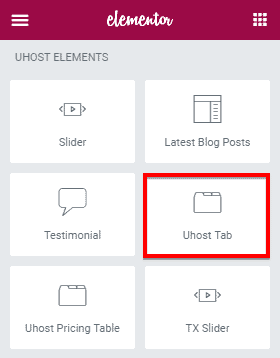
You can simply add an element on a page. All you need to do, just drag the element you want to add and drop it in a page then customize its setting as your preferences. You will have plenty of default elements to add or you can add our developed elements those are only for uHost theme from the UHOST ELEMENTS tab on the elementor.

Elementor
Elementor is the one of the best Drag and Drop visual editor for building pages, posts etc. in a WordPress site. If you are not familiar with Elementor, we recommend you to take a look at the following videos:
-
Getting Started with Elementor: Getting Started With Elementor - YouTube
-
Sections & Columns Part 1 : Learn How to Build Your Page Layout on Elementor
-
Sections & Columns Part 2 : Style Options for Sections and Columns
- Sections & Columns Part 3 : Padding, Margin, Responsive and Other Settings in the Advanced Tab
Under https://docs.elementor.com/ you can find see the complete documentation of elementor page builder.
IMPORTANT: You have to disable Disable Global Colors and Disable Global Fonts options from
Elementor> Generalin order get your custom styles worked on any elements.Our theme specific elements can be found in uHost tab under Elementor.
Slider
To add Slider element on a page, first-
- Go to
Pages - Click on Edit With Elementor
- Drag the Slider from the left UHOST ELEMENTS area and drop on your page.
- Customize the settings how you prefer and click on Save button to save the pages.
Content

- ADD ITEM : This button allows you to create new slider items. Having created an item, just by a single mouse click- there are a couple of options will appear below this.
- Slider Title : Put the slider title here.
- Title Animation : Choose an animation for the title text.
- Upload Slider Image : This upload button lets you upload image for the current slider item.
- Slider Description : Put the description text here.
- Content Animation : Choose an animation effect for the content text.
- Button Text : Put the button text here.
- Button Link : Put the corresponding button URL here.
- Button Animation : Choose an animation effect for the button.
Style
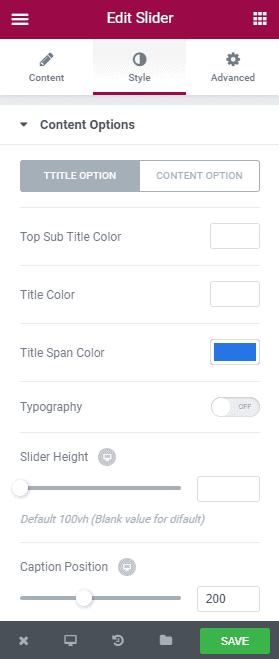
- Content Options : Customize the content options according to your need. You can customize typography, spacing, margin and so on.
- Button Options : Customize the button options as you want. This includes Button text, color, border, text size and so on.
- Control Options : This includes slider speed, background repetition, size and so on.
Advanced

- Element Style : Control margin, padding, z-index, entrance animation and add additional id or class to apply your custom design to an element.
- Background : Control element background color, hover style and more.
- Border : Apply your custom border style configuring different options from this tab.
- Responsive : Control making this element to appear on various devices.
Latest Blog Post

To add Latest Blog Post element on a page, first-
- Go to
Pages - Click on Edit With Elementor
- Drag the Latest Blog Post from the left UHOST ELEMENTS area and drop on your page.
- Customize the settings how you prefer and click on Save button to save the pages.
Content
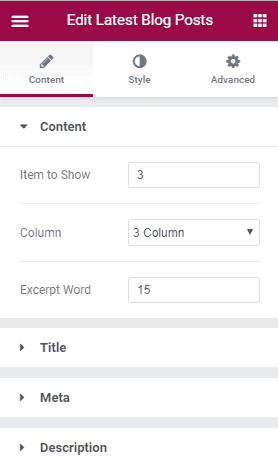
- Item to Show : Define how many item you want to show.
- Column : Define in how many columns you want to show the items into.
- Excerpt Word** : Define the number of word to show on each Box.
- Title : Create your own preferred typography for title text by changing different options according to your wish.
- Meta : Create your own preferred typography for meta text by changing different options according to your wish.
- Description : Create your own preferred typography for description text by changing different options according to your wish.
Style
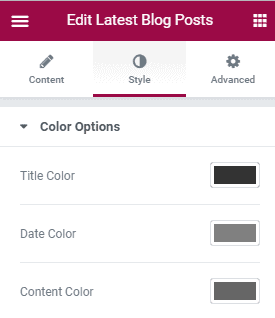
- Title Color : Pick a color for title text.
- Meta Color : Pick a color for meta text. (posting date, views)
- Meta Color : Pick a color for meta description text.
Advanced
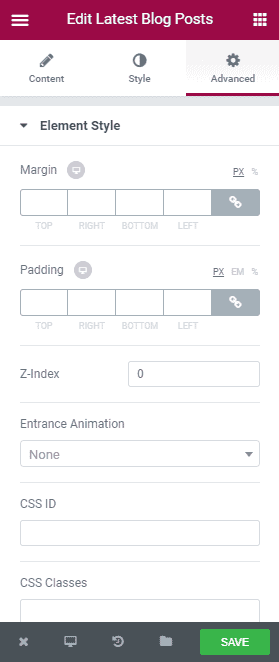
- Element Style : Control margin, padding, z-index, entrance animation and add additional id or class to apply your custom design to an element.
- Background : Control element background color, hover style and more.
- Border : Apply your custom border style configuring different options from this tab.
- Responsive : Control making this element to appear on various devices.
Testimonial
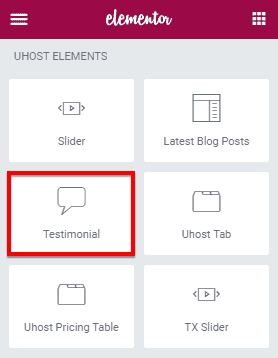
To add Testimonial element on a page, first-
- Go to
Pages - Click on Edit With Elementor
- Drag the Testimonial from the left UHOST ELEMENTS area and drop on your page.
- Customize the settings how you prefer and click on Save button to save the pages.
Content
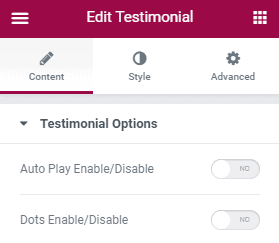
- Autoplay Enable/Disable : Allows enable or disable autoplay option.
- Dots Enable/Disable : Allows enable or disable dots option.
Style

- Person Block Color : Choose the testimony block color for each person.
- Content Color : Pick a content color.
- Name Color : Choose the person name color.
- Designation Color : Choose the designation color.
- Background Color : Choose the background color.
Advanced
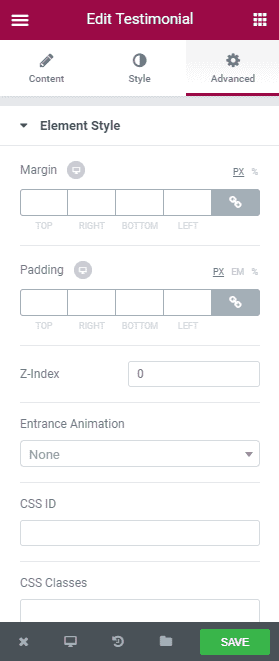
- Element Style : Control margin, padding, z-index, entrance animation and add additional id or class to apply your custom design to an element.
- Background : Control element background color, hover style and more.
- Border : Apply your custom border style configuring different options from this tab.
- Responsive : Control making this element to appear on various devices.
uHost Tab
To add uHost Tab element on a page, first-
- Go to
Pages - Click on Edit With Elementor
- Drag the uHost Tab from the left UHOST ELEMENTS area and drop on your page.
- Customize the settings how you prefer and click on Save button to save the pages.
Content
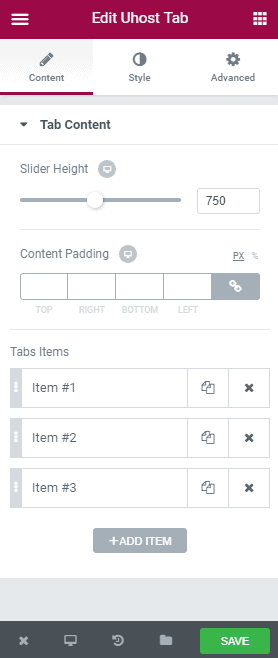
- Slider Height : Define content height.
- Content Padding : Define the amount of padding you want for the content.
- Tab Image : Select tab image.
- Content Title : Put the Content Title.
- Content Area : Put the content text here.
- Bottom Enable : Enable or disable button at the bottom of the content.
- Button Padding : Define the amount of padding at the bottom.
- Button Margin : Define the amount of margin at the bottom.
Style
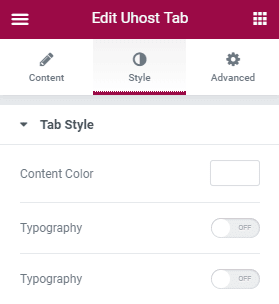
- Content Color : Choose a color for the icons.
- Typography : Make your preferred typography for title.
- Typography : Make your preferred typography for content.
Advanced
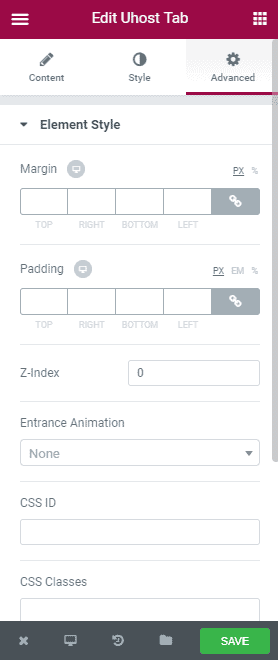
- Element Style : Control margin, padding, z-index, entrance animation and add additional id or class to apply your custom design to an element.
- Background : Control element background color, hover style and more.
- Border : Apply your custom border style configuring different options from this tab.
- Responsive : Control making this element to appear on various devices.
uHost Pricing Table
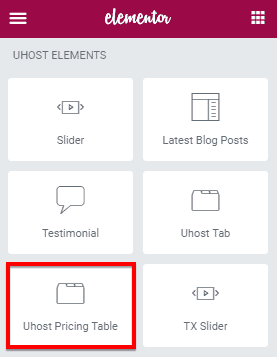
To add uHost Pricing Table element on a page, first-
- Go to
Pages - Click on Edit With Elementor
- Drag the uHost Pricing Table from the left UHOST ELEMENTS area and drop on your page.
- Customize the settings how you prefer and click on Save button to save the pages.
Content
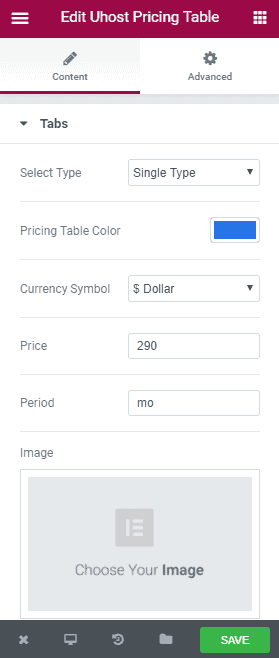
- Select Type : Define you want the pricing table as single table or multiple.
- Pricing Table Color : Pick your preferred color for the pricing table.
- Currency Symbol : Define the currency symbol.
- Price : Define the price amount.
- Period : Define the time period.
- Image : Upload and select image for setting at of the pricing table.
- Pricing Plan : Define your pricing plan.
- Content Area : Put the description text of your pricing plan.
- Bottom Text : Put the button text.
- Link : Put the button URL.
TX Slider
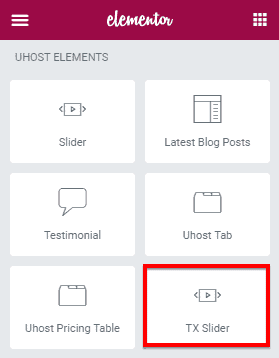
To add TX Slider element on a page, first-
- Go to
Pages - Click on Edit With Elementor
- Drag the TX Slider from the left UHOST ELEMENTS area and drop on your page.
- Customize the settings how you prefer and click on Save button to save the pages.
Content
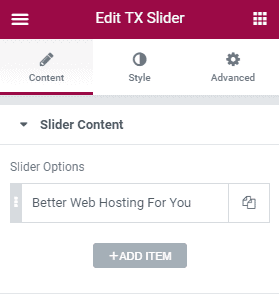
- Subtitle Top : Put the subtitle that is supposed to be appeared at the top of the slider.
- Title Animation : Choose an animation effect for the title.
- Slider Title : Put the slider title text.
- Slider Background Image : Choose a background image for the slider.
- Content Area : Put the content for the slider.
- Content Animation : Define an animation for the content text.
- Enable Front Image : Enable or disable front image.
- Button Text : Put the button text here.
- Button Link : Put the button URL here.
- Button Animation : Define the animation effect for the button.
- Add Item : This button allows you to add more slider item.
Style
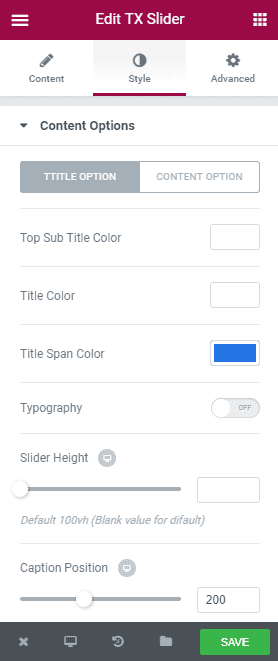
- Title Option : Allows you to customize various option for title such as Typography, Color, Height, Position etc.
- Content Option : Allows you to customize various option for title such as Typography, Background Overlay, Padding, Button Options, Control options etc.
Advanced
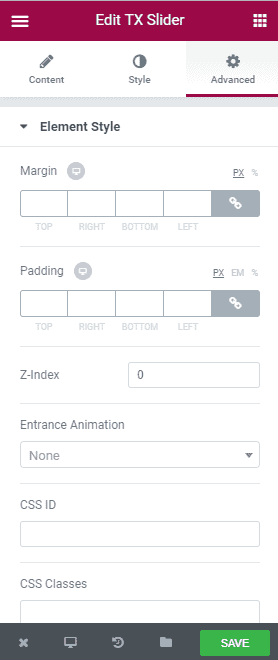
- Element Style : Control margin, padding, z-index, entrance animation and add additional id or class to apply your custom design to an element.
- Background : Control element background color, hover style and more.
- Border : Apply your custom border style configuring different options from this tab.
- Responsive : Control making this element to appear on various devices.
See our other documentation about Next Theme.

Grow rapidly with our Joomla SEO service done by the veterans
With over 12 years of business and a vast array of Joomla templates and extensions, we know Joomla SEO better than anyone you could possiblly hire.
Improve my ranking