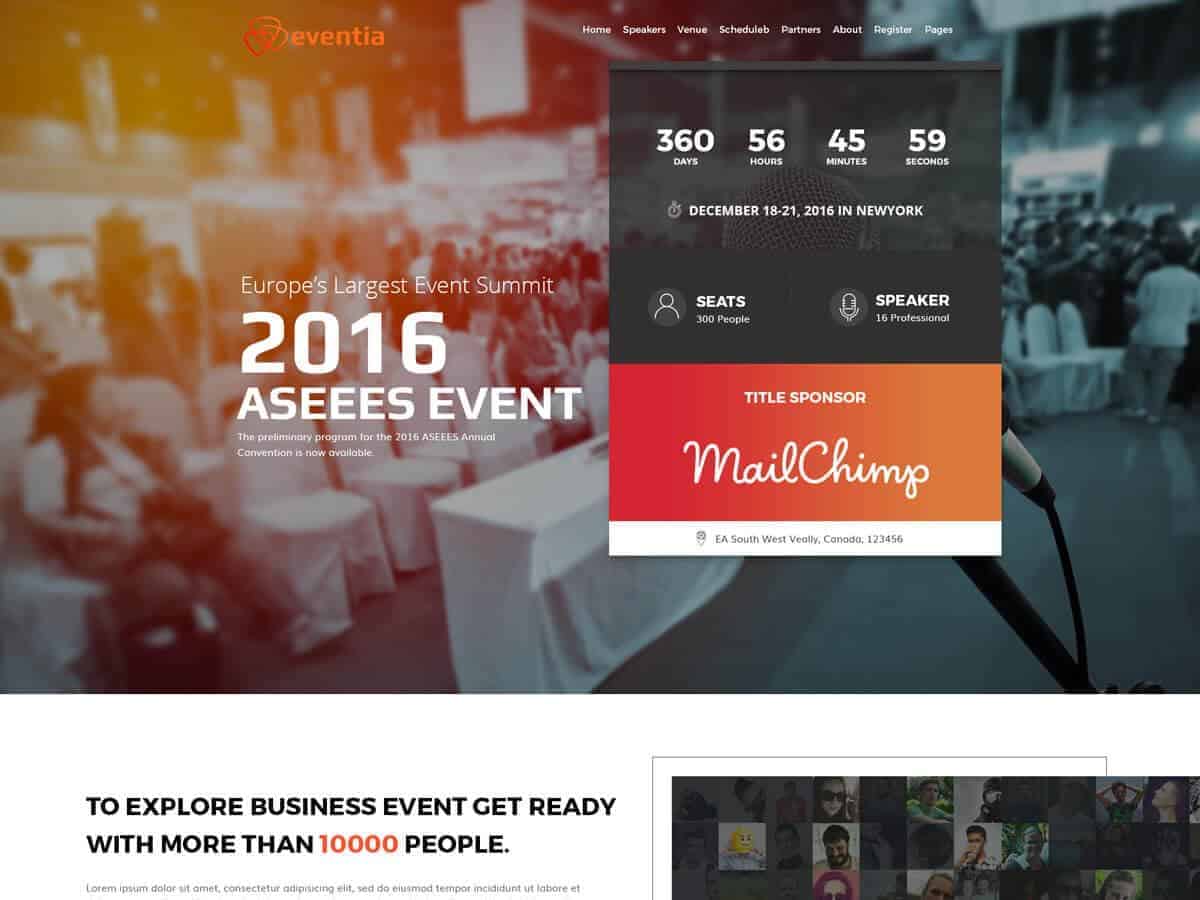
Eventia WordPress Theme
Eventia is the most advanced WordPress theme for event/conference. Eventia has four exclusive homepage and huge customization options to meet your needs. Let's discover Eventia.
Installation
Installing WordPress
To install this theme you must have a working version of WordPress already installed. If you need help installing WordPress, follow the instructions here: https://codex.wordpress.org/Installing_WordPress
Requirements
To use eventia, you must be running WordPress 3.9 or higher. We have tested it with Mac, Windows and Linux.
Downloading Eventia
Download the EventiaPackage.zip file from themeforest.net and unzip it. In this zip file you have everything you need:
Theme
In this folder you will find main theme eventia.zip and child theme eventia-child.zip The main theme zip file you need to upload to your WordPress in order to install Eventia (see below). NOTE: Do not unzip this file. Do not upload the entire EventiaPackage.zip file you get from ThemeForest, upload ONLY eventia.zip
Demo
All demo files we have used on our demo website. eventia-content-demo.xml Demo content XML file, which you can use for manual content import in WordPress. widget_data.json Default widgets used default page sidebars on our demo website. eventia-option-demo.json Default Option Panel Settings we used in our demo, which you can import from Dashboard → Eventia Options → Import/Export.
Help
Offline documentation for Eventia theme.
Installing Eventia in WordPress Admin
- Go to Appearance → Themes
- Click Add New Theme and hit upload link
- Find the the file eventia.zip on your hdd and hit install now button.
- After the theme is installed click on Activate.
Installing Plugins
In order to get Eventia properly work you need to install some useful plugins. All this plugins are included in Eventia, you don’t need to purchase them extra!
After the theme is installed successfully you will get following message about installation of required and recommended plugins:
- Click on Begin installing plugins.
- Check all plugins, select Install and click on Apply.
Required Plugins
In order to use Eventia in its full, please note, that following plugins SHOULD BE installed during the theme installation (see installation instructions above):
- Redux Framework: The option framework we used to create options panel.
- CMB2: The metabox framework we used to create metaboxes.
- Eventia Core: Native essential set of all Eventia’s features, functions, shortcodes & custom post types.
- Visual Composer: Leading visual drag’n’drop page builder for WordPress.
Recommended Plugins
- One Click Demo Import: Import demo data with one click.
- We also provided support for Contact Form 7.
Alternative: Upload Event via FTP
In case you wish install the theme via FTP, proceed as follows:
- Unzip eventia.zip
- Login to your hosting space via an FTP Client
- Upload the whole contents of the unzipped eventia.zip into wp-content/themes/ folder under your WordPress installation.
- Once you’ve uploaded the theme you can open Appearance → Themes page and activate the theme from list. After that you need to install and activate the plugins as described above.
Installing Child Theme
If you plan to modify the source code of the main parent theme (php, js, style.css) we strongly recommend to install this child theme and make such modifications inside this child theme in order to avoid any possible problems & issues by installing updates of Eventia’s main parent theme in future. You can find this child theme in Theme folder – please look for eventia-child.zip.
The installation of the child theme works in the same way as the installation of the main parent theme (see description above).
DON’T TRY TO INSTALL CHILD THEME IF THE MAIN THEME IS NOT INSTALLED – THIS WILL GIVE NO RESULT
Importing Demo Content
We added One Click Demo Import in Event. So that you don’t face any hassle while import demo data. Please follow these instructions.
- Go to Appearance → Import Demo Data.
- Then hit Import Demo Data button.
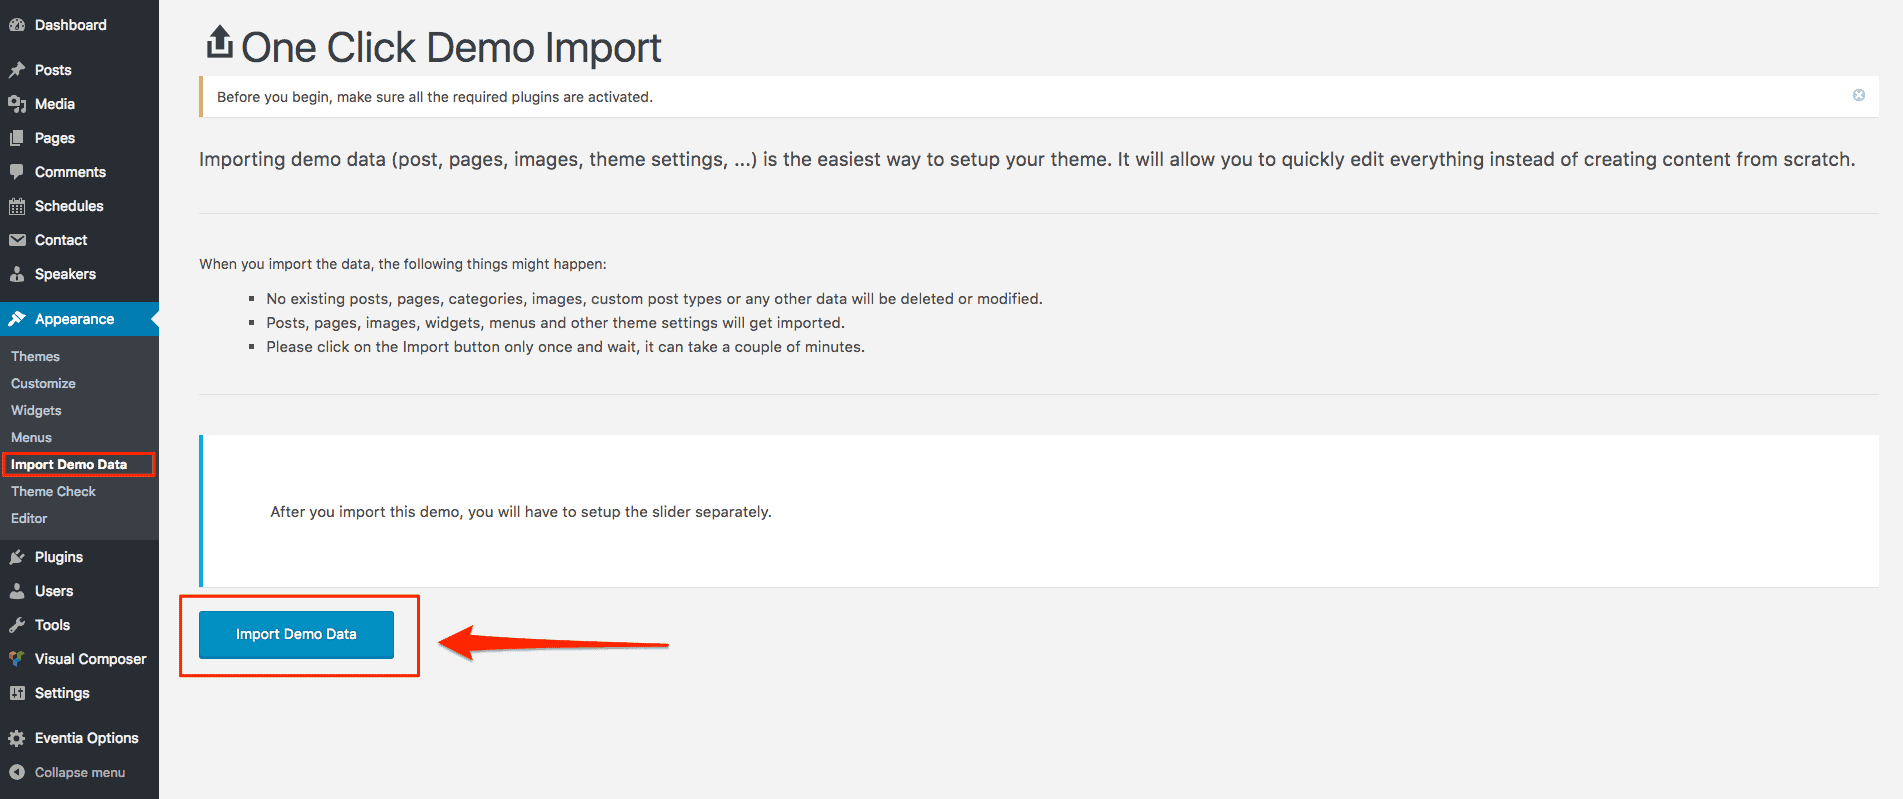
It will import demo content, widgets and option panel settings. You may need to set Menu from Appearance → Menu and Homepage from Settings → Reading. Now you are good to go.
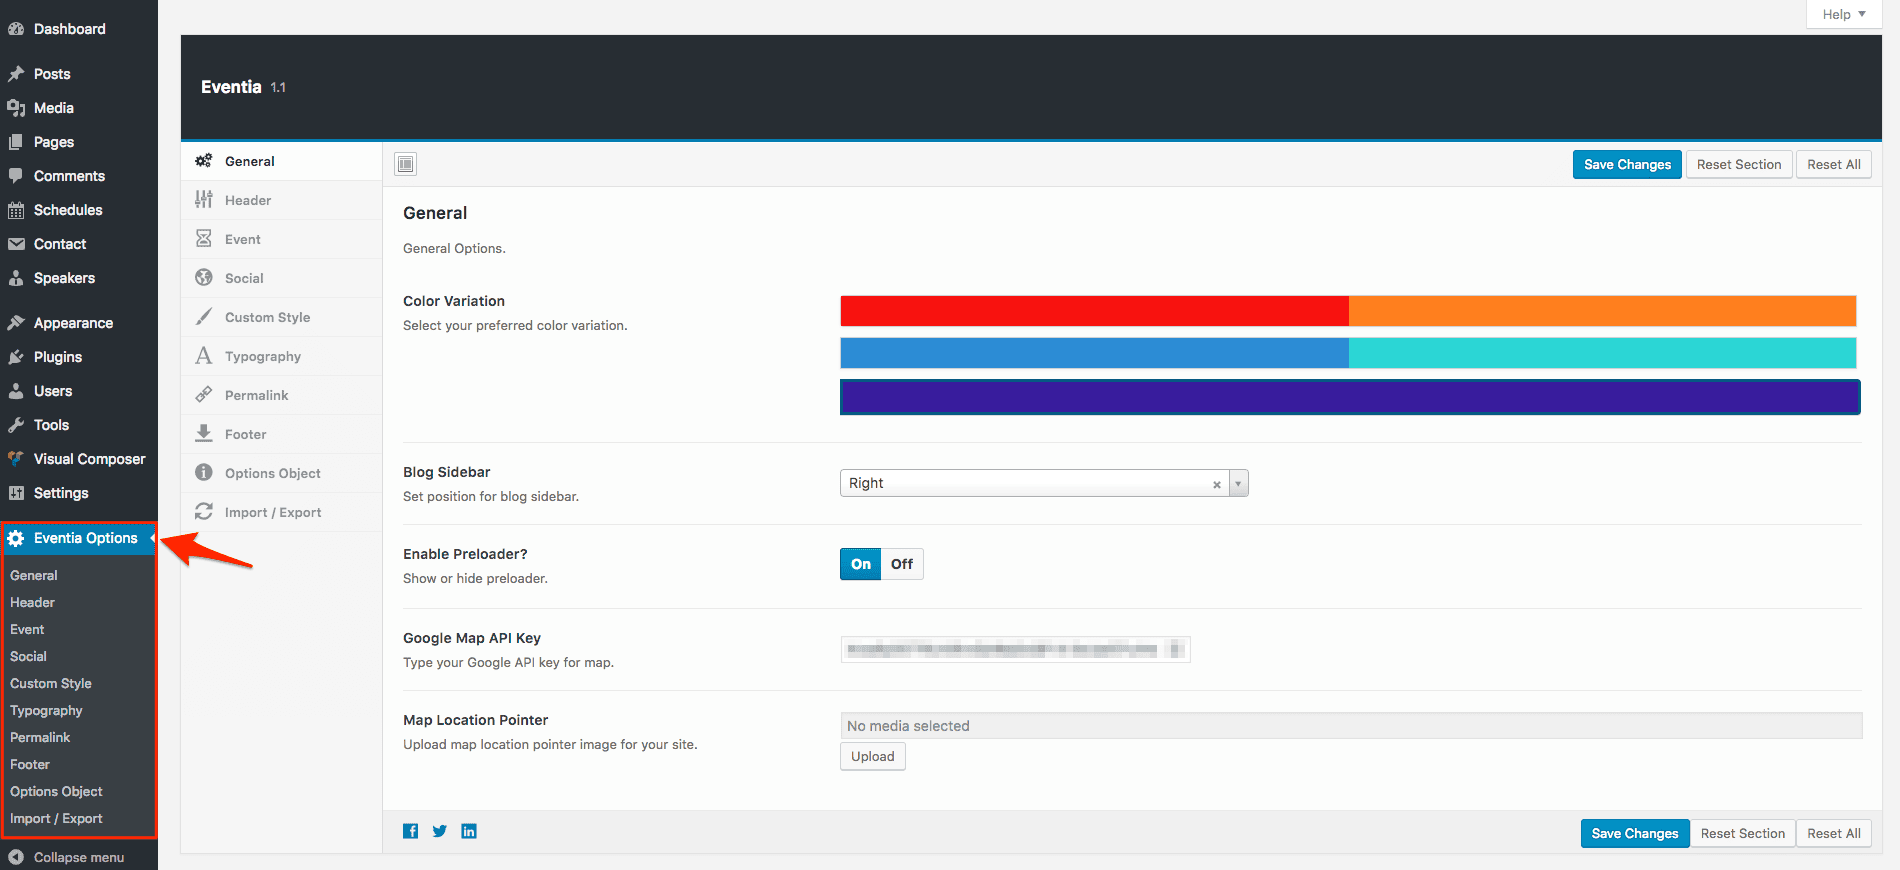
Theme Options
Eventia has an advanced admin panel for Theme Options, which gives you plenty of options and settings to customize your website. Go to Dashboard -> Eventia Options and you will get Eventia admin panel. All settings are organized in logical sections and have brief descriptions of what they do. A lot of these settings are self explanatory.
Things to Remember
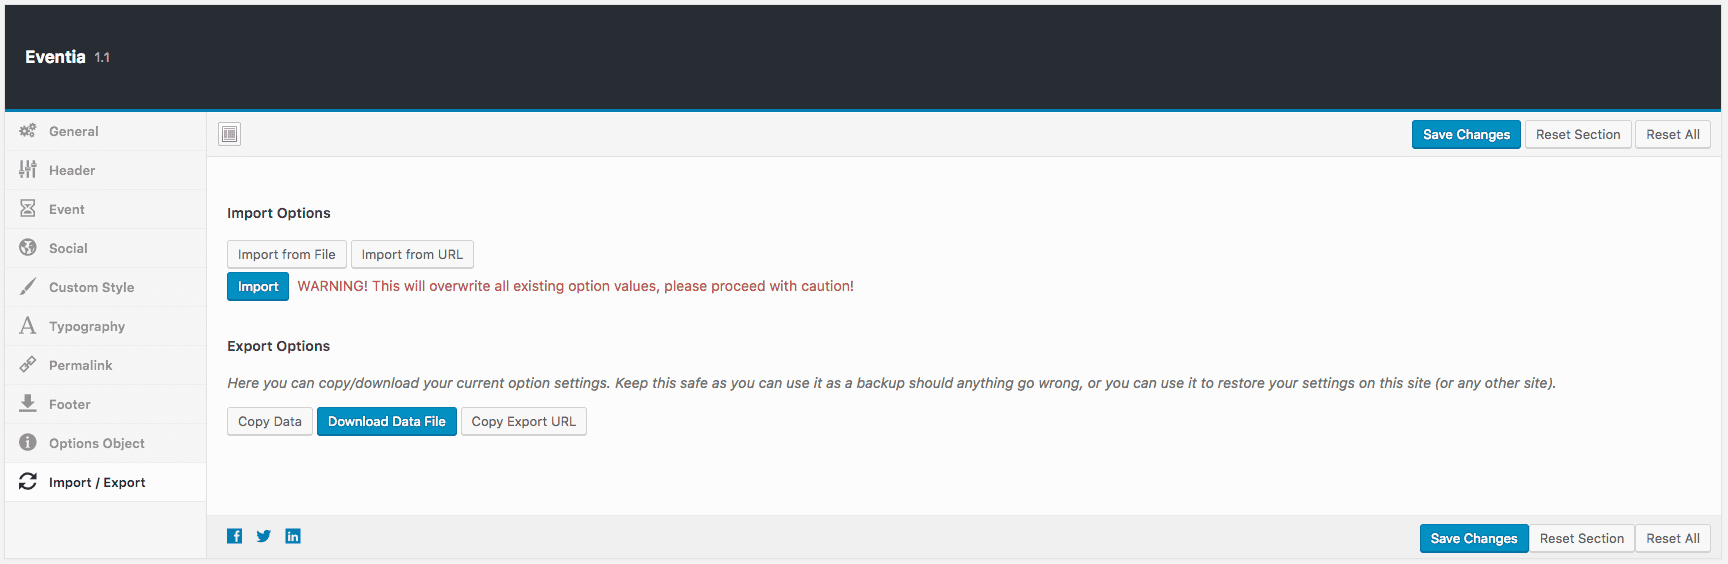
- Always click on Save Changes in order to make your settings take effect.
- By clicking on Reset Section you can reset current section you are customizing and with Reset All you can reset all your settings to the defaults.
- You can always make a backup and/or restore your settings by using Import/Export option in admin panel. So you can freely experiment with all of Eventia’s options without having fear to loose some of them.
- Please Note: in order to ensure the correct working of theme options (saving your style changes) all caching plugins you may be using on your website should be better deactivated. After you are done with your changes you can activate this caching plugins again.
General
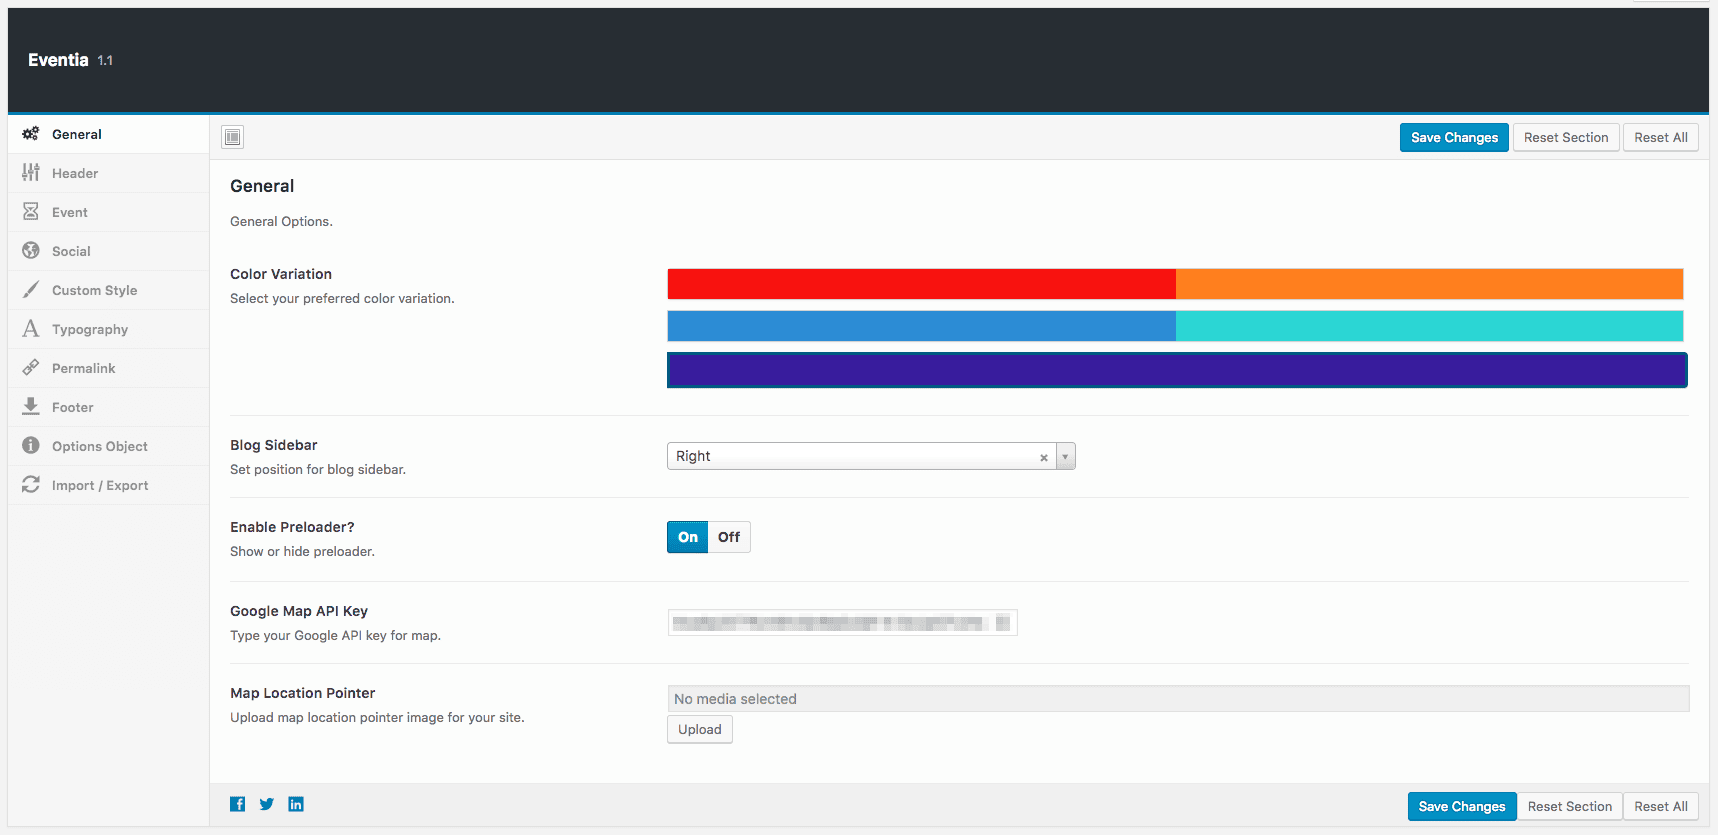
- Color Variation: We added three predefined theme color variation. Select your preferred color from here.
- Blog Sidebar: Set blog sidebar position. Available Options: Left, Right.
- Enable Preloader?: Enable or disable default site preloaded. Custom preloader adding option is coming soon.
- Google Map API Key: Set google map API key for “Styled Map” VC add-on. Go to this link and click “GET A KEY” button to generate an API key for map.
- Map Location Pointer: Upload your custom Map Location Pointer image. The image should be transparent.
Header


- Logo: Upload your site logo here.
- Header Layout: Choose site header layout. Five options available: Logo Left, Logo Right, Logo Left with CTA Button, Logo Center, Logo Left with Offcanvas.
- Social Icons: If you select “Logo Left with CTA Button” in header layout you will find this option to choose social icons in header.
- CTA Type: If you select “Logo Left with CTA Button” in header layout you will find this option to choose CTA button type. Two options available: Custom Link, Event Brite.
- CTA Button Text: If you select “Logo Left with CTA Button” in header layout you will find this option to write button text.
- CTA Button Link: If you select “Custom Link” in CTA type you will find this option to set the link for button action.
- EventBrite ID: If you select “Event Brite” in CTA type you will find this option to set Event Brite ID. This is your event url: https://www.eventbrite.com/e/eventia-wordpress-theme-tickets-31478791914 => ID is 31478791914. Event info from Event Brite will display in popup when someone click CTA button.
- Enable Sticky Menu?: Enable or disable sticky menu.
- Header Position: Set header position either Absolute or Relative for homepage. If you select Absolute, header will overlap with content like banner in homepage. If you select Relative, header will take it’s own space. You can also set background for header.
Event
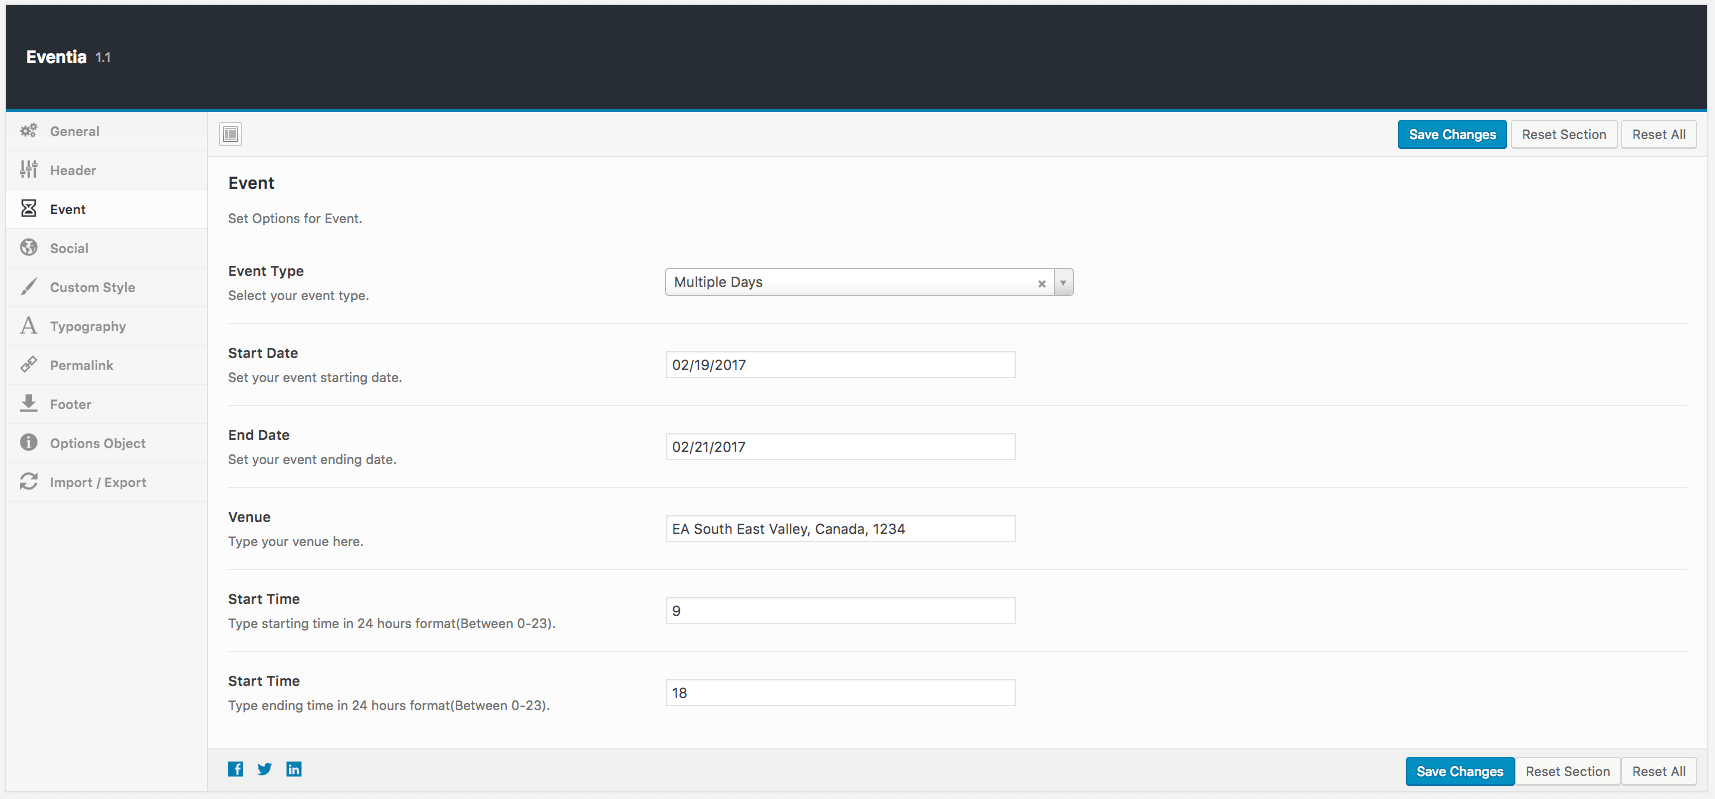
- Event Type: Select your event type, Single Day or Multiple Days.
- Event Date: If you select “Single Day” in event type you will find this option to set the event date with a date picker.
- Start Date: If you select “Multiple Days” in event type you will find this option to set starting date of your event with a date picker.
- End Date: If you select “Multiple Days” in event type you will find this option to set ending date of your event with a date picker.
- Venue: Write your event venue address to show in Countdown Add-on.
- Start Time: Set starting time of your event in 24 hours format(Between 0-23).
- End Time: Set ending time of your event in 24 hours format(Between 0-23).
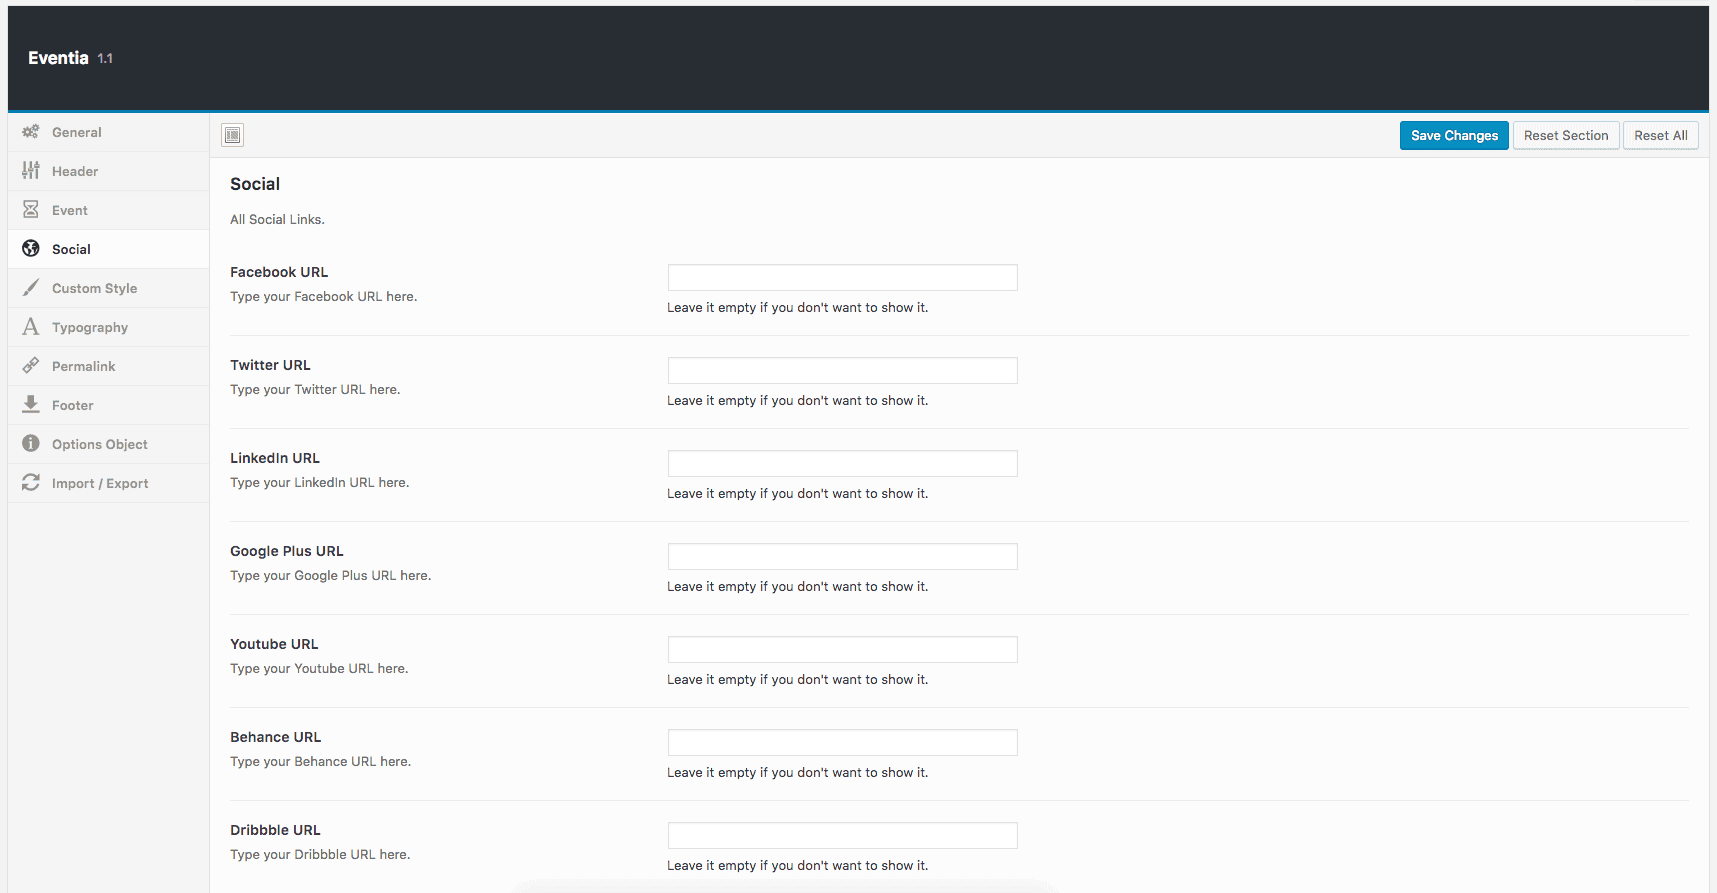
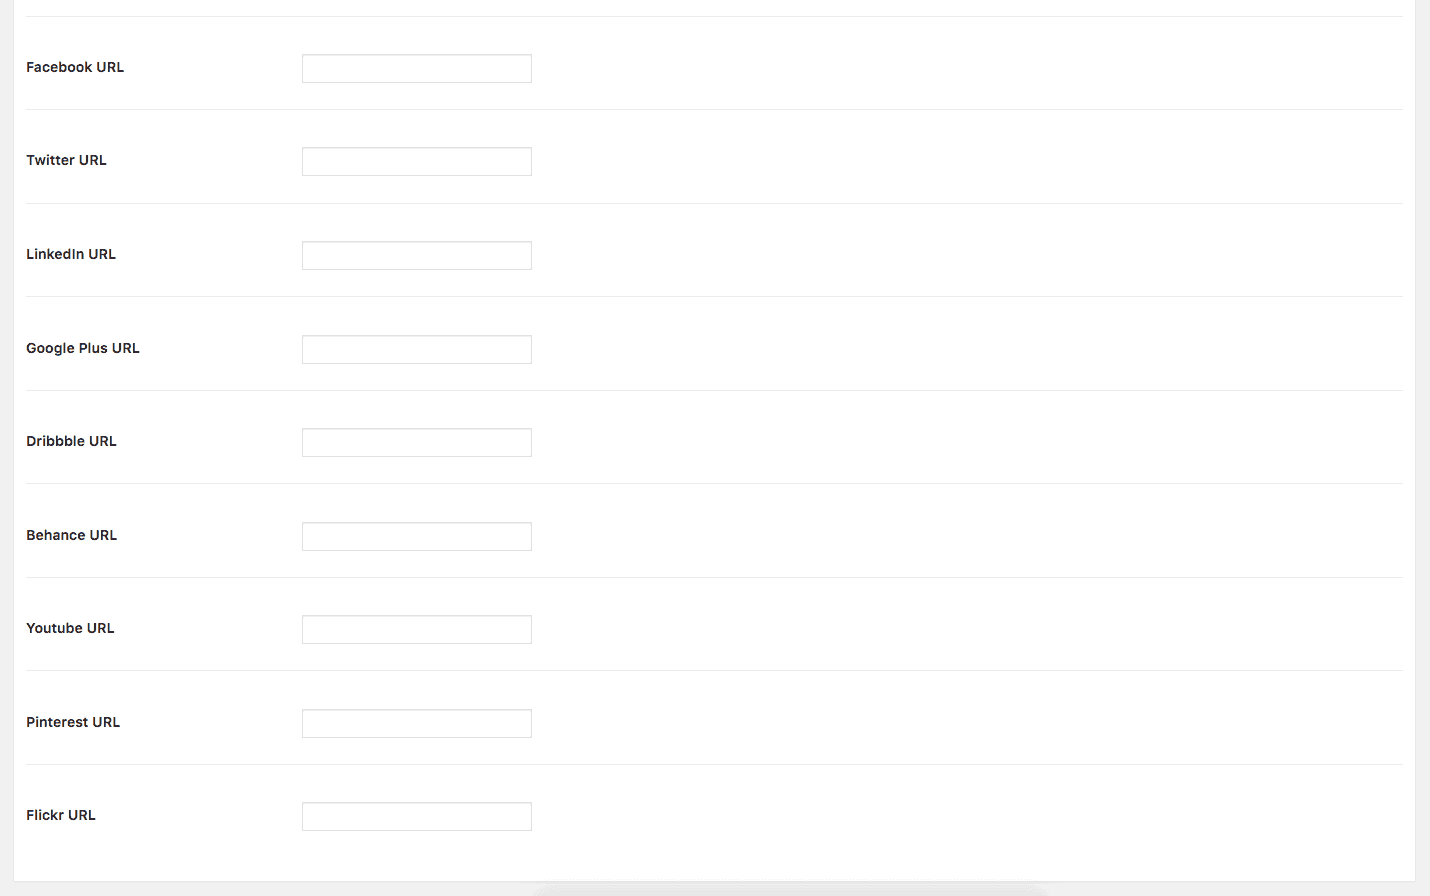
Social
You will find text boxes to write all available social links. Just write link of social media in their particular field you want to display. If you don’t write link in any field that icon won’t display in the site.

Custom Style
We provided extensive customization options in this tab.
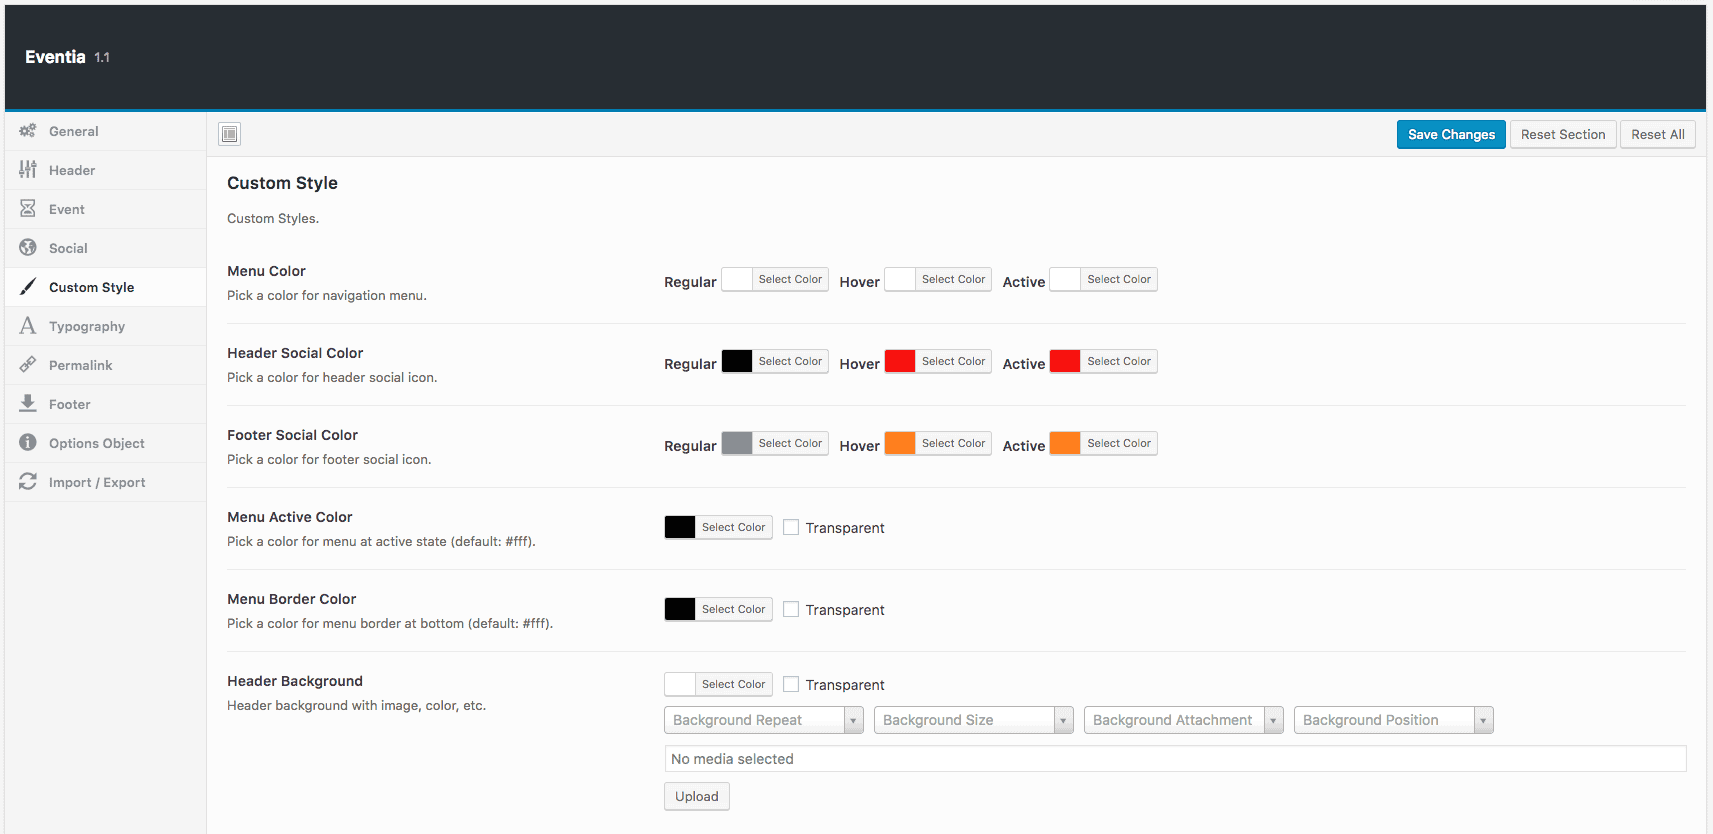
- Menu Color: If you don’t like default menu color, you can change Menu Color from here including Regular, Hover and Active state.
- Header Social Color: Change default Social icon color of header including Regular, Hover and Active state.
- Footer Social Color: Change default Social icon color of footer including Regular, Hover and Active state.
- Menu Active Color: Change color of active menu item if you don’t like the default.
- Menu Border Color: Change menu bottom border color which you can see on active and hover.
- Header Background: Set custom background in header. You can set color or image.
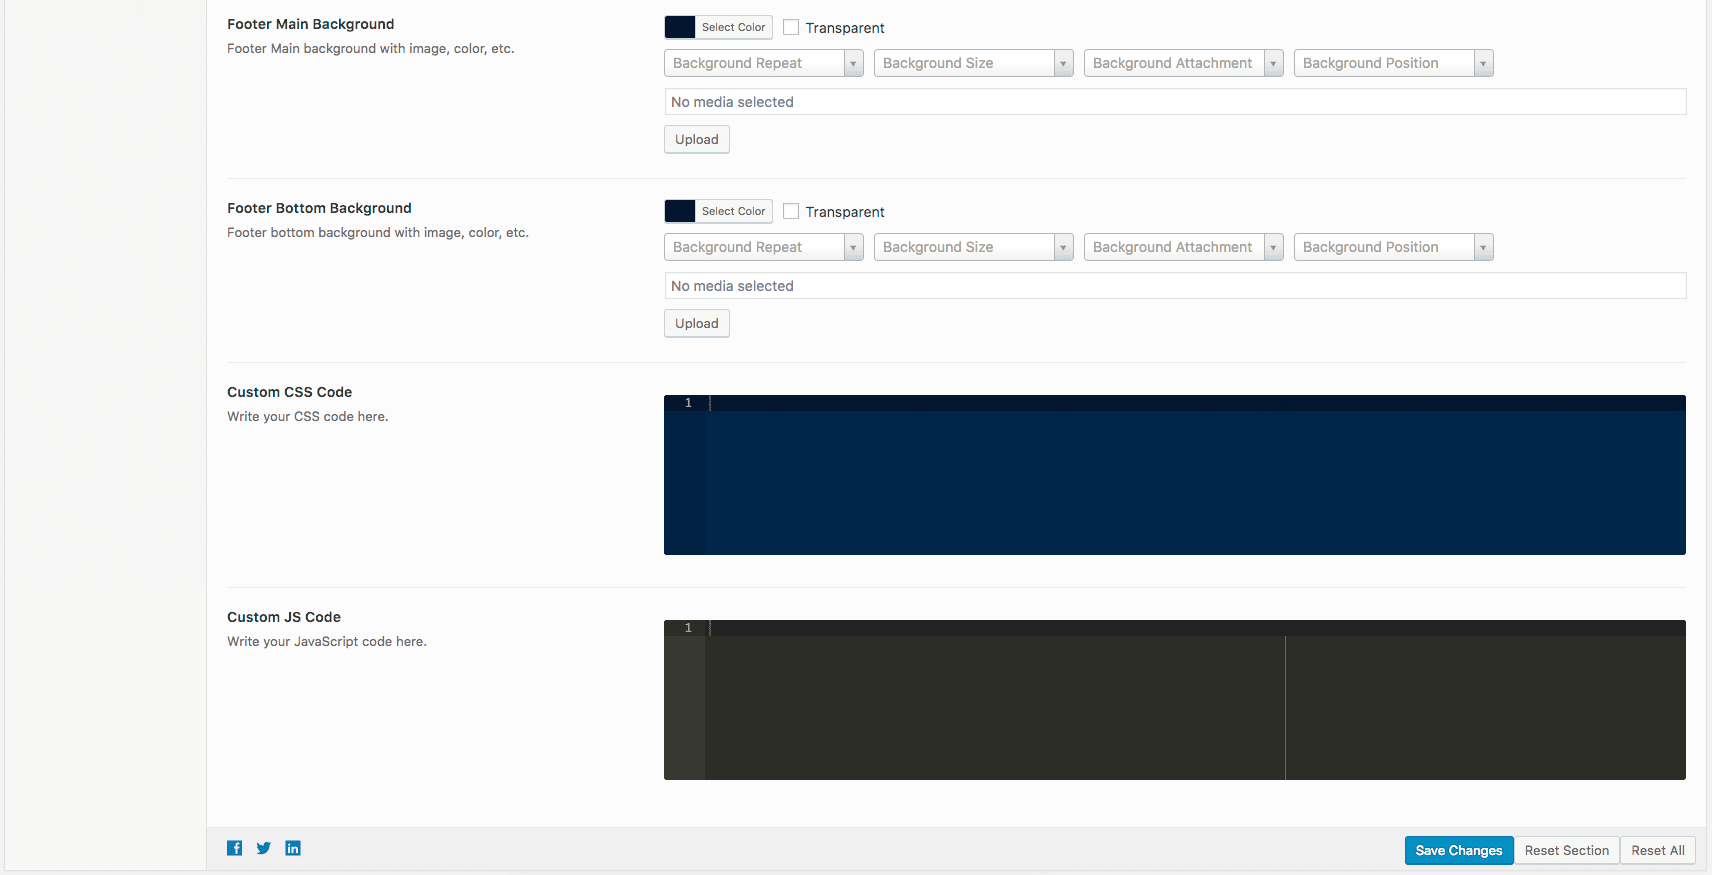
- Footer Main Background: Set custom background in footer main area. You can set color or image.
- Footer Bottom Background: Set custom background in footer bottom area. You can set color or image.
- Custom CSS Code: Write your custom CSS code here.
- Custom JS Code: Write your custom JavaScript code here. If you want to use jQuery, please write “jQuery” instead of “$” sign.
Typography
We provided extensive typography customization options in this tab.
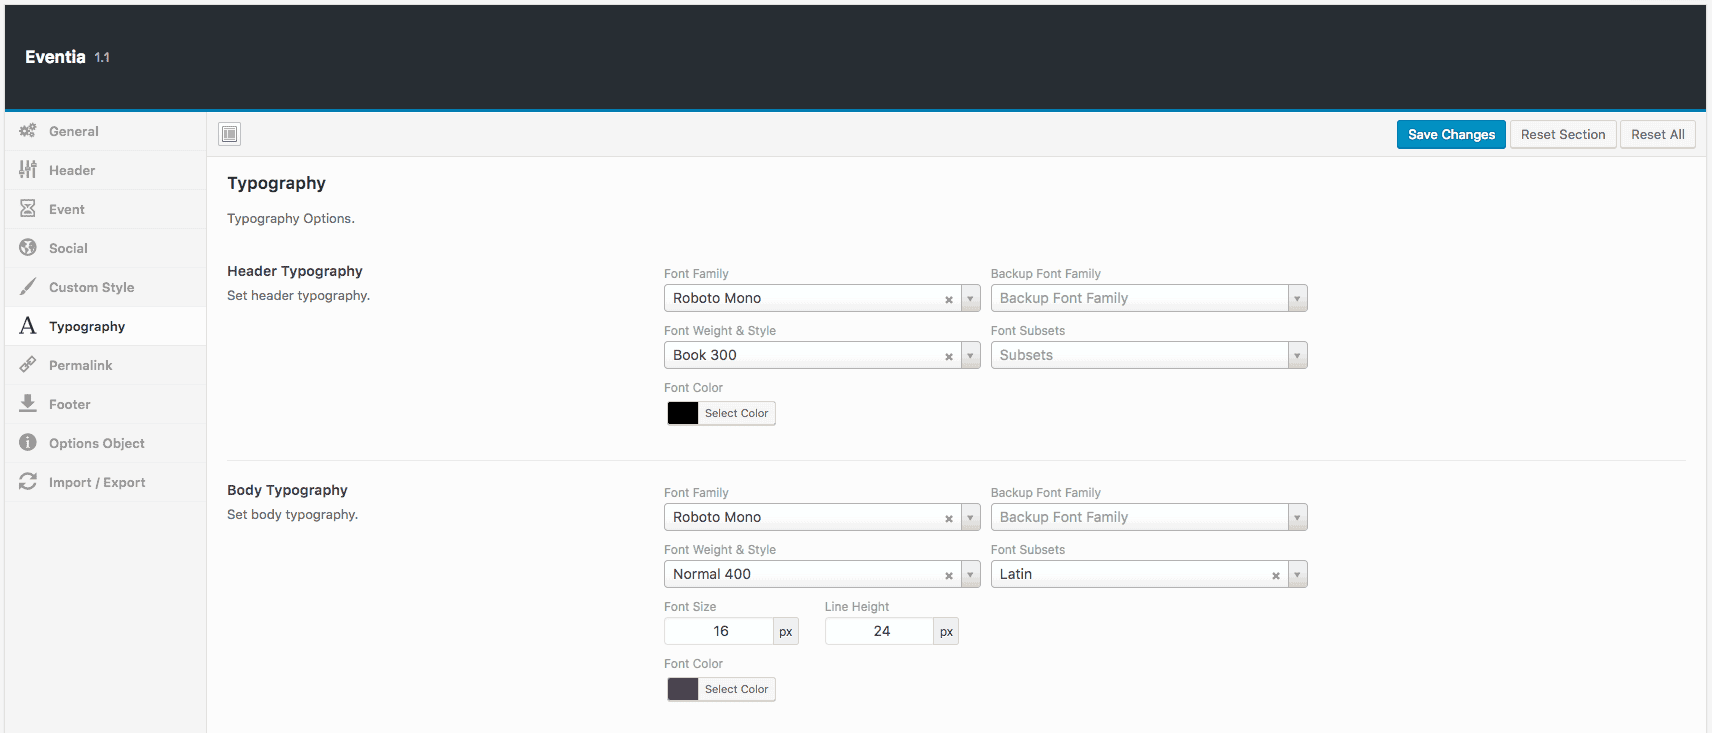
- Header Typography: Set your own typography for header (h1, h2, h3, h4, h5, h6). You can use any Font Family from google fonts. You can also set Font Weight and Font Color.
- Body Typography: Set your own typography for site (css rule will apply to ‘body’). You can use any Font Family from google fonts. You can also set Font Weight, Font Color, Font Size and Line Height.
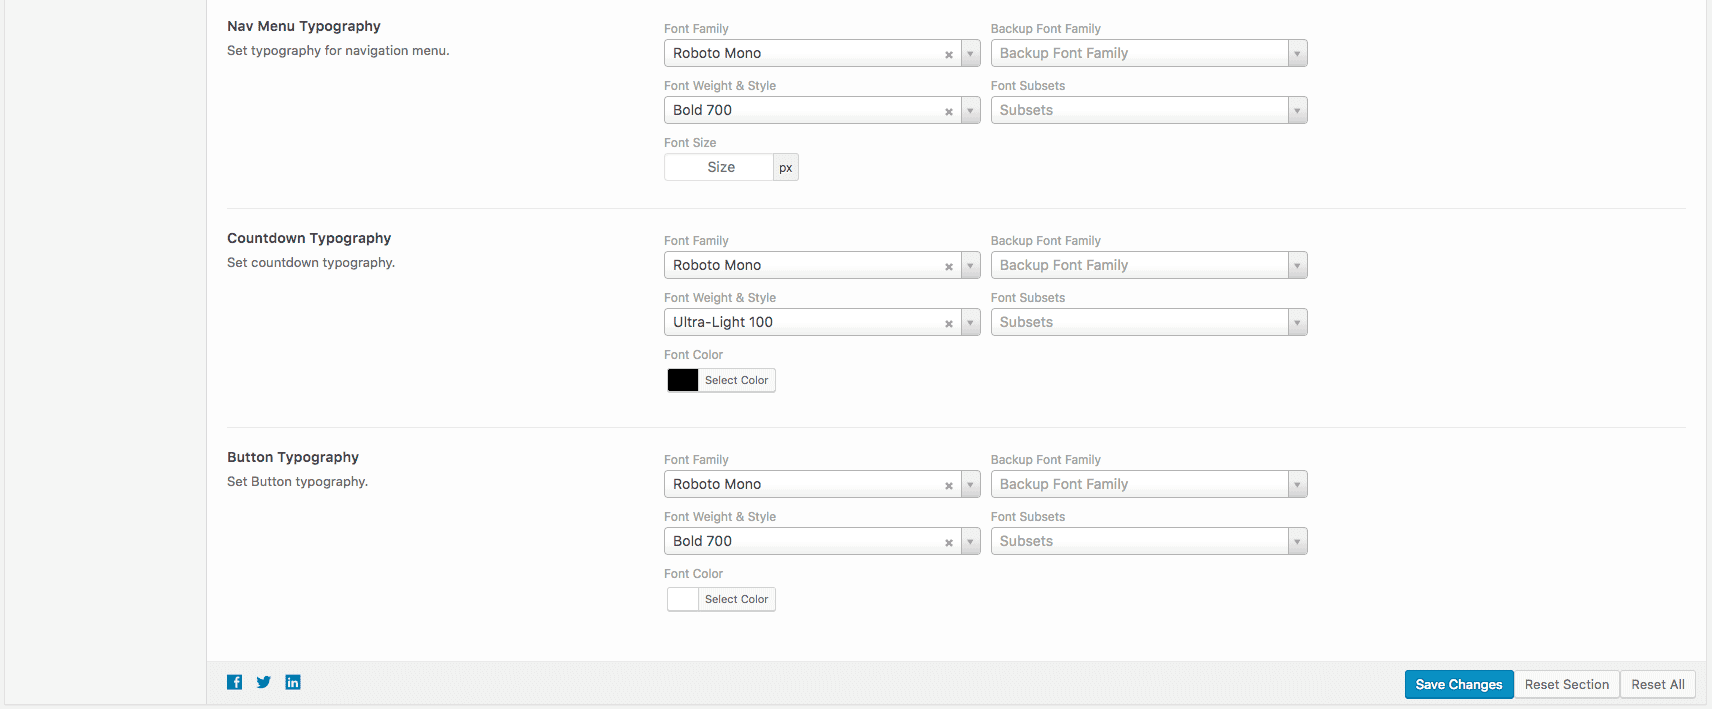
- Nav Menu Typography: Set your own typography for menu. You can use any Font Family from google fonts. You can also set Font Weight and Font Size.
- Countdown Typography: Set your own typography for event countdown. You can use any Font Family from google fonts. You can also set Font Weight and Font Color.
- Button Typography: Set your own typography for button. You can use any Font Family from google fonts. You can also set Font Weight and Font Color.
Permalink
You can change default permalink structure of “Schedule” and “Speaker” custom post type.
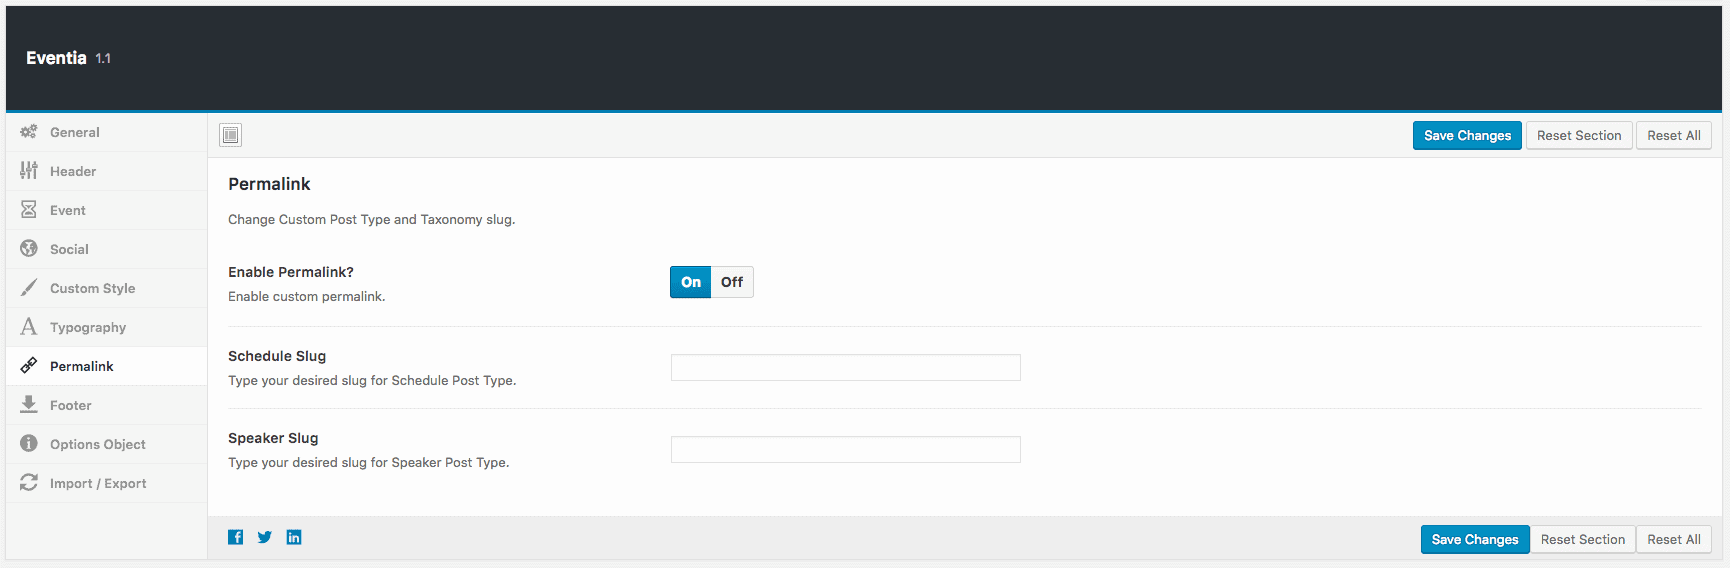
- Enable Permalink?: Turn it on if you want to change custom post type permalink. If you don’t, we recommend not to turn it on.
- Schedule Slug: If you turned on “Enable Permalink?” then you will find this. You can change “Schedule” post type slug from here. Just write your desired slug. Keep it unique so that it does not conflict with any page or post slug.
- Speaker Slug: If you turned on “Enable Permalink?” then you will find this. You can change “Speaker” post type slug from here. Just write your desired slug. Keep it unique so that it does not conflict with any page or post slug.
Footer
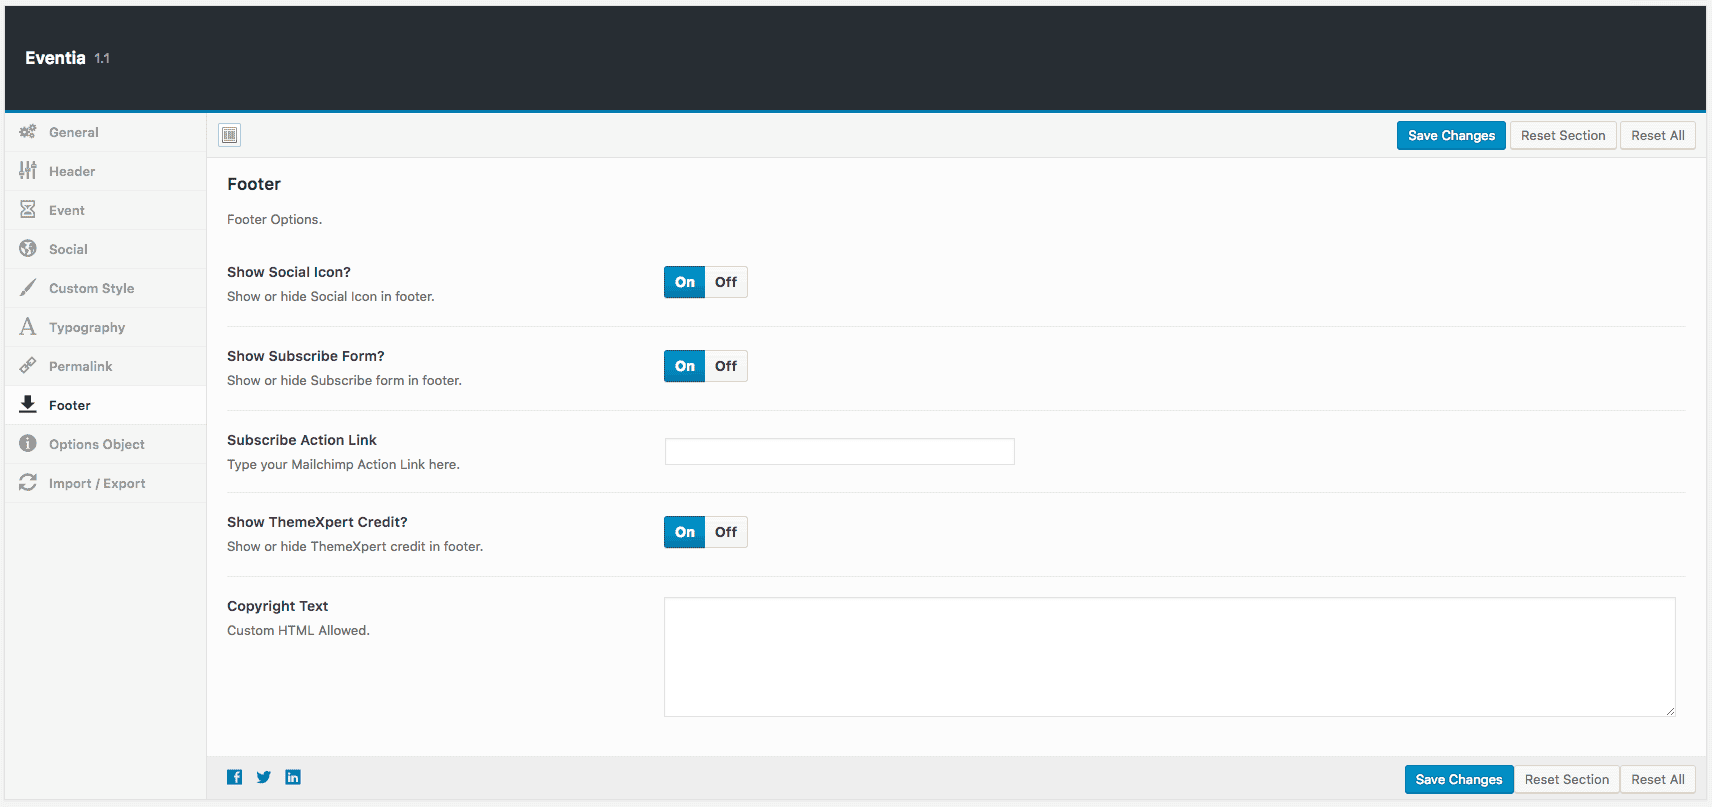
- Show Social Icon?: Turn it on if you want to display social icons in footer main area. You can set social icon link in “Social” tab.
- Show Subscribe Form?: Turn it on if you want to display MailChimp subscribe form in footer main area.
- Subscribe Action Link: If you turned on “Show Subscribe Form?” then you can see this. You can set MailChimp subscribe form action link.
- Show ThemeXpert Credit?: Turn it on if you want to display our credit in Footer Bottom area. Otherwise turn it off.
- Copyright Text: Write copyright text of your site. It will show in footer bottom area. You can use a custom html tag.
Import / Export
You can always make a backup and/or restore your settings here. So you can freely experiment with all of Eventia’s options without having fear to loose some of them.
Page
When you create a page you will see some options for that specific page like header background, page title etc.
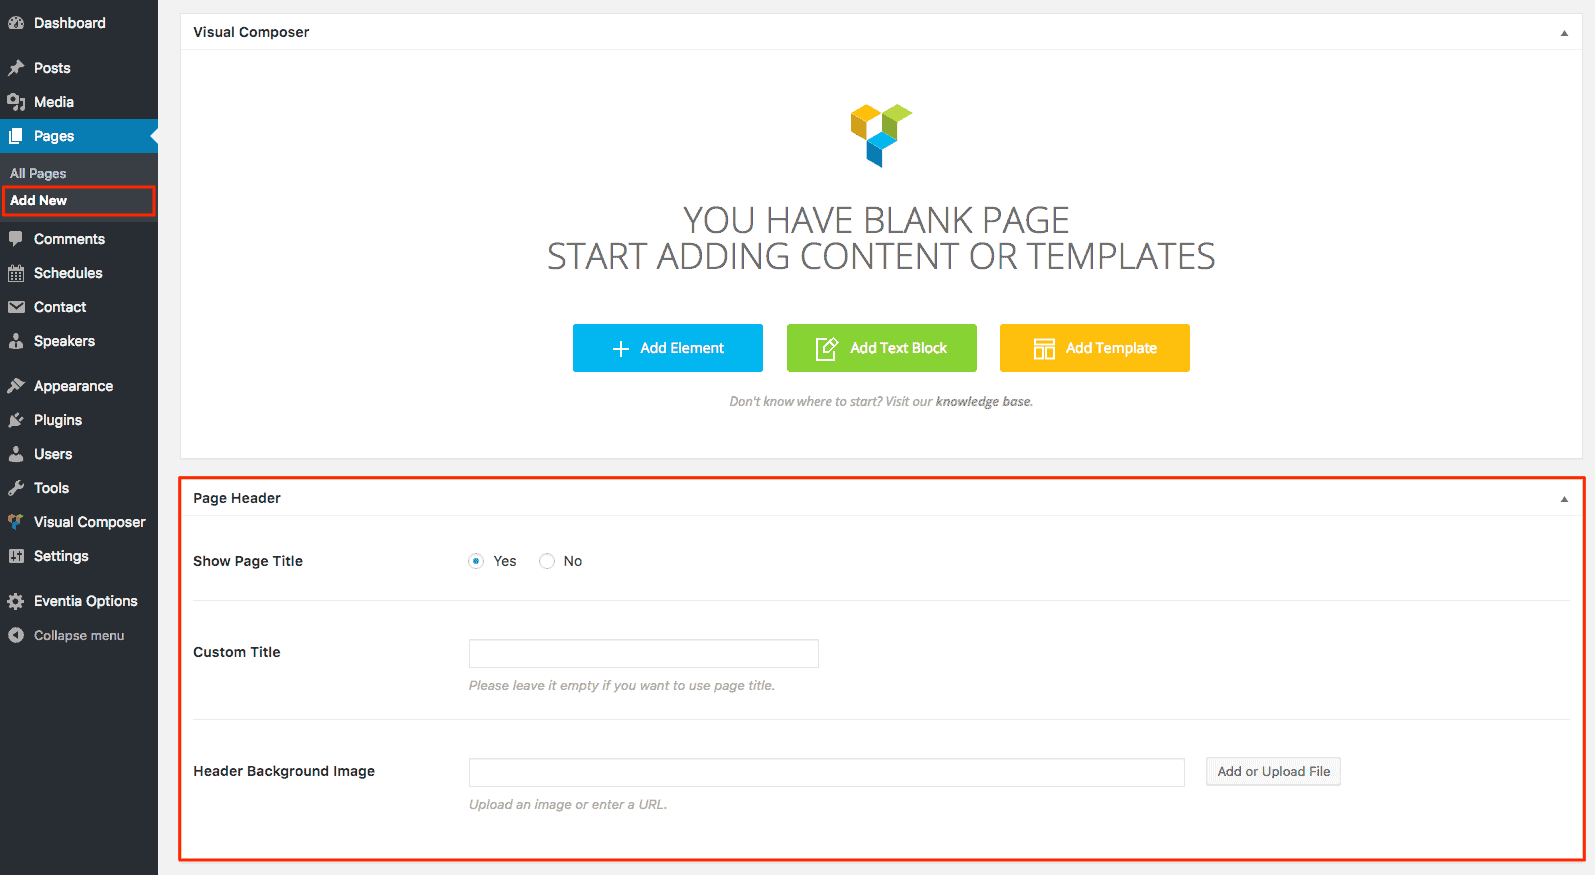
- Show Page Title: Suppose you don’t want to display page title for a specific page. Just select “No” from here when you create a page.
- Custom Title: If you want to display a custom page title rather than default page title. Just write your custom page title here. It will override default page title.
- Header Background Image: You can set header background image from here.
Speakers
Create speaker from Dashboard -> Speakers. All fields are self explanatory.

Schedules
Creating Schedule might be tricky. But don’t worry. We will guide you. You have to create a schedule for each day for your event. Suppose your event is 3 days long. So you will create 3 schedules. In schedule, you will create your sessions for that day with repeatable fields.

- Session Name: Write session name from here.
- Description: Write some description for this session like what is this session about.
- Date: This is optional field. Set the date of that day.
- Starting Time: Set starting time of this session.
- Ending Time: Set ending time of this session.
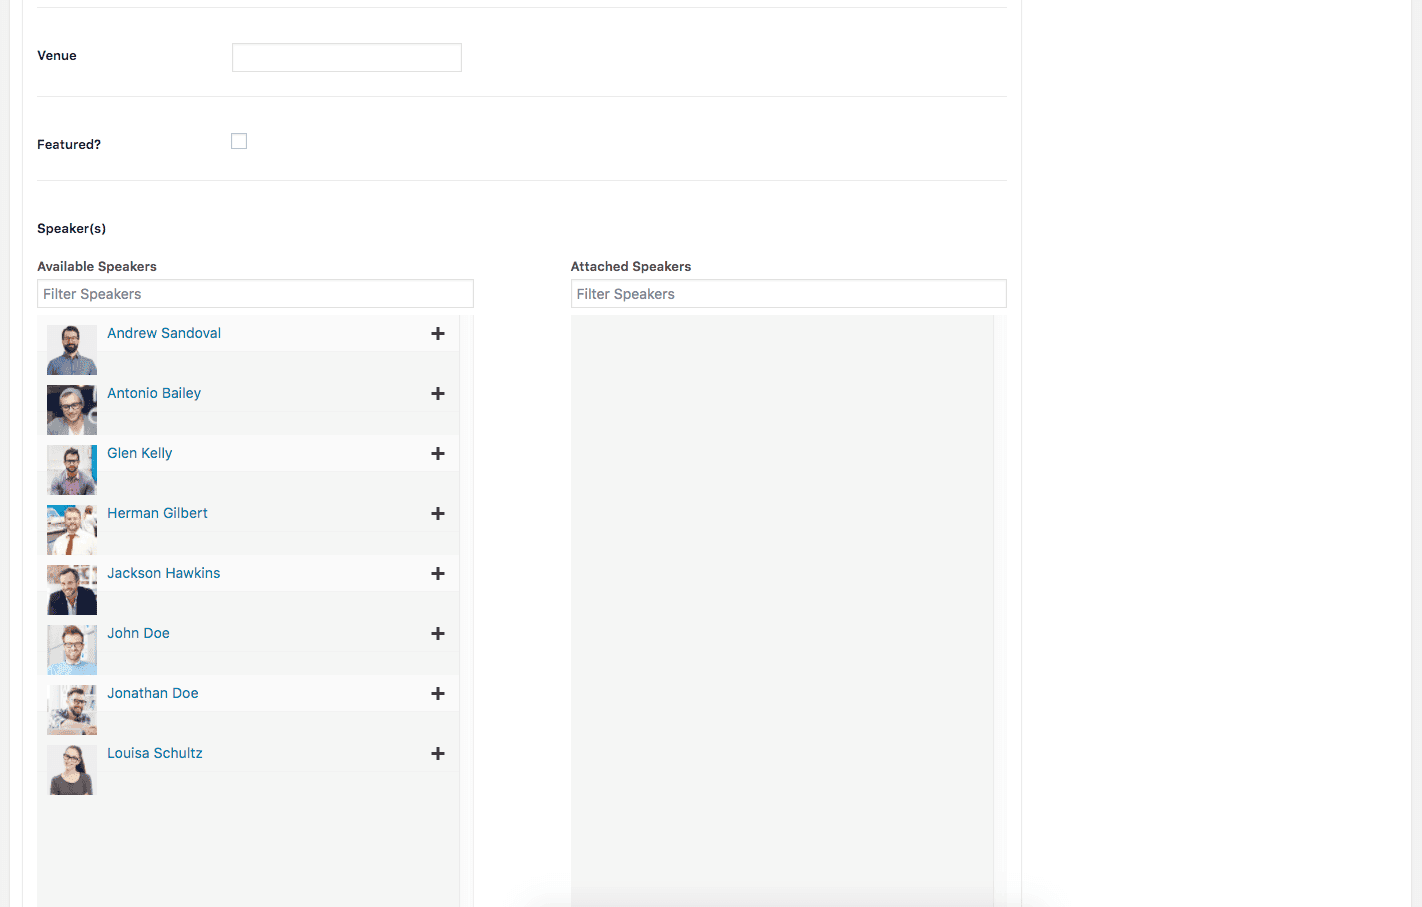
- Venue: You might have multiple session at same time. So write venue of this session here like Hall A, Hall B etc.
- Featured?: Check this field if this session is keynote or featured.
- Speakers: Just click the “+” sign of speaker you want to set for this session. You can create speaker from Dashboard -> Speakers.
- Add Another Entry: Click this button to add another session entry.
Elements / Shortcodes
Visual Composer
Visual Composer is the best drag’n’drop visual editor for building pages, posts etc. in WordPress. If you are not familiar with Visual Composer, we would recommend to take a look at following videos:
Getting Started with Visual Composer Getting Started With Visual Composer - YouTube
Cloning Elements How to Clone Elements with Visual Composer for WordPress - YouTube
Rows & Columns How to Add Row and Column with Visual Composer for WordPress - YouTube
Create & Re-use Templates How to Use Templates in Visual Composer - YouTube How to save separate row or section as a template - YouTube
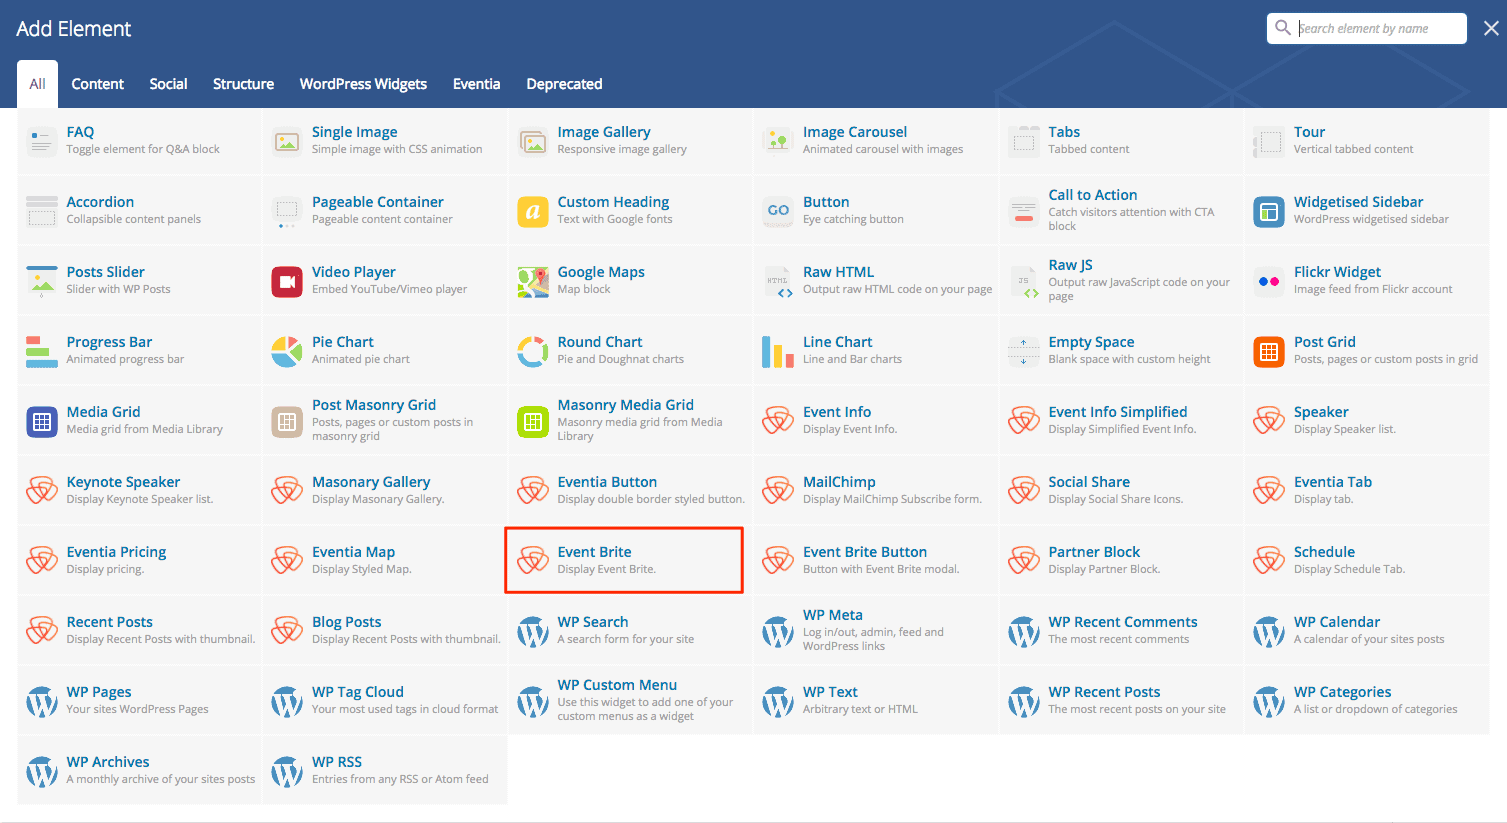
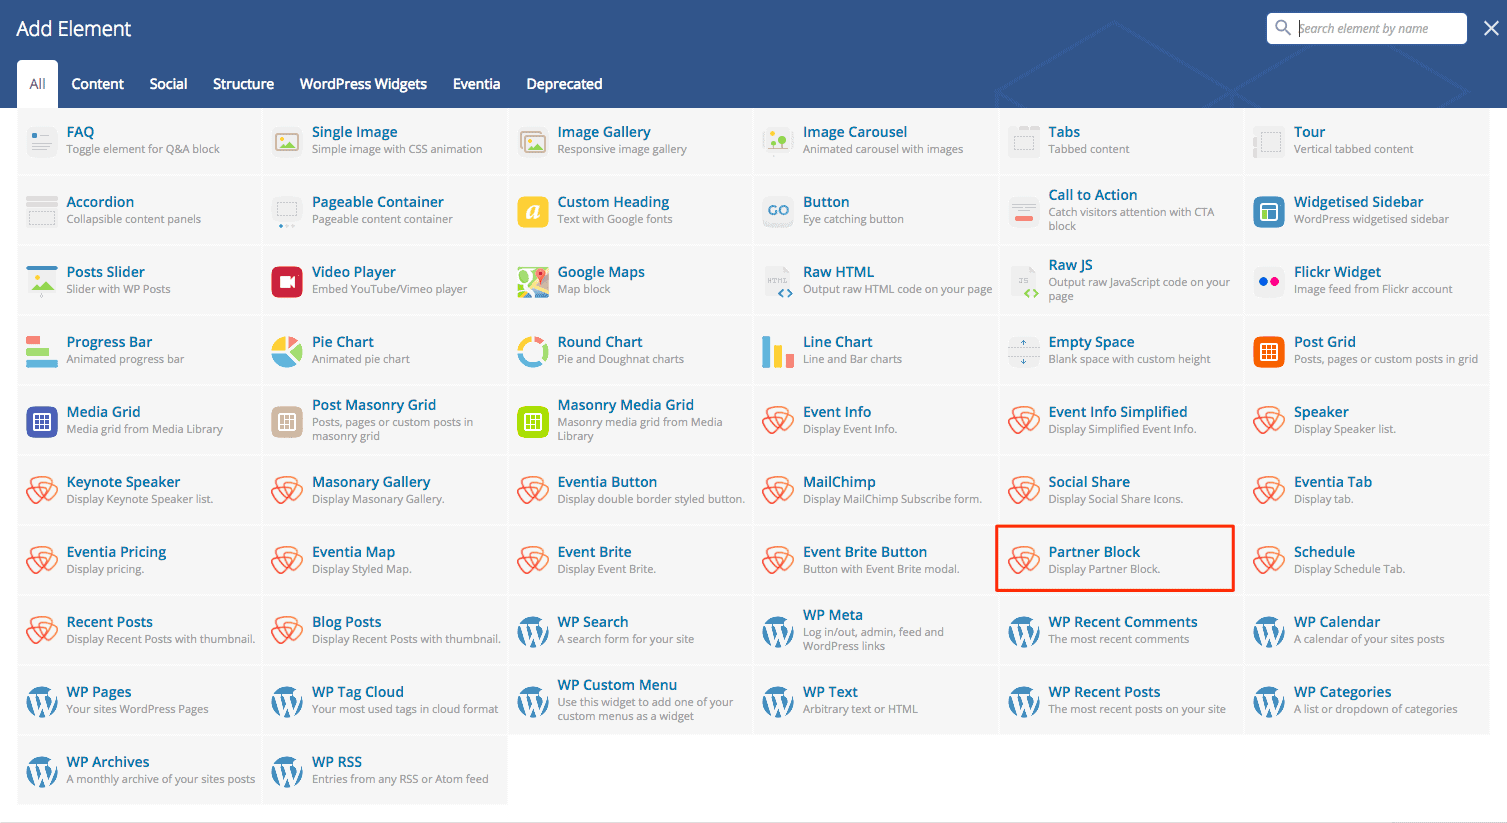
Please note, all Eventia elements you will find in tab “Eventia” in Visual Composer:
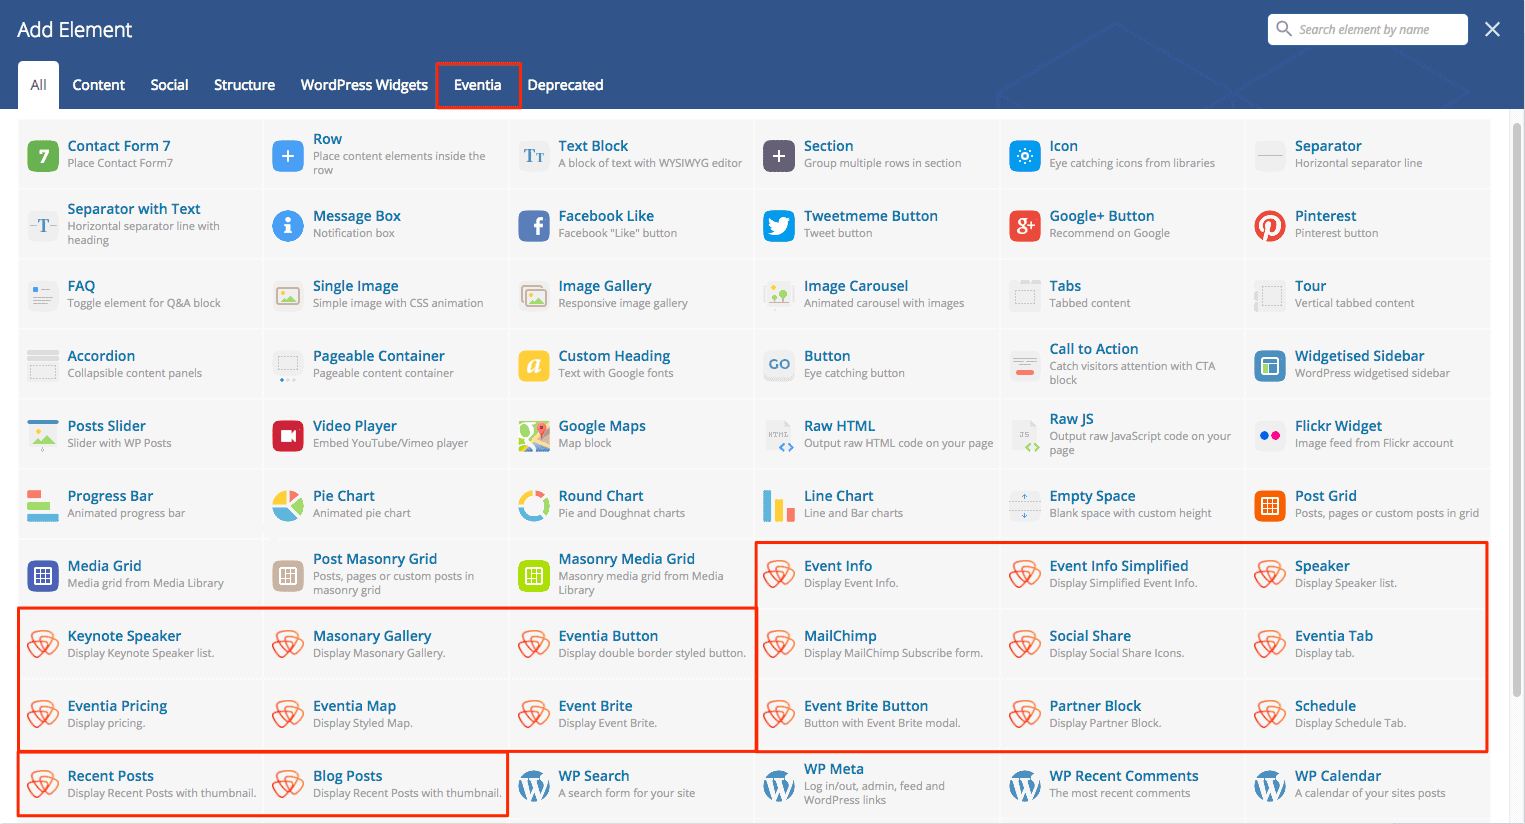
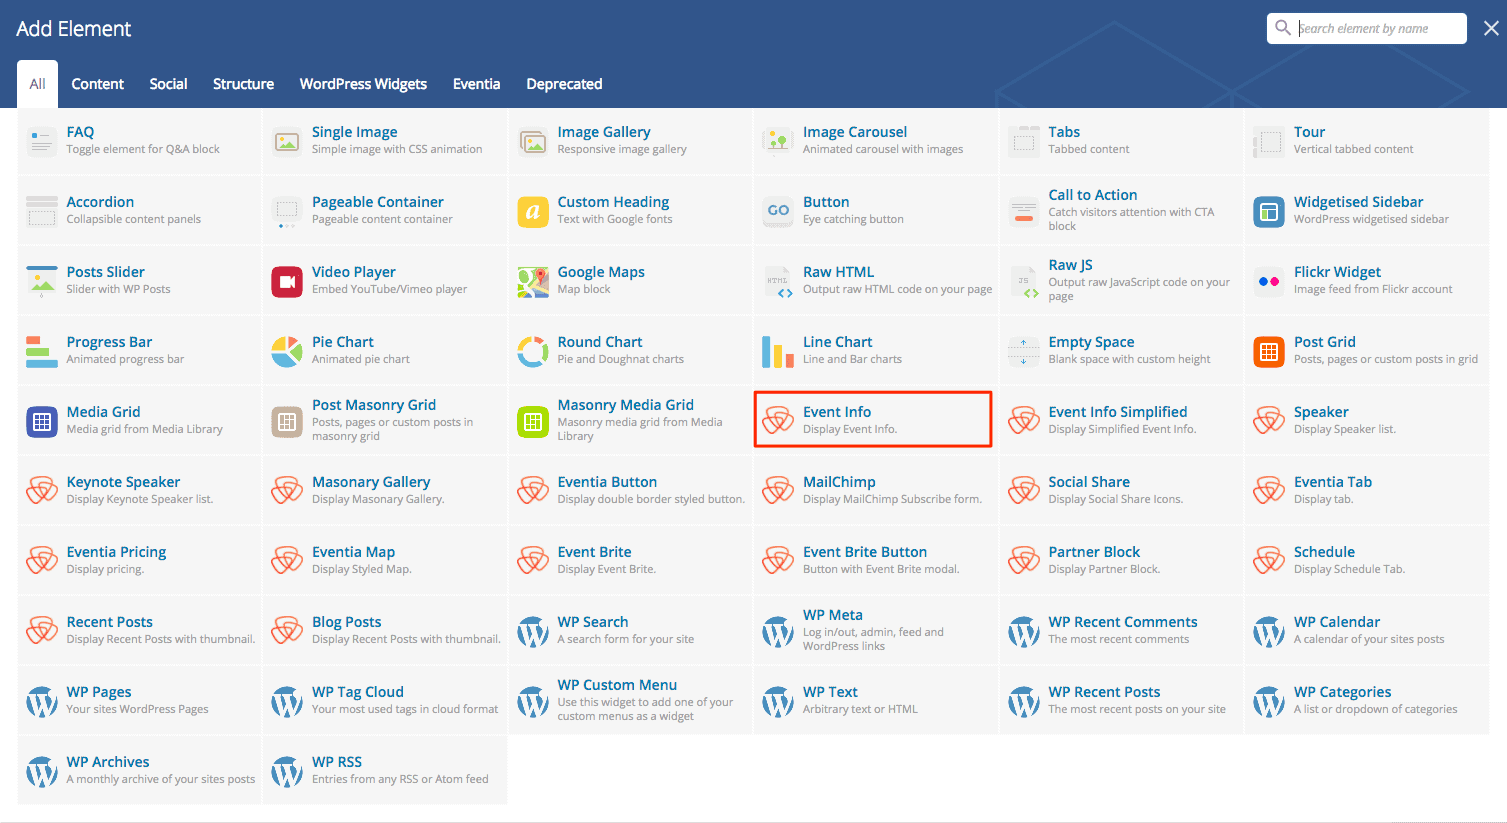
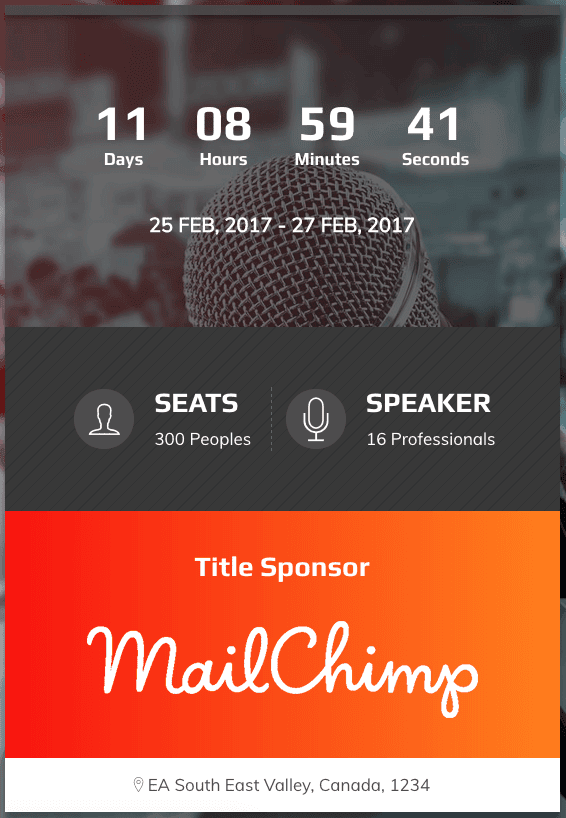
Event Info
Display some key information about event including countdown and title sponsor. We added two styles for displaying event information. Before that please set date and venue related information from Dashboard -> Eventia Options -> Event.
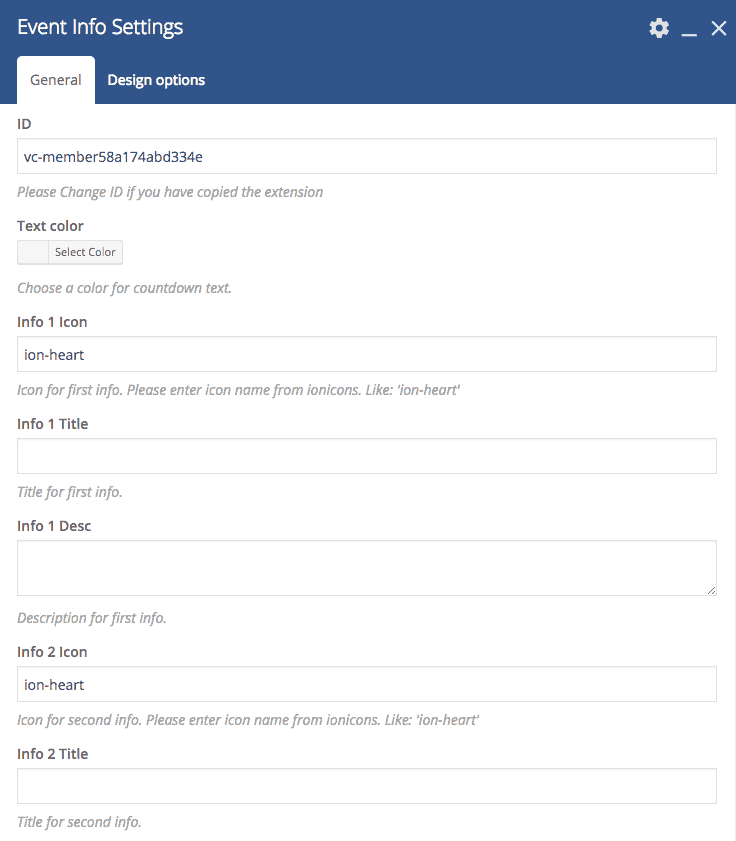
- ID: Unique ID for countdown. It is required and automatically generated when you insert it. But if you clone this element from another then change the ID. Countdown will automatically display from the date you set in Dashboard -> Eventia Options -> Event.
- Text Color: If you do not like default countdown text color you can set a color for countdown text.
- Info 1 Icon: You can display two main info about event. You can see our demo, we showed “Seats” and “Speaker” as key info. This option is for setting icon for Info 1. You can use Font Awesome or Ionicons. But we recommend to use Ionicons. Just go to their site ( Ionicons ). Click on your desired icon and copy the icon class name. Then paste that class name here.
- Info 1 Title: Write title for info 1.
- Info 1 Desc: Write a short description of Info 1.
- Info 2 Icon: Same as Info 1 Icon.
- Info 2 Title: Same as Info 1 Title.
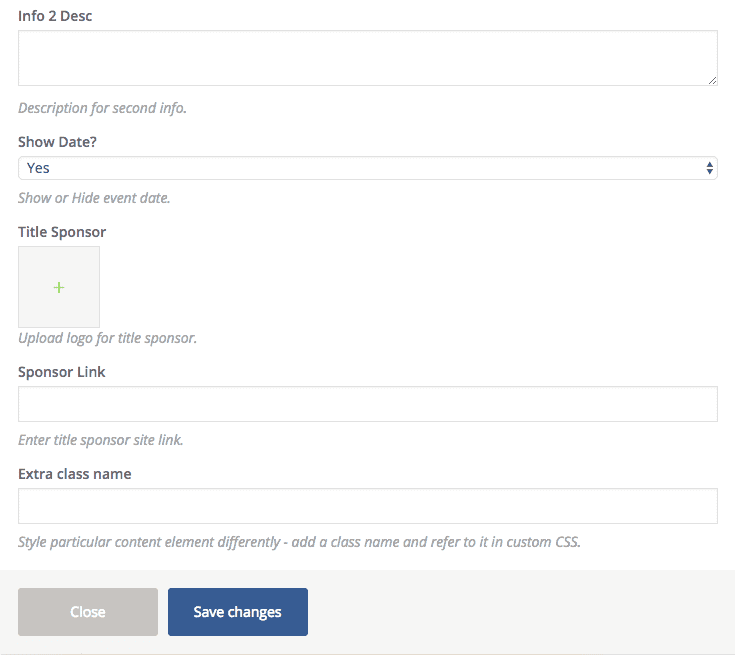
- Info 2 Desc: Same as Info 1 Desc.
- Show Date?: Show or Hide event date under countdown.
- Title Sponsor: Upload title sponsor’s logo from here.
- Sponsor Link: Set the title sponsor’s website link where someone will go when he/she click on sponsor’s logo.
- Extra class name: You can write extra CSS class name here. You will need it if you want to customize event info with your own css.
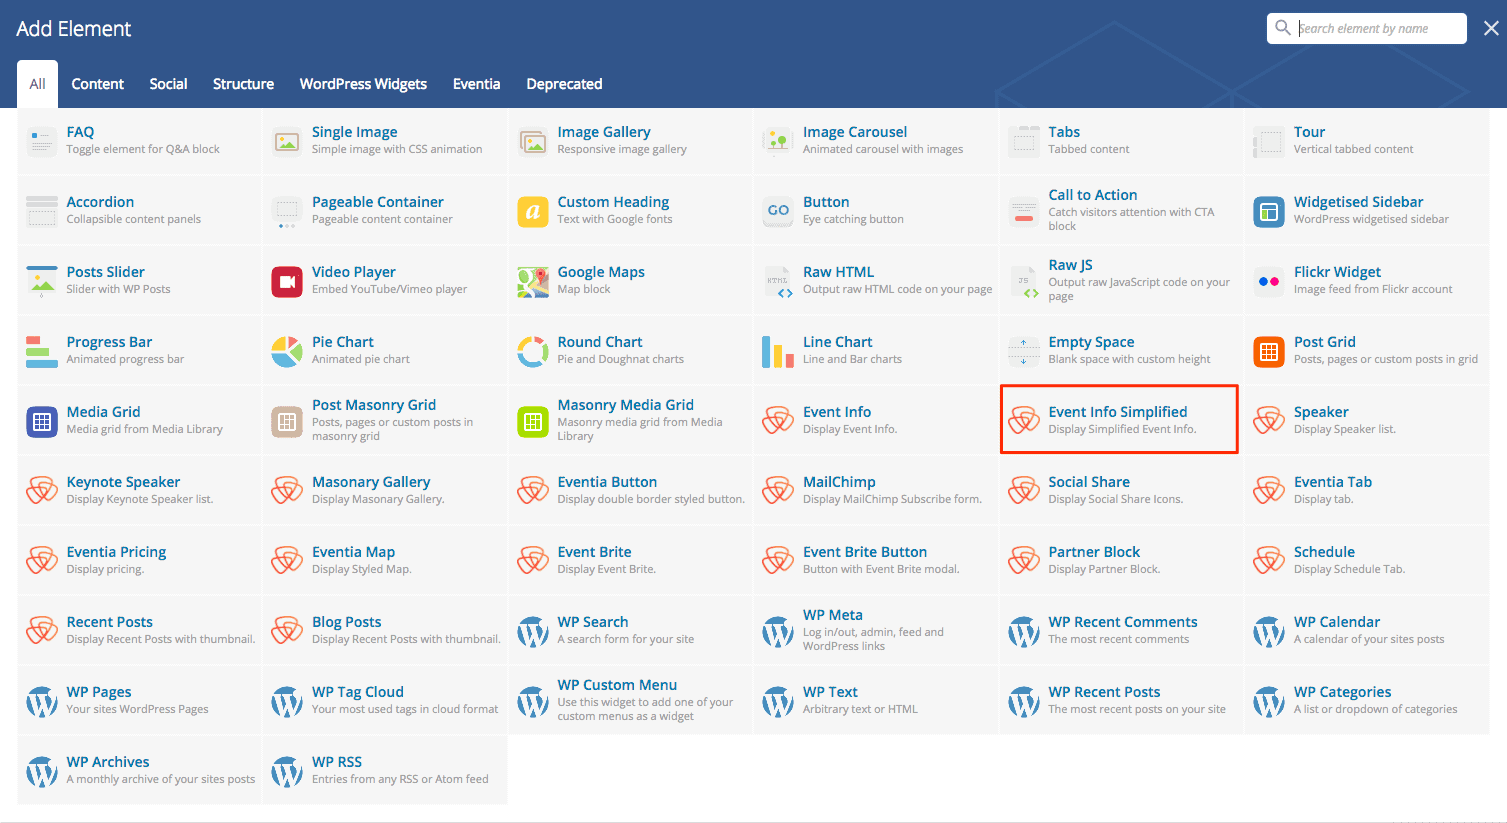
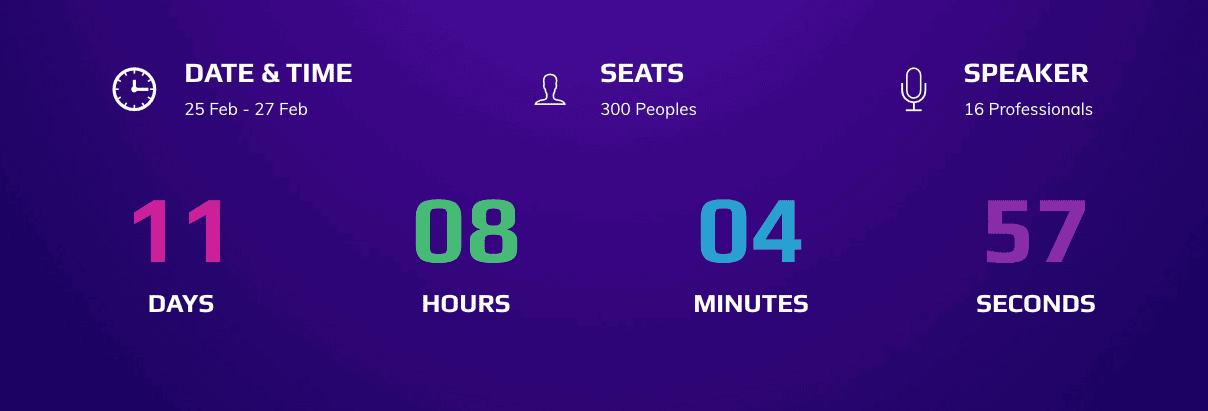
Event Info Simplified
It is almost same as “Event Info” with simple and different style.
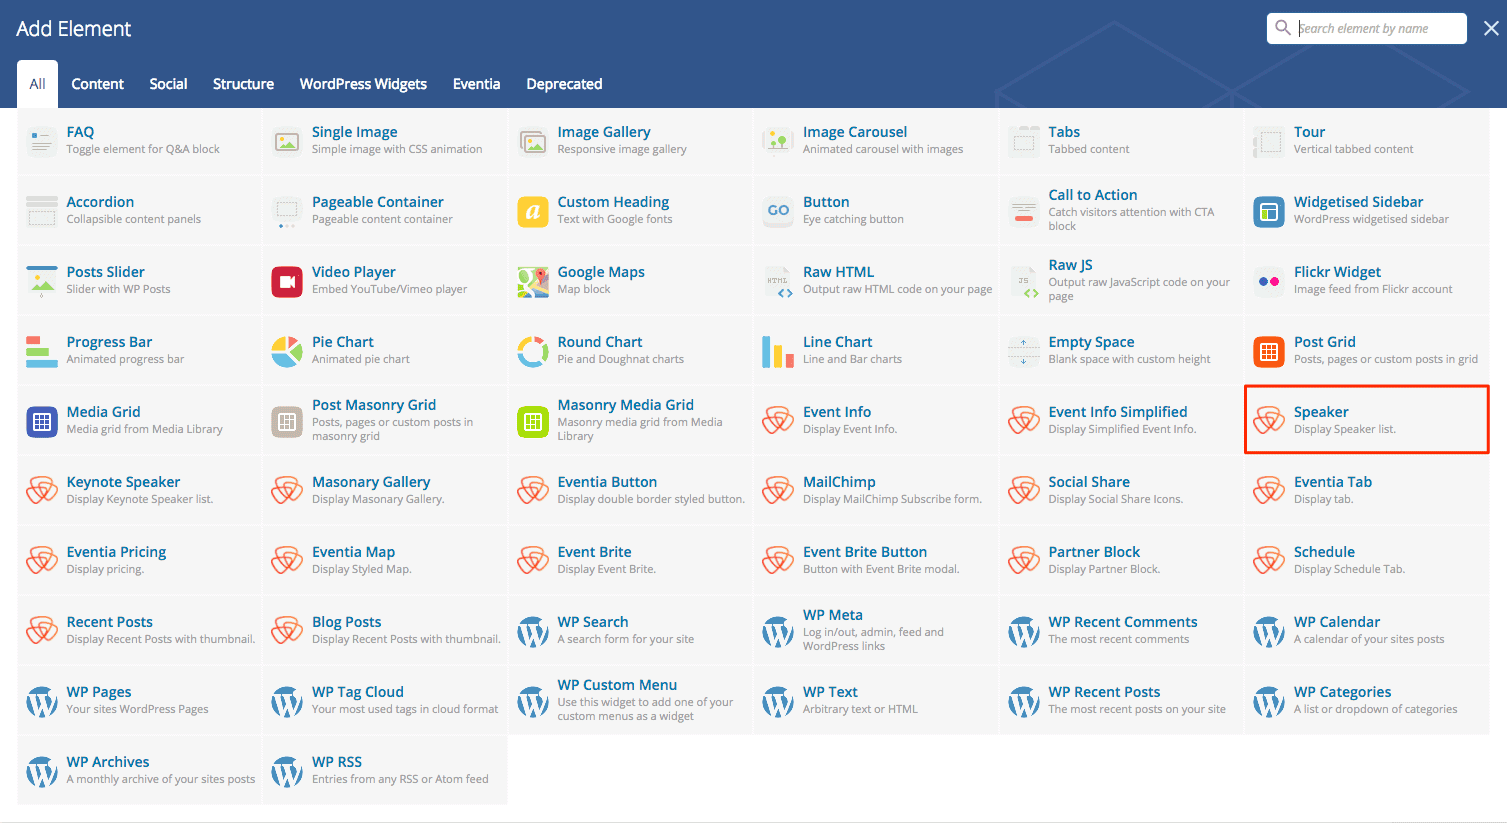
Speaker
You can display speaker with this element. Before that you have to add speaker in Dashboard -> Speakers -> Add New.
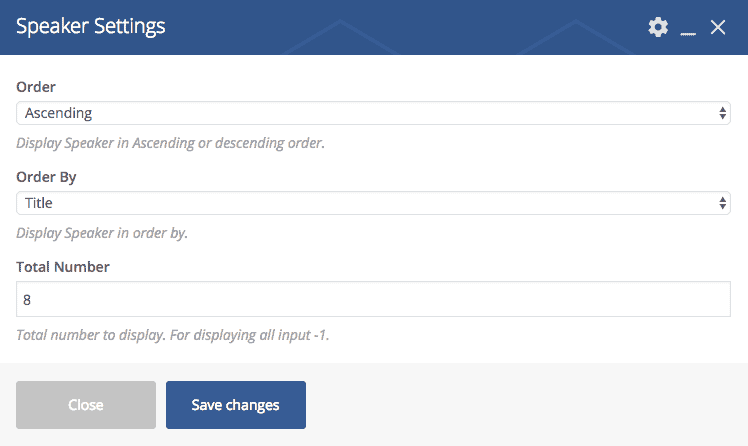

- Order: Set order for displaying speaker.
- Order By: Set order by parameter.
- Total Number: Set total number to display.
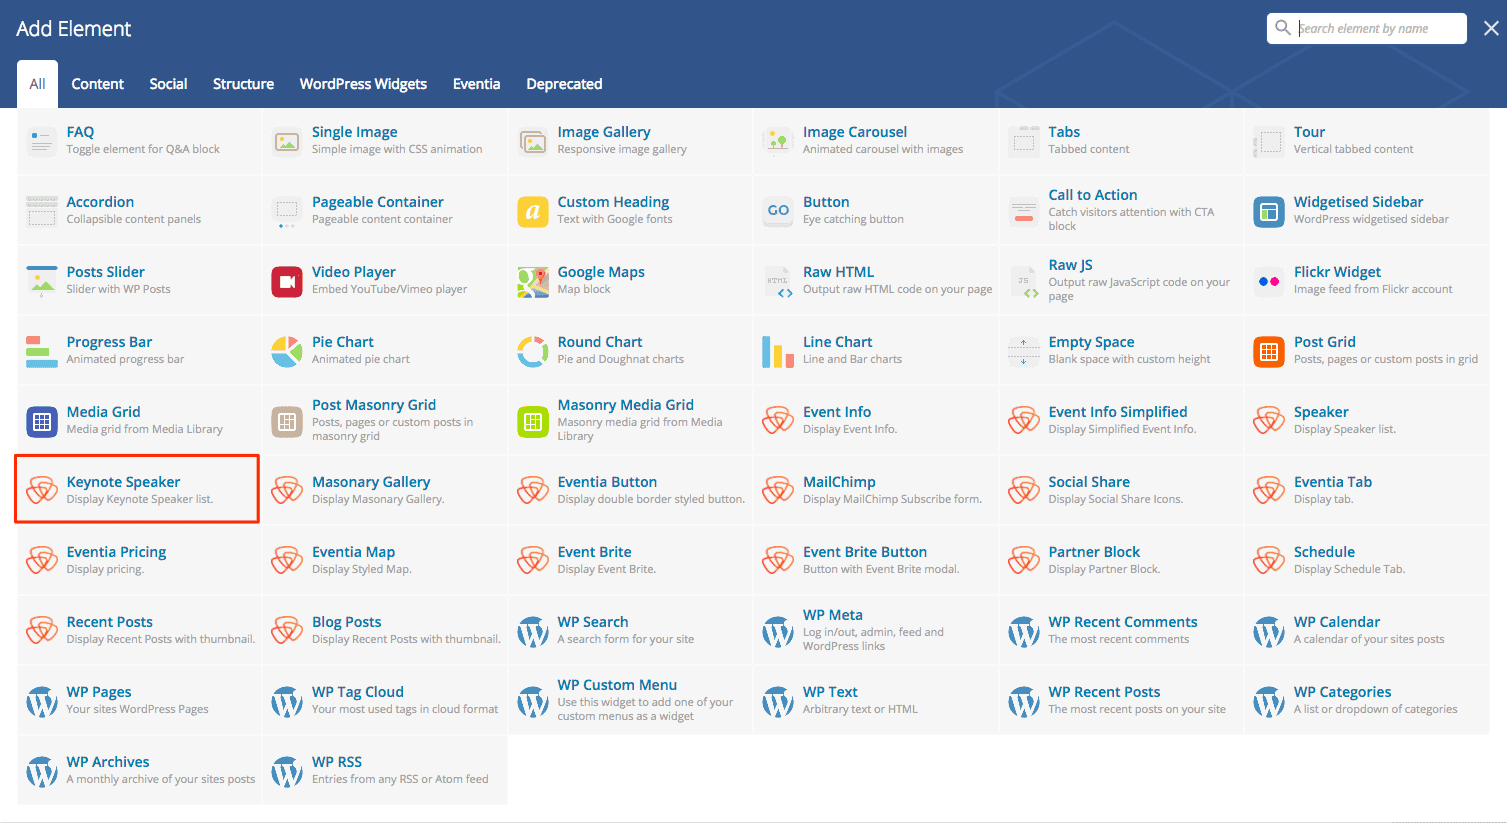
Keynote Speaker
Same as “Speaker” above. But display only keynote speakers you selected while creating speaker.
Masonary Gallery
You can create a masonary gallery easily with this element.
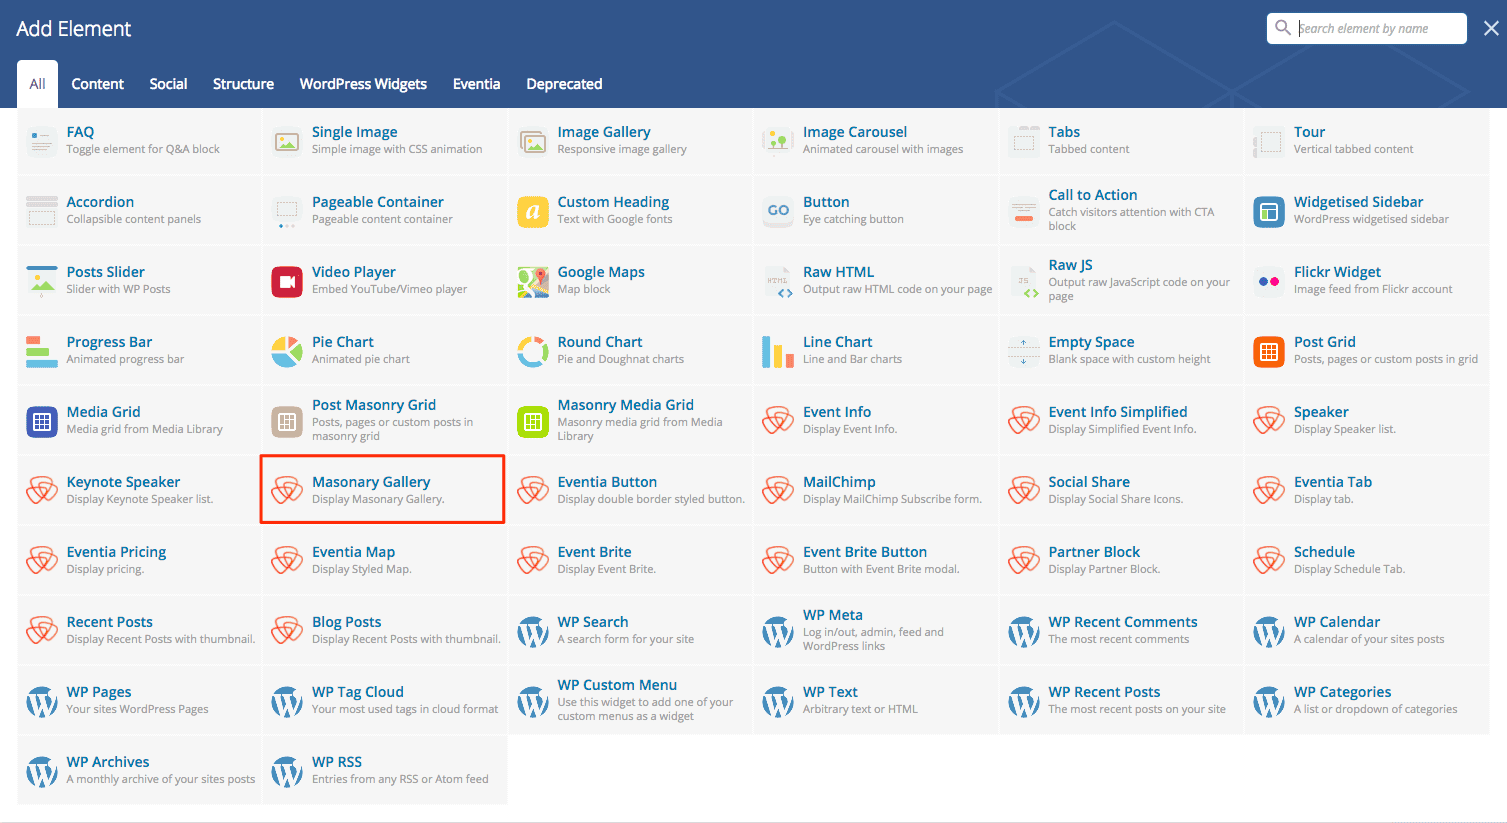

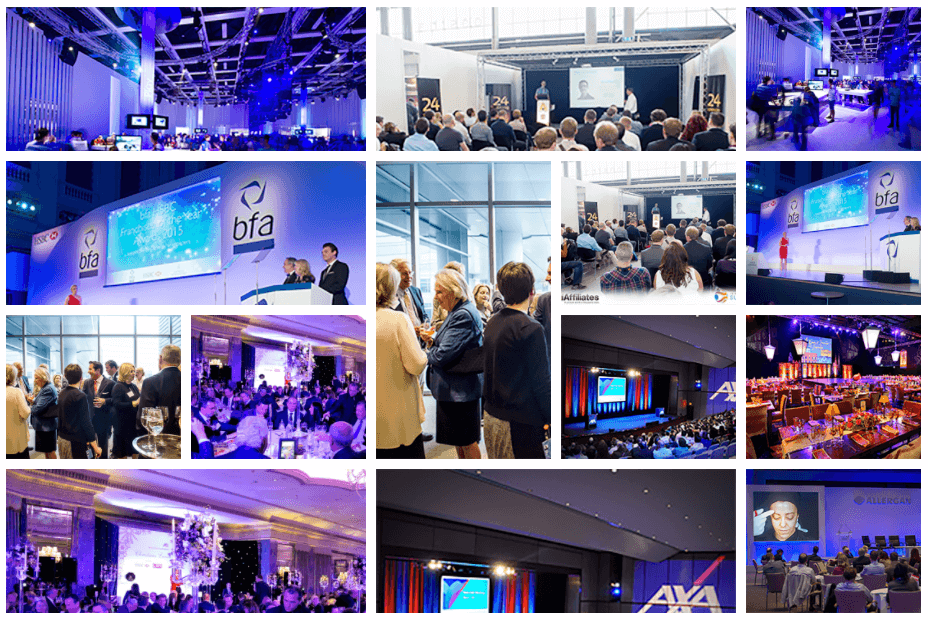
- ID: Unique ID for gallery. It is required and automatically generated when you insert it. But if you clone this element from another then change the ID.
- Gallery Images: Upload images for gallery.
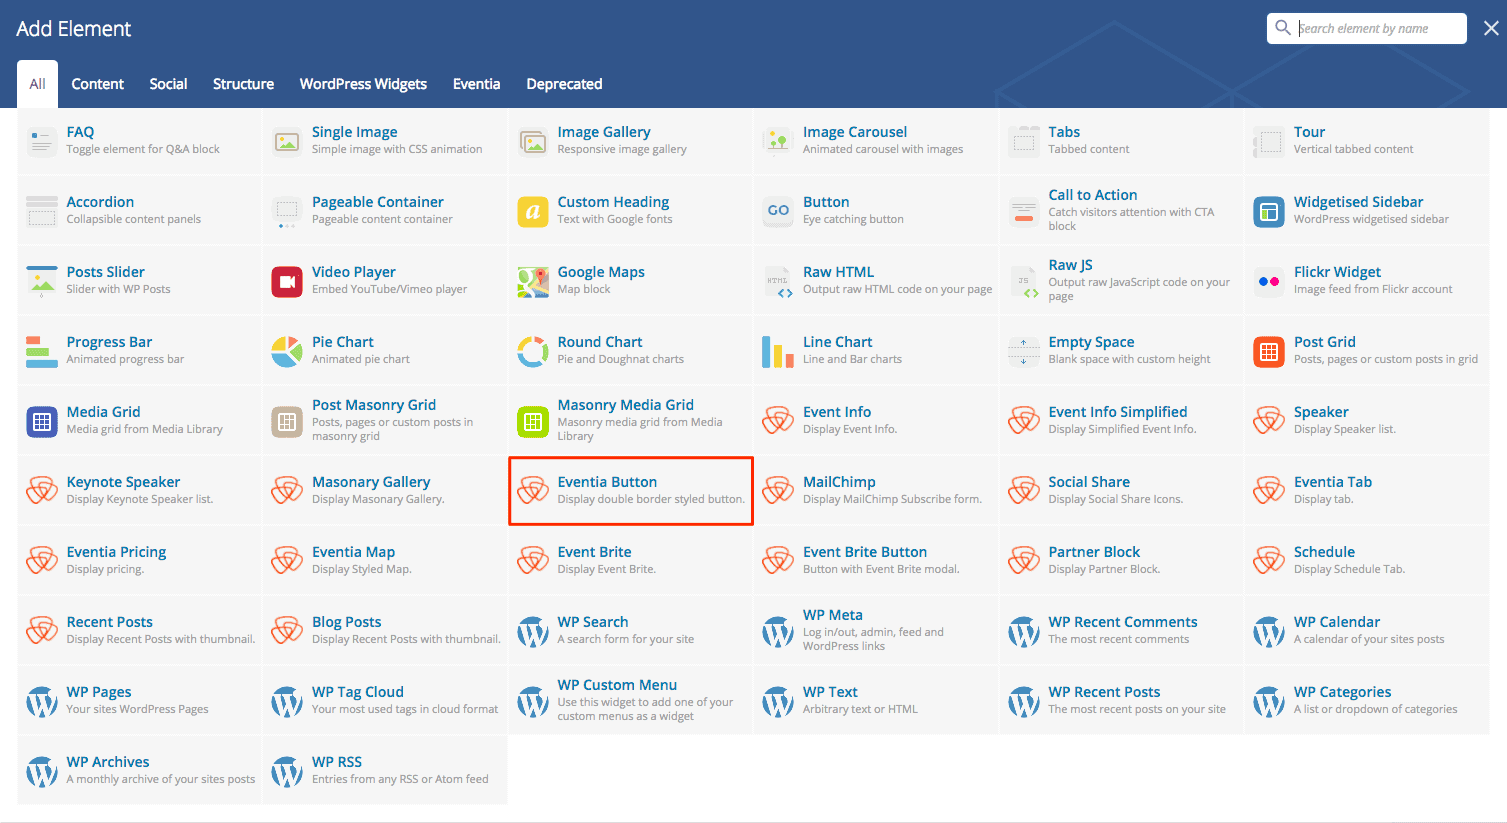
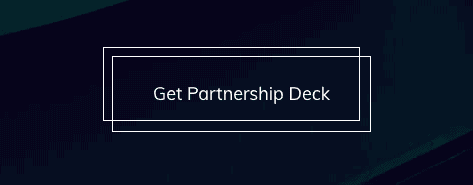
Eventia Button
Display button in two different styles.
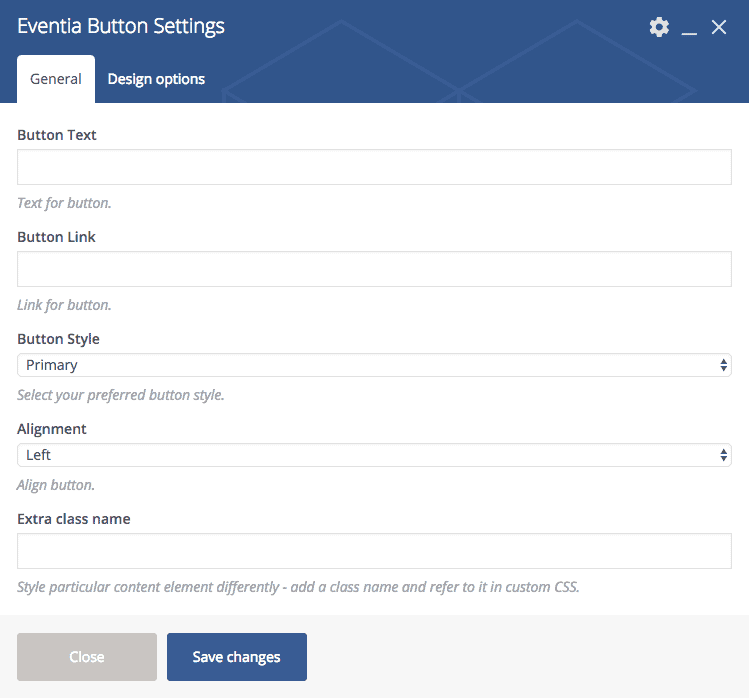
- Button Text: Write button text/label here.
- Button Link: Insert link for button.
- Button Style: Select button style. Available two options: Primary and Bordered Style.
- Alignment: Set alignment of button.
- Extra class name: You can write extra CSS class name here. You will need it if you want to customize button with your own css.
Event Brite Button
Same as “Eventia Button” above. You will need Event Brite event ID instead of Button Link. Let’s say, this is your event url: https://www.eventbrite.com/e/eventia-wordpress-theme-tickets-31478791914 => ID is 31478791914. Just paste this ID in “Insert ID of event at eventbrite.com” field.
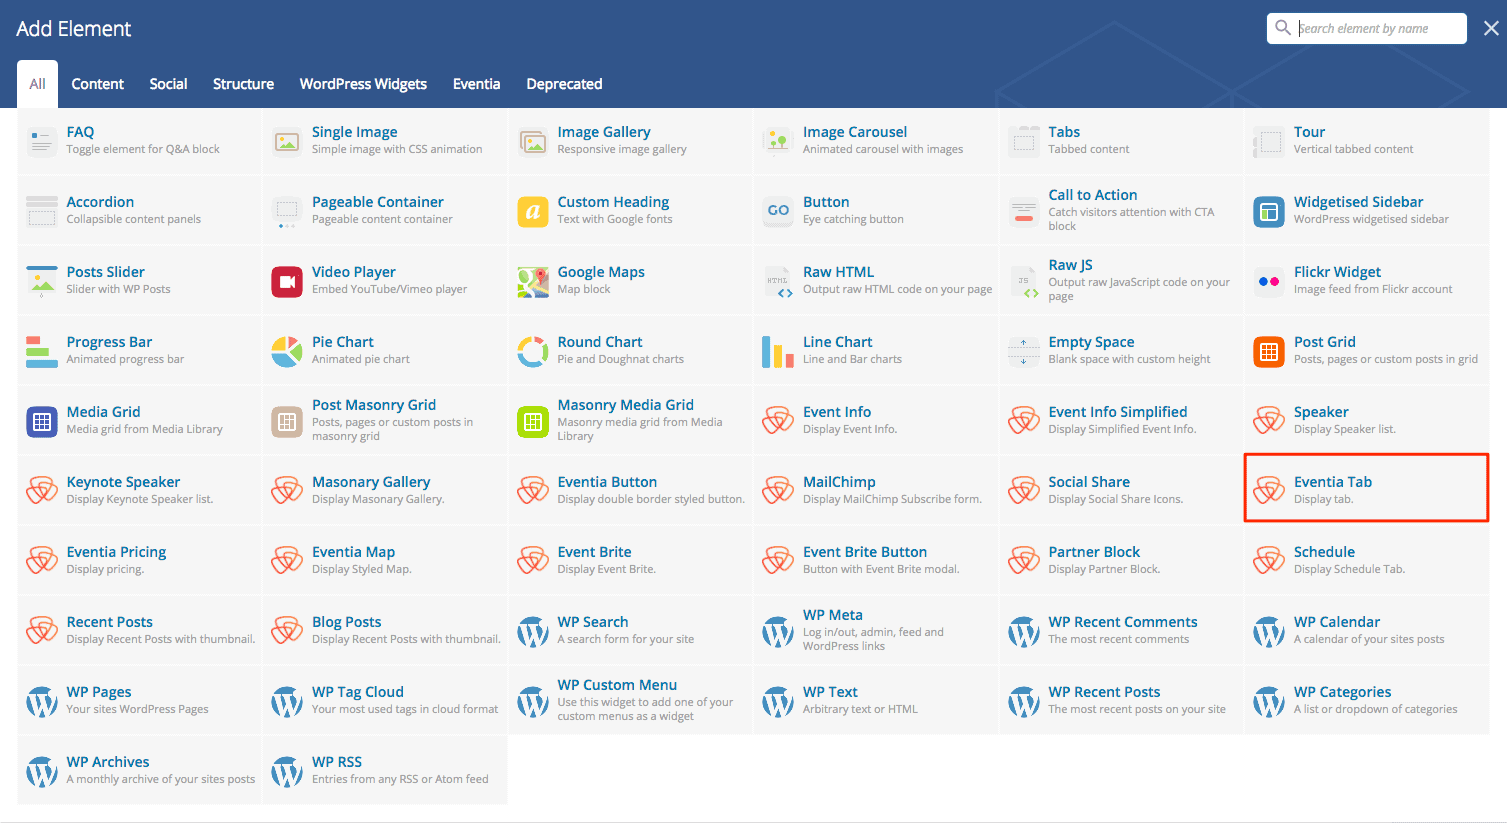
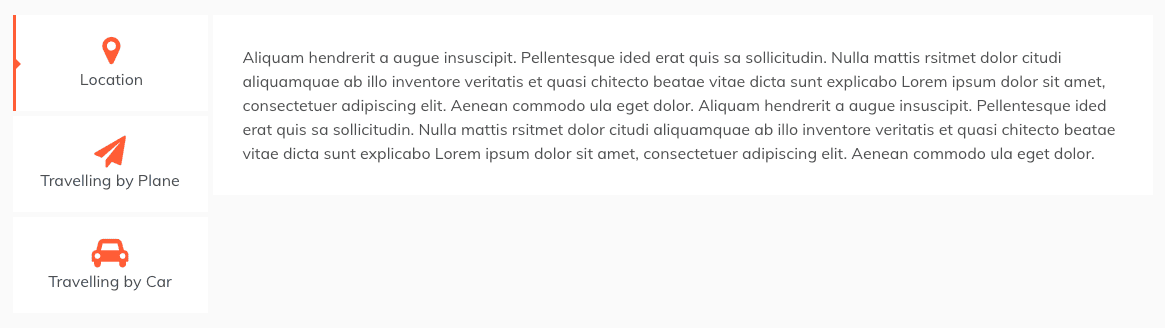
Eventia Tab
Display eventia's tab with icon in tab title.
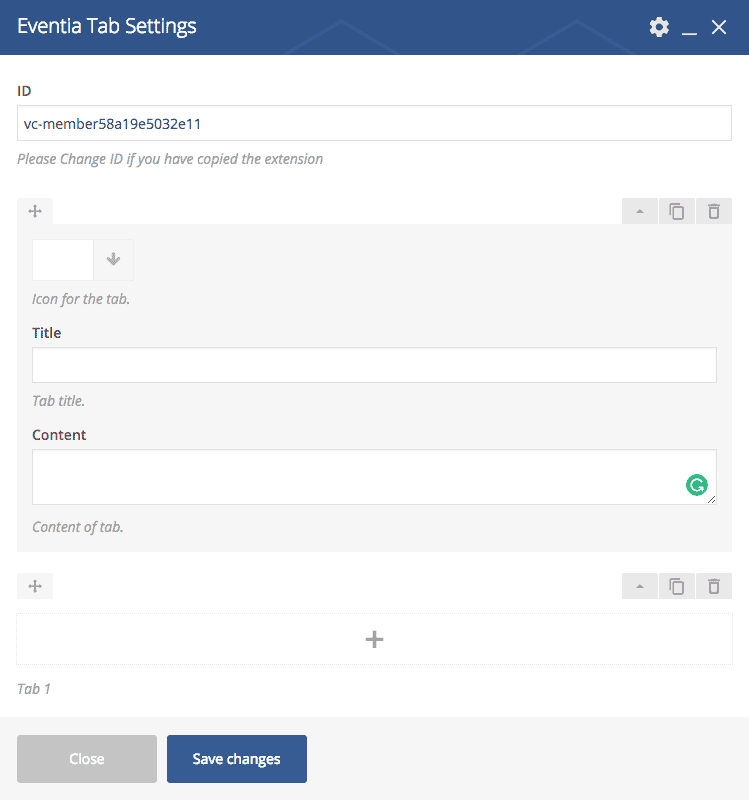
- ID: Unique ID for tab. It is required and automatically generated when you insert it. But if you clone this element from another then change the ID.
- Icon: Select icon from icon picker for tab title.
- Title: Write tab title.
- Content: Write tab content.
- Icon, Title and Content are repeatable field. You can click “+” sign and insert more item.
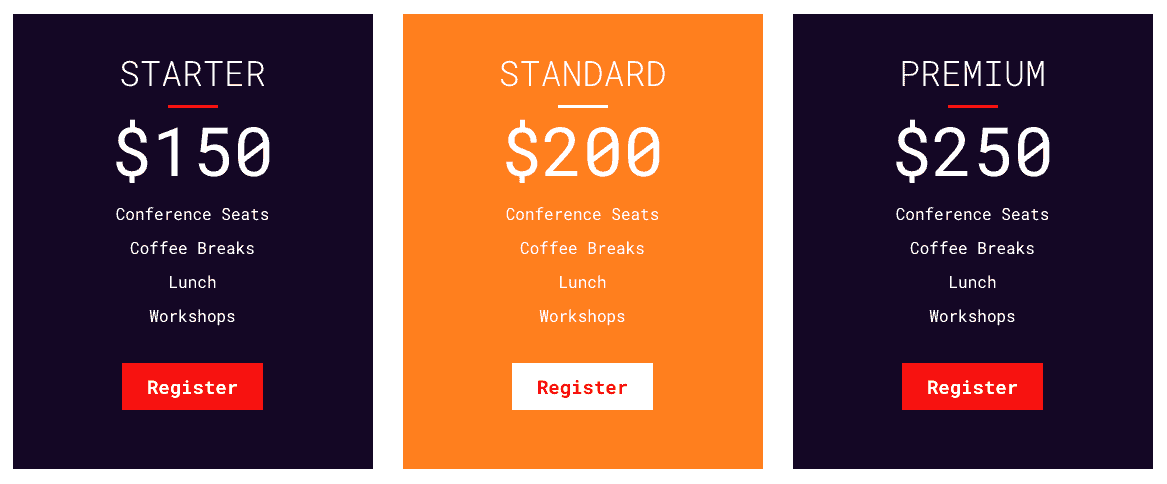
Eventia Pricing
Create pricing table easily with this element.

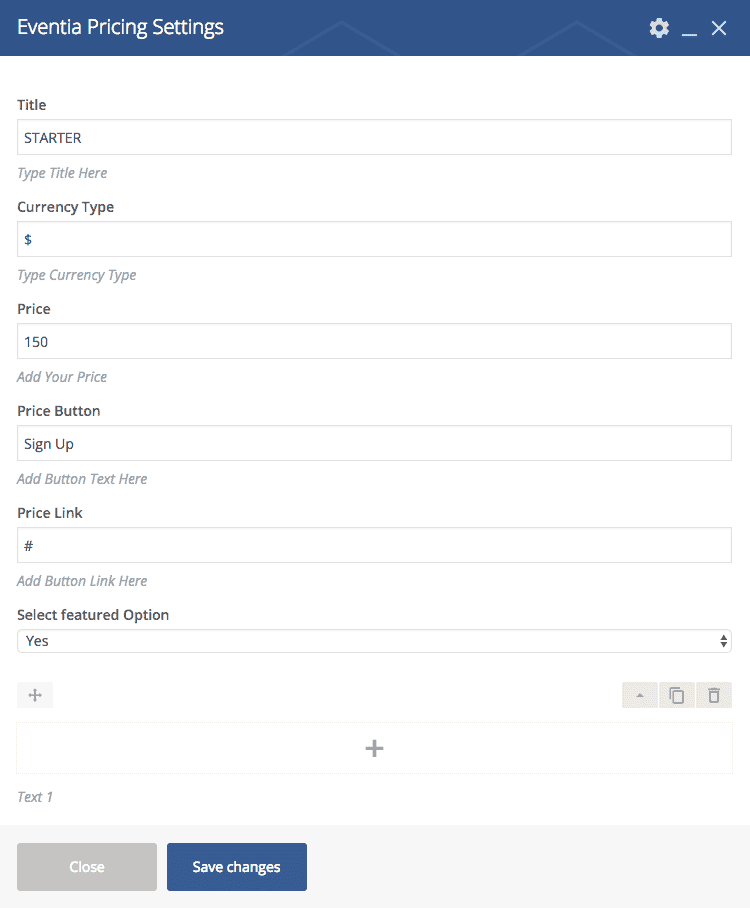
- Title: Write title of pricing table.
- Currency Type: Write currency type. Like $, € etc.
- Price: Write price.
- Price Button: Write button text/label.
- Price Link: Insert button link.
- Select featured Option: Set this pricing table featured or not.
- Text: This field is repeatable. You can write as many text you want for pricing table.
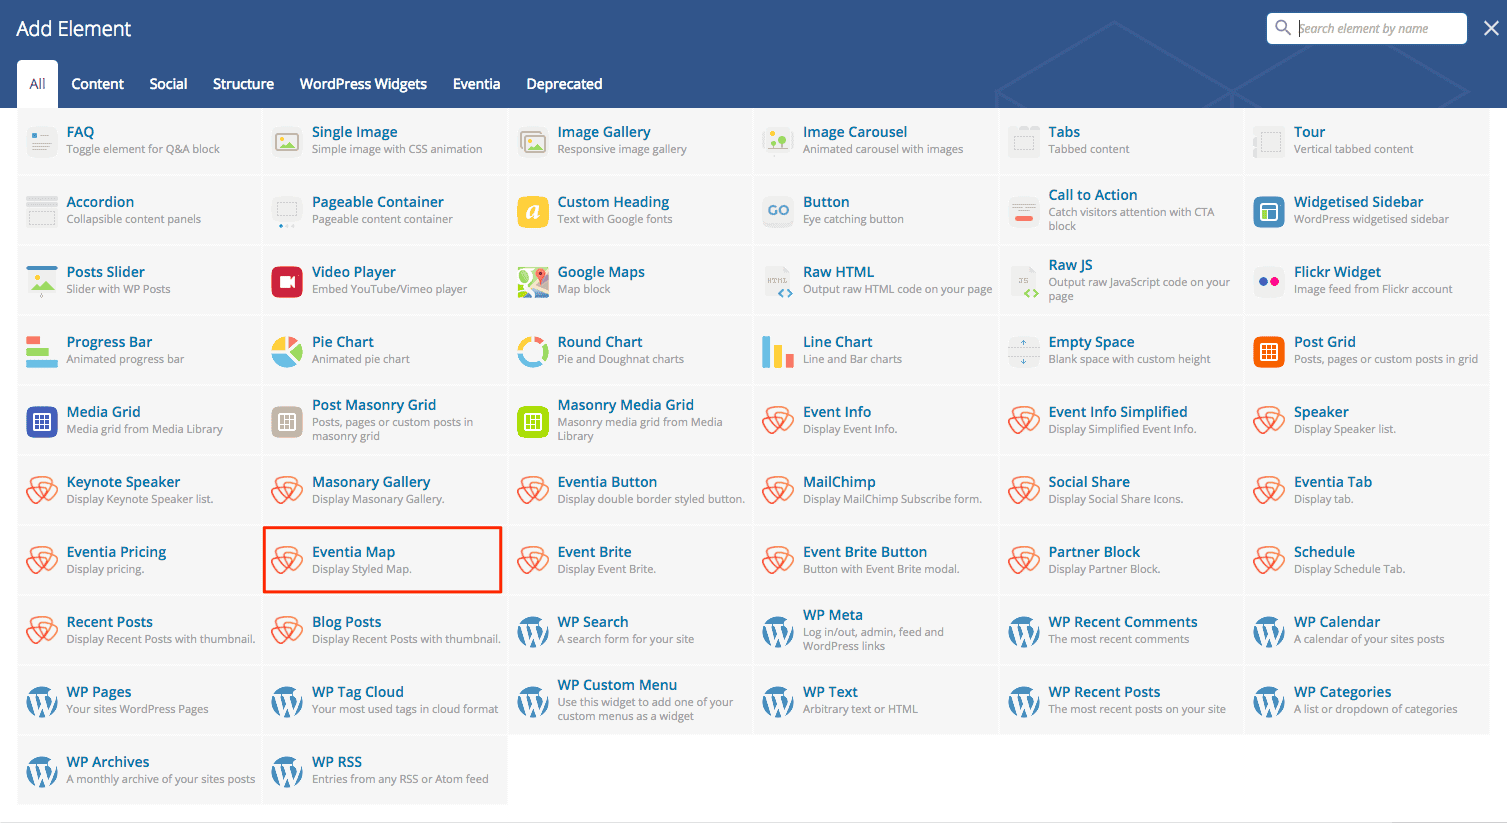
Eventia Map
You can display a stylish map with this element. You will need map API key for using this map. Insert your API key here Dashboard -> Eventia Options -> General -> Google Map API Key. Get the API key from Google Maps JavaScript API.
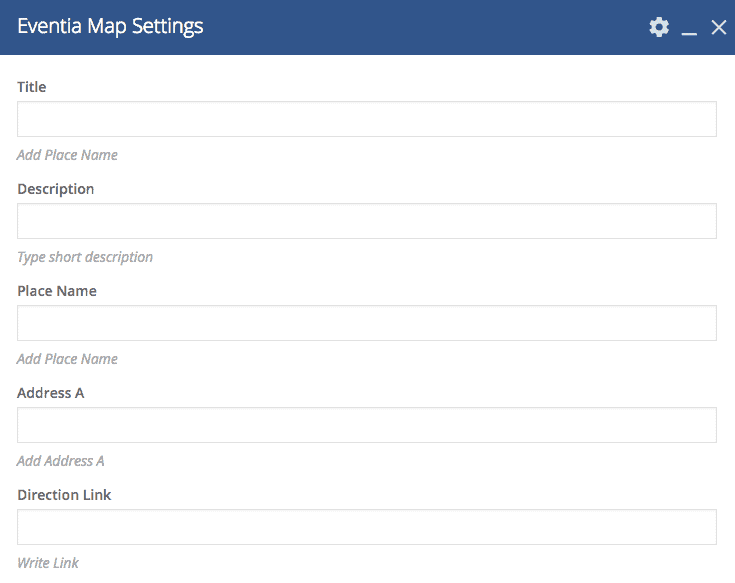
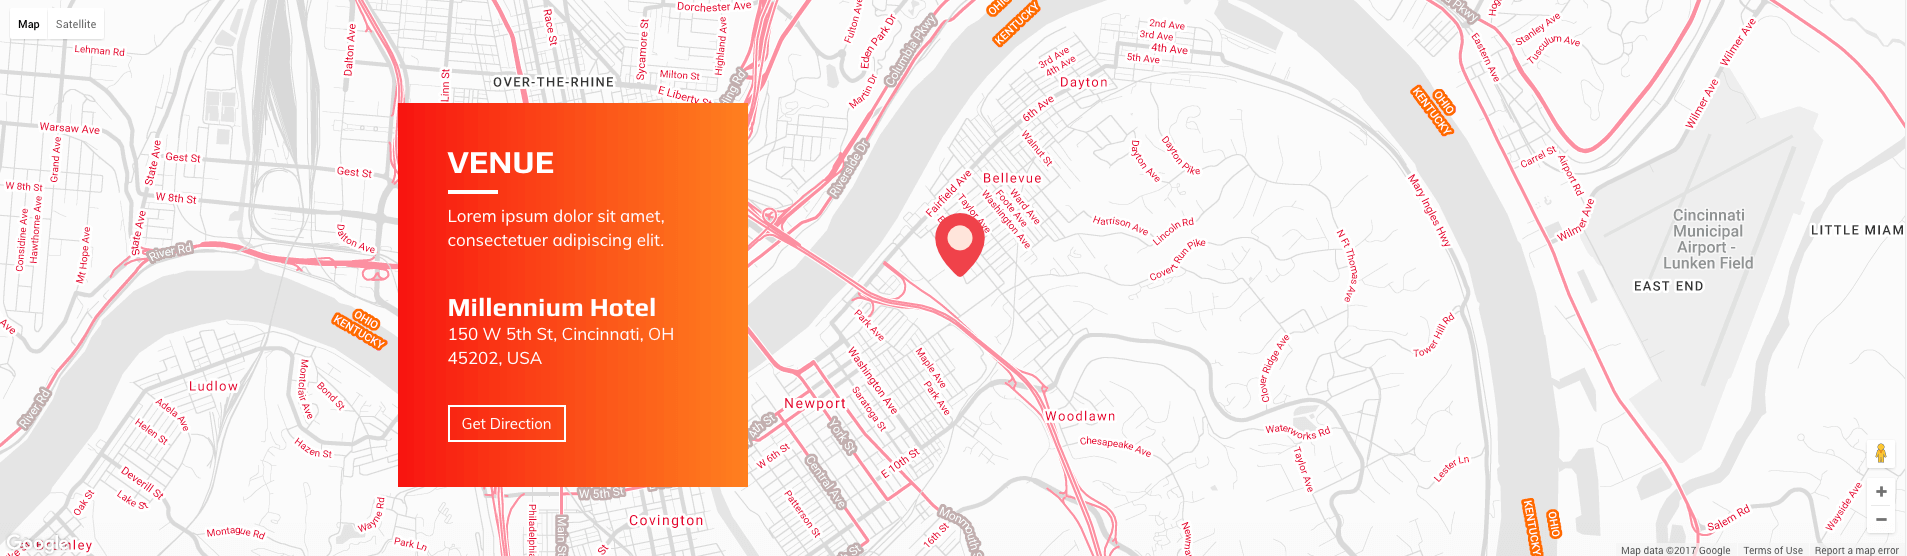
- Title: Write a title for Address box of map.
- Description: Write some description here.
- Place Name: Write your place name.
- Address: Write the address here.
- Direction Link: Insert the get direction link. It’s kind of tricky. Go to google map, search your place. Then click on Get Direction button. And copy the url from address bar. Paste it here.
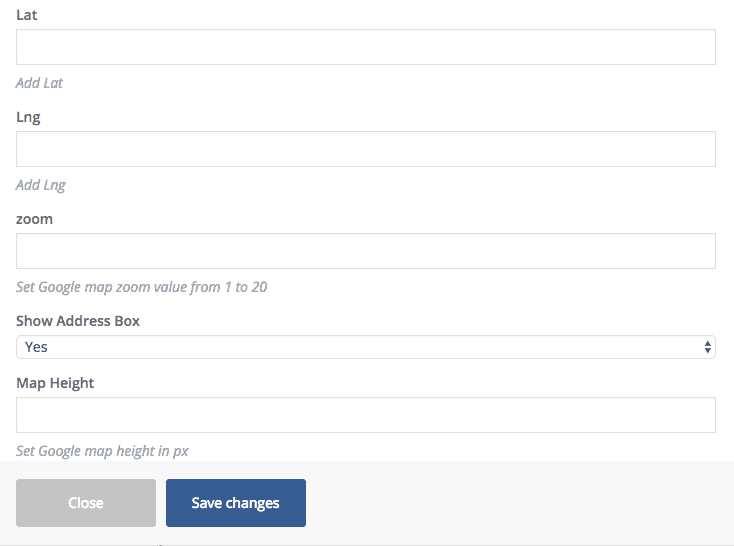
- Lat: Write latitude of the address to show in map.
- Lng: Write longitude of the address to show in map.
- Zoom: Set zoom value of google map. Write 1 - 20 but 14 is ideal.
- Show Address Box: Show or hide address box.
- Map Height: Set map height. Default is 400px.
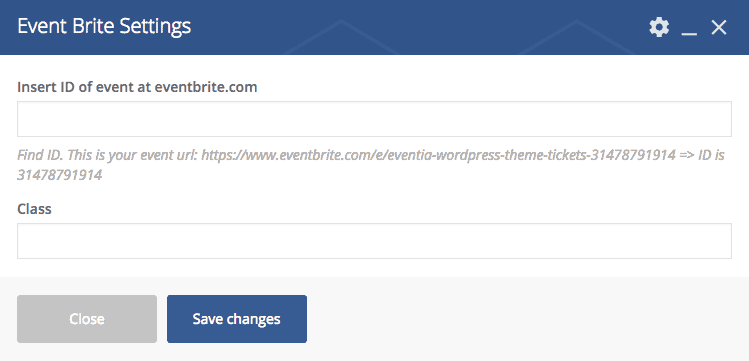
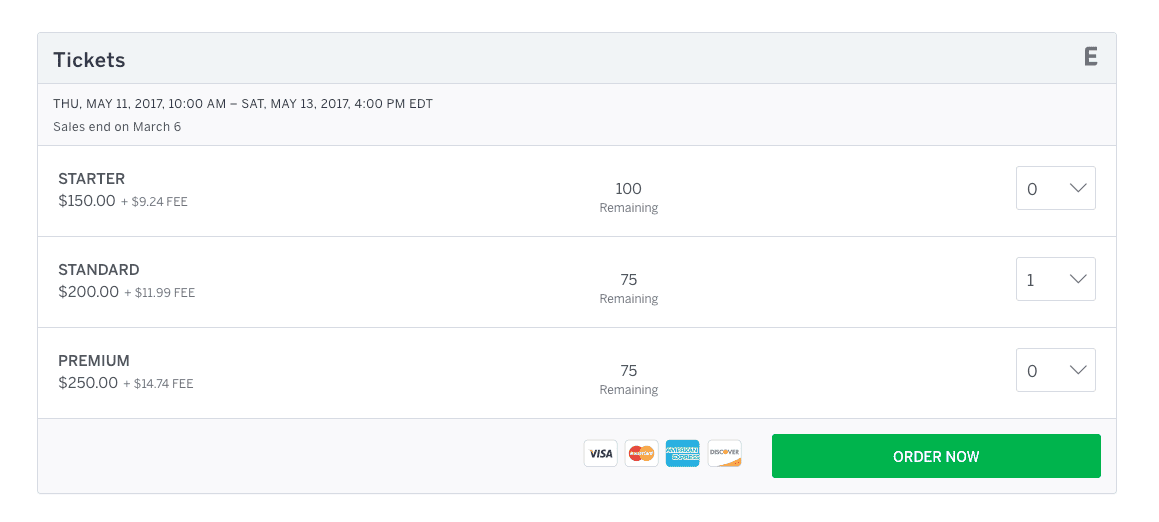
Event Brite
Embed Event Brite event in your site with this element. Just insert event ID. You are done. How do you get event ID? Let’s say, this is your event url: https://www.eventbrite.com/e/eventia-wordpress-theme-tickets-31478791914 => ID is 31478791914. Just paste this ID in “Insert ID of event at eventbrite.com” field.
Partner Block
Insert partner/sponsor with logo and some description.

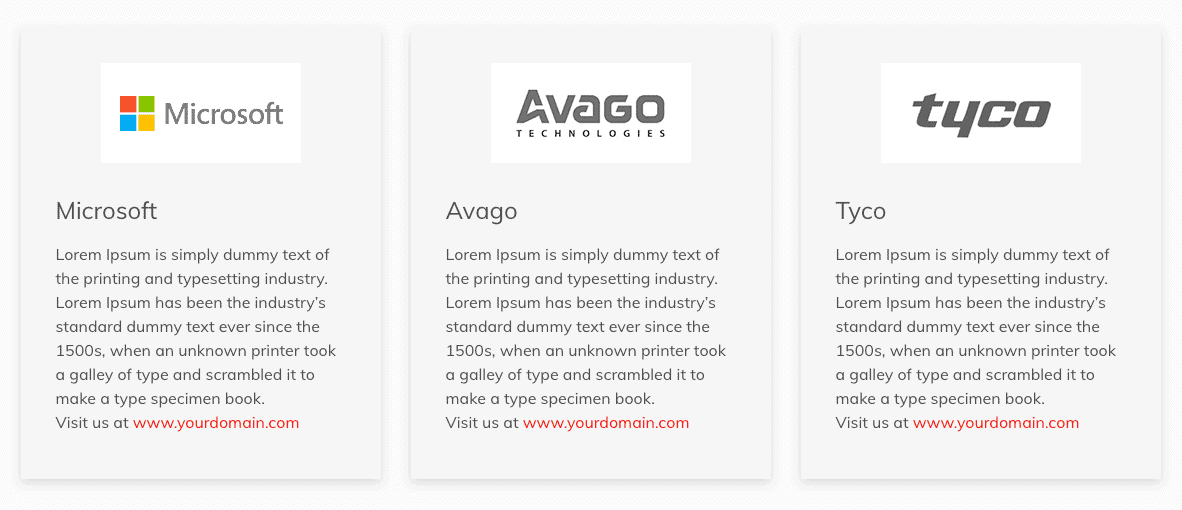
- Logo: Upload partner’s logo.
- Name: Write partner’s name.
- Content: Write some short description about partner.
- Extra class name: You can write extra CSS class name here. You will need it if you want to customize this with your own css.
Schedule
Insert schedule in any page.
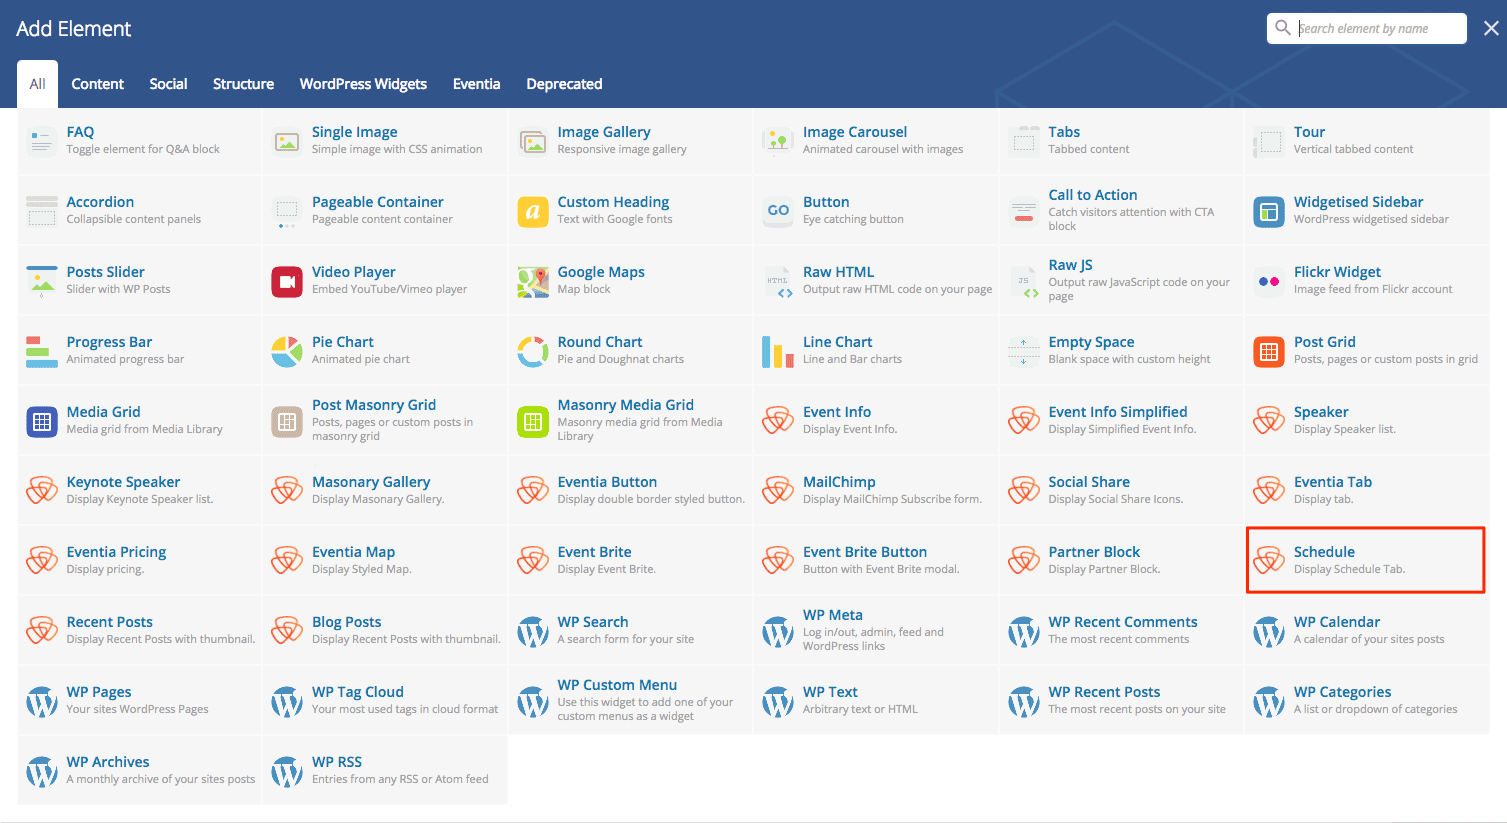

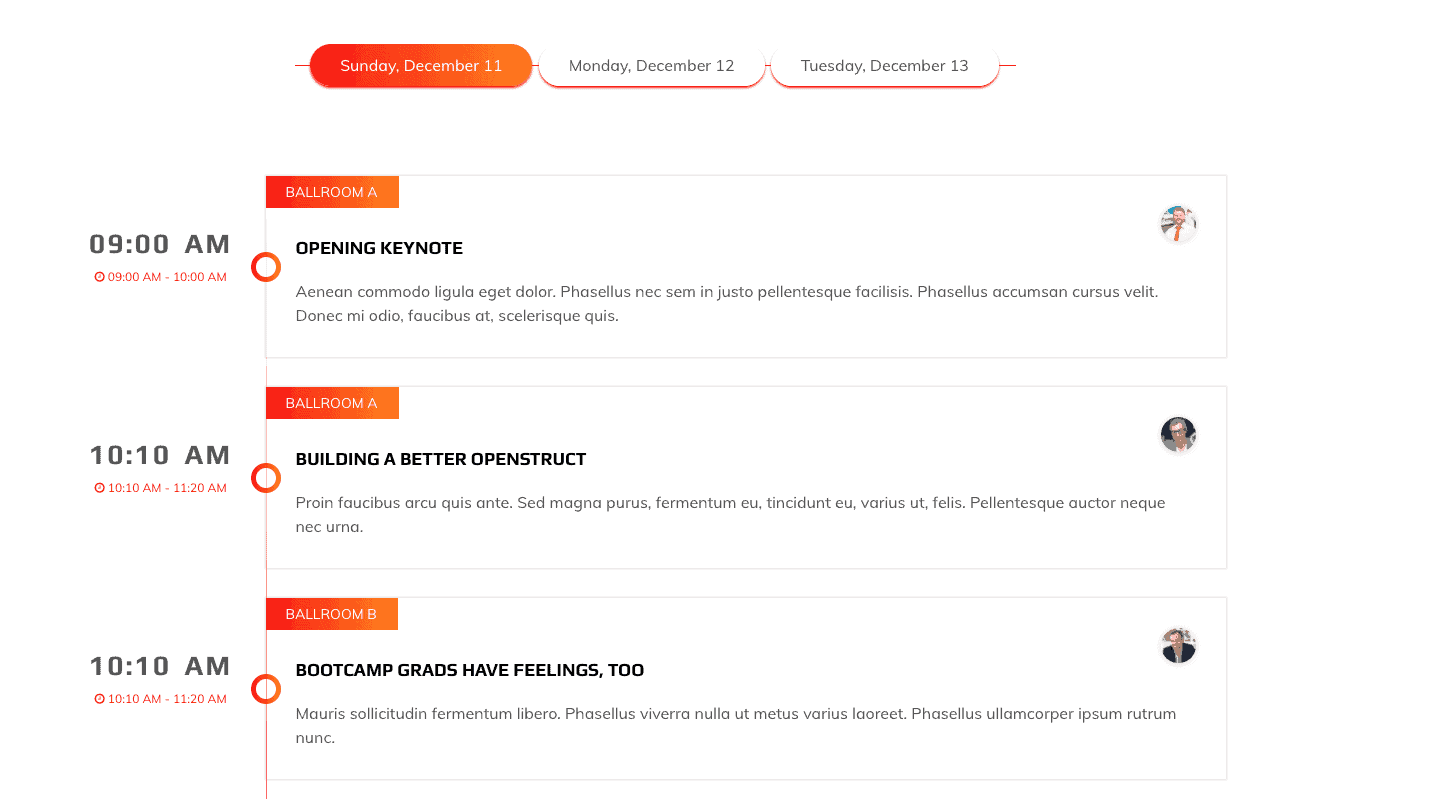
- Order: Set order for displaying schedule.
- Order By: Set order by parameter.
- Total Number: Set total number to display.
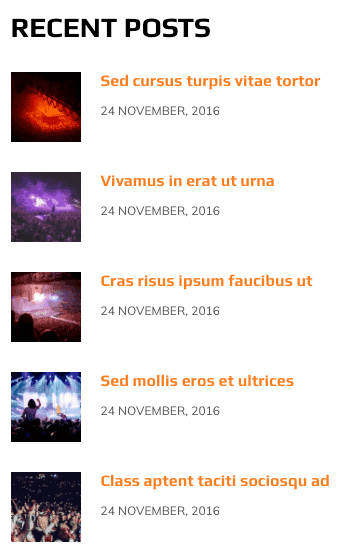
Recent Posts
Display recent post with thumbnail in vertical style.
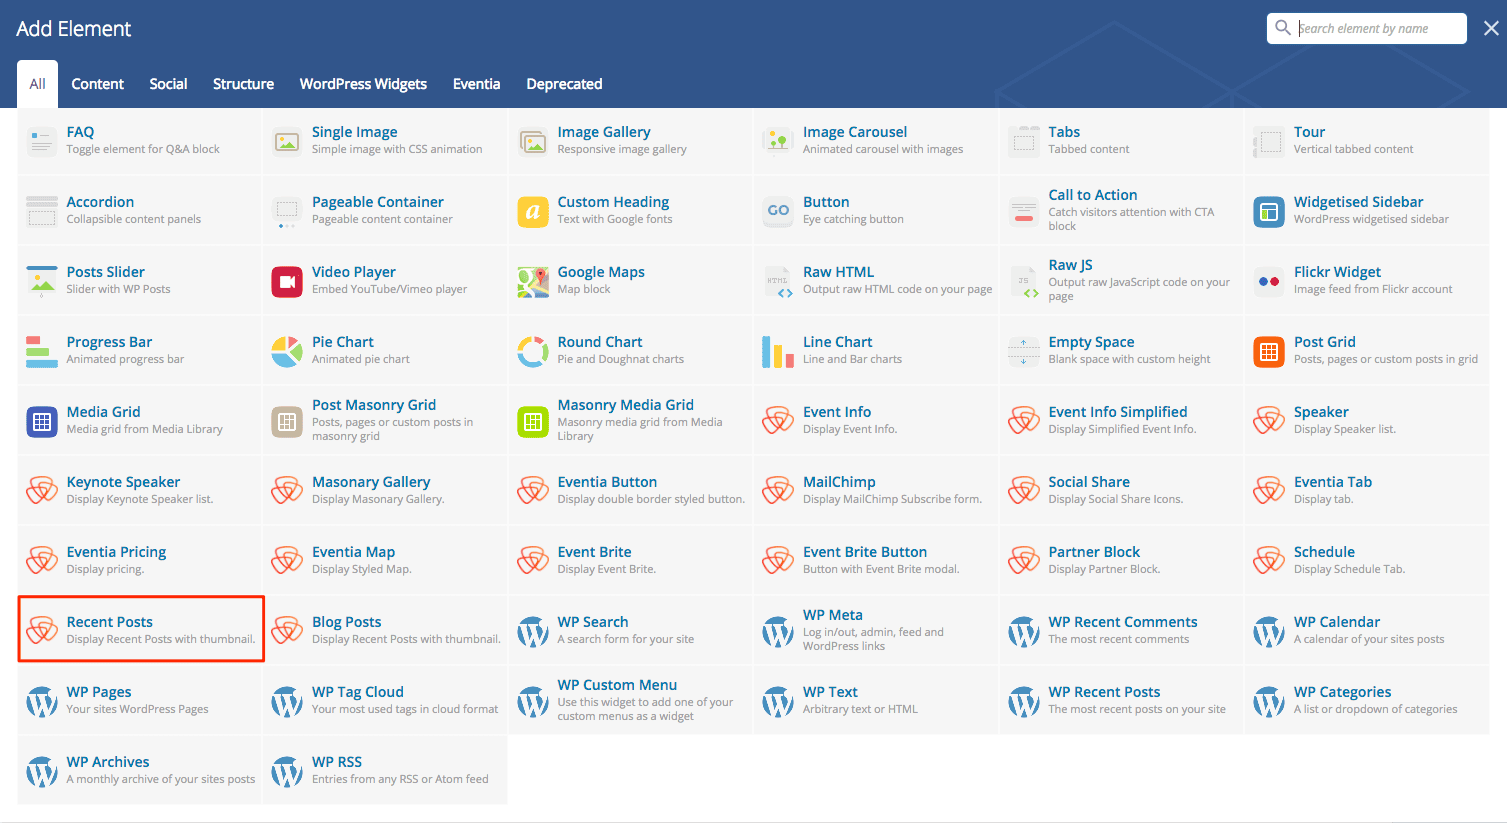
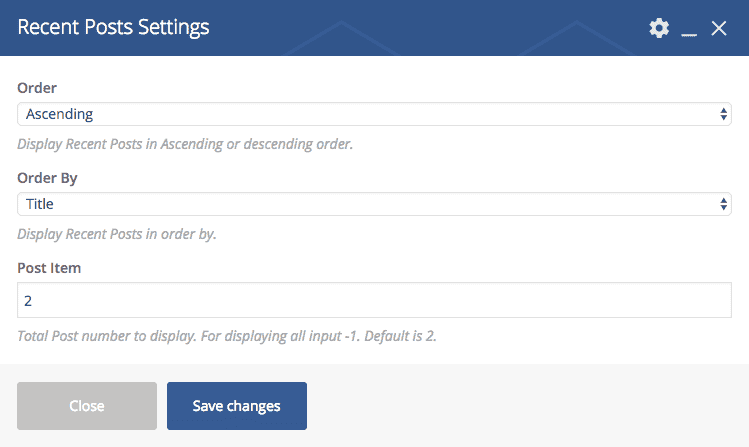
- Order: Set order for displaying schedule.
- Order By: Set order by parameter.
- Total Number: Set total number to display.
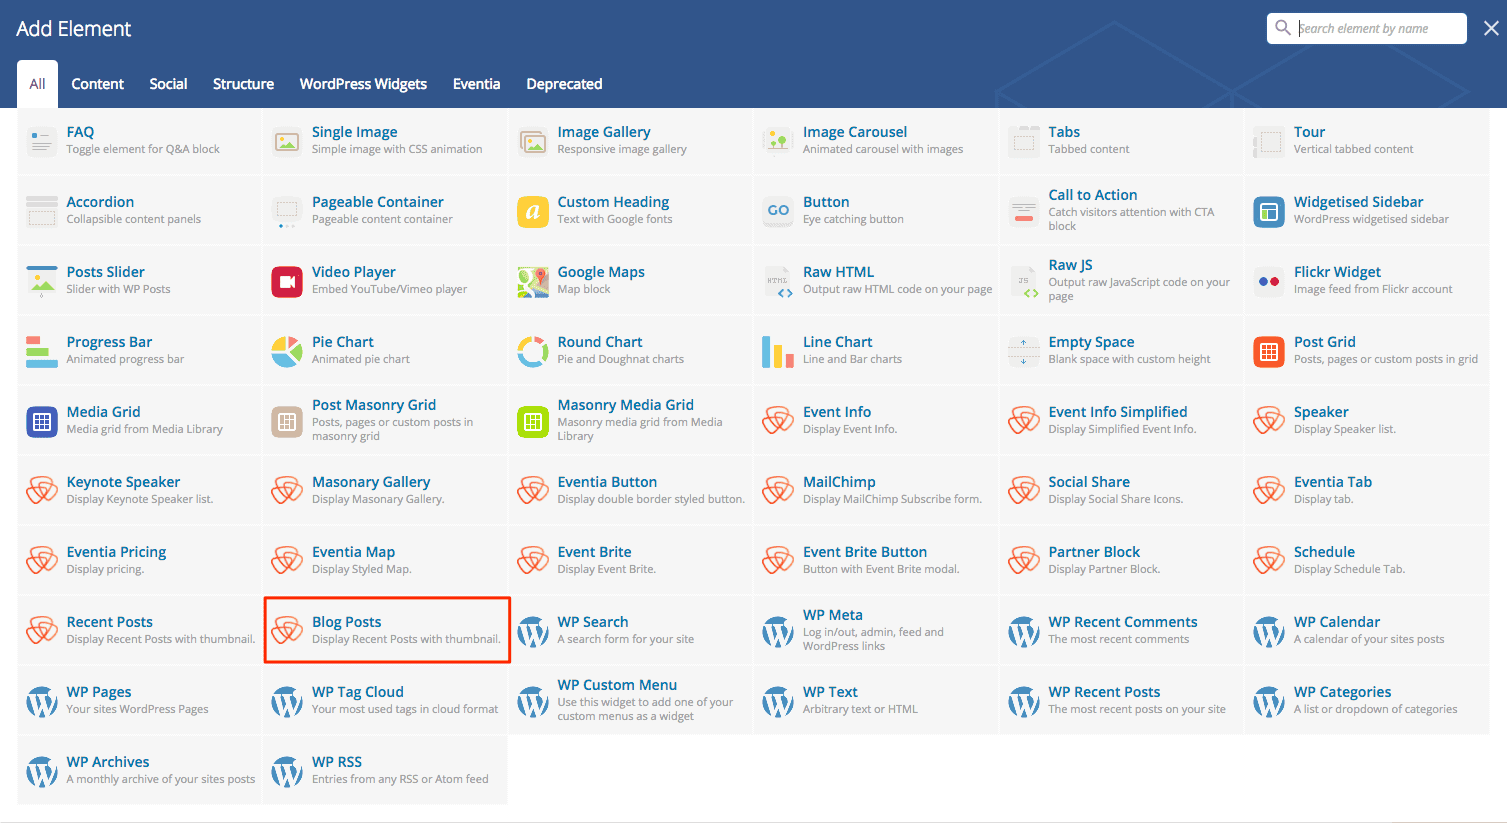
Blog Posts
Display recent post with thumbnail in horizontal style.
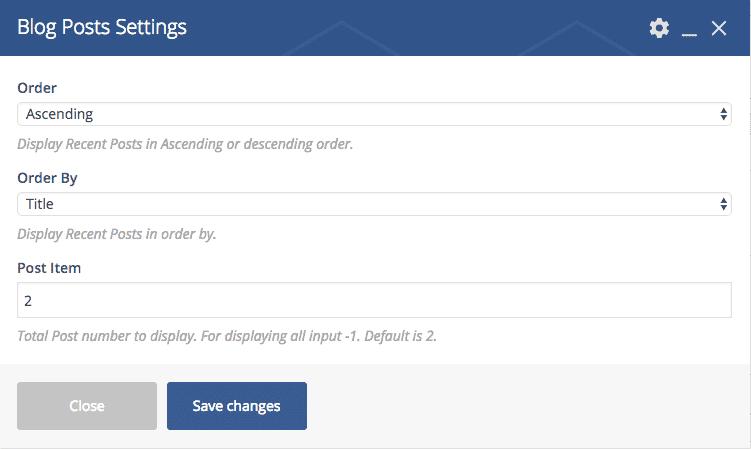
- Order: Set order for displaying schedule.
- Order By: Set order by parameter.
- Total Number: Set total number to display.

Grow rapidly with our Joomla SEO service done by the veterans
With over 12 years of business and a vast array of Joomla templates and extensions, we know Joomla SEO better than anyone you could possiblly hire.
Improve my ranking