MailScout
Download
Visit our website, go to DigiCom’s Addons Page, head over to your desired addon and use the download button to download your preferred one.
Installation
Installing pkg_digicom_mailscout.zip plugin is pretty simple. To do so,
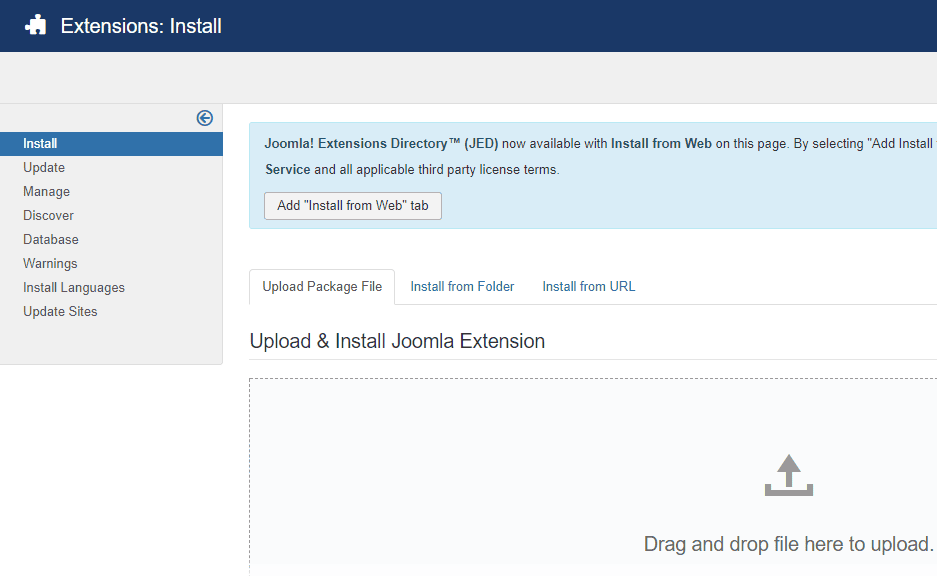
- Go to
Extension> Manage> Installand under Install from Folder tab, select your downloaded pkg_digicom_mailscout.zip file and click Check and Install button. It will show you a successful installation message as soon as it installed successfully. Else, you can drop your downloaded file under the Upload Package File tab, and it will automatically upload your addon.
Configuration
To enable it you need to-
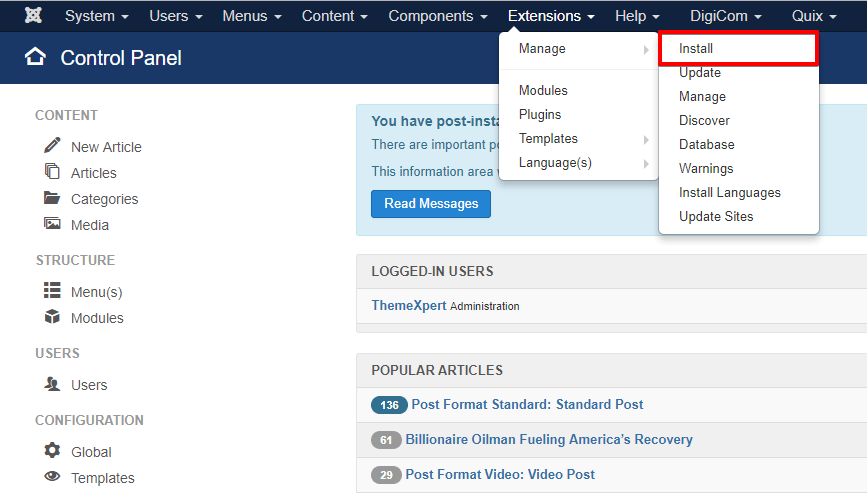
- Go to
Extensions> Plugins
- Find the plugin from the list. You can use the search box to find it quickly. Just write
mailscouton the Ajax search box, and you’ll find it on the top of the module. After you find it, enable it just by clicking on the pointed area shown in the screenshot below.

- Click on the plugin name, and you’ll find another configuration module to configure the addon as per your need.
- Define the Customer User Group. Just write your customer’s User group on the empty text box.
- Put the MailScout App’s installation path on the corresponding text box.
- Get the API token from MailScout and paste on the corresponding text box.
- Now, define the tags for Free Purchase, Pending Payment, After Payment, After Expire and After Refund then define whether you want to use the Product Name as the tag after purchase process has been completed.

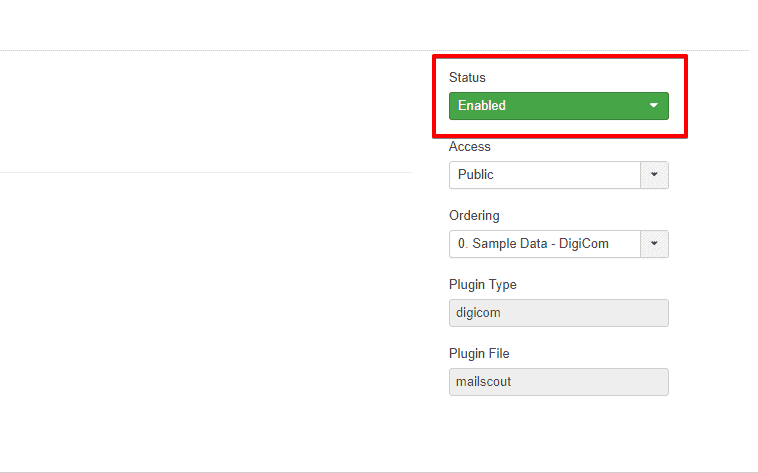
- Make sure that the Status is set Enable on the righ-top side of the module.
How To’s
Adding MailScout tag for Individual Product
- Go to
DigiCom> Products
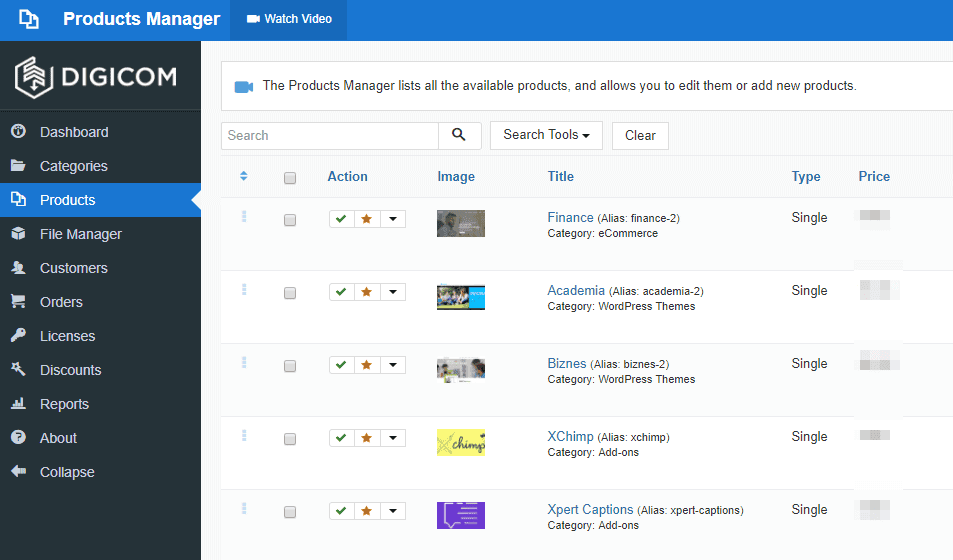
- You can add new products then use mailScout tag on them, or you can add mailScout tag on existing products.

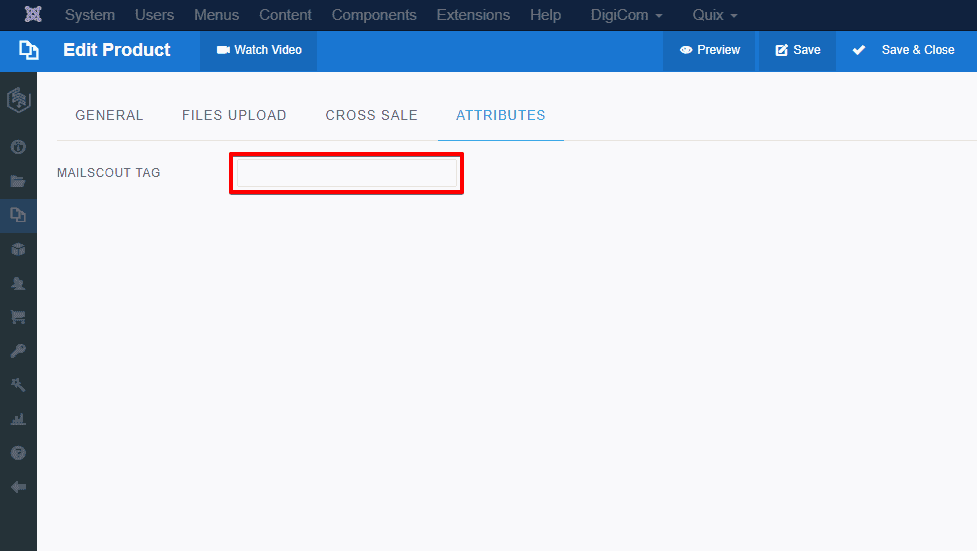
Let’s add mailScout tag on an existing product.
- Click on a product name and from the ATTRIBUTES tab, you will find and option to put MailScout Tag.

Grow rapidly with our Joomla SEO service done by the veterans
With over 12 years of business and a vast array of Joomla templates and extensions, we know Joomla SEO better than anyone you could possiblly hire.
Improve my ranking