Domain Control
Download
Visit our website, go to DigiCom’s Addons Page, head over to your desired addon and use the download button to download your preferred one.
Installation
Installing plg_digicom_domaincontrol.zip plugin is pretty simple. To do so,
- Go to
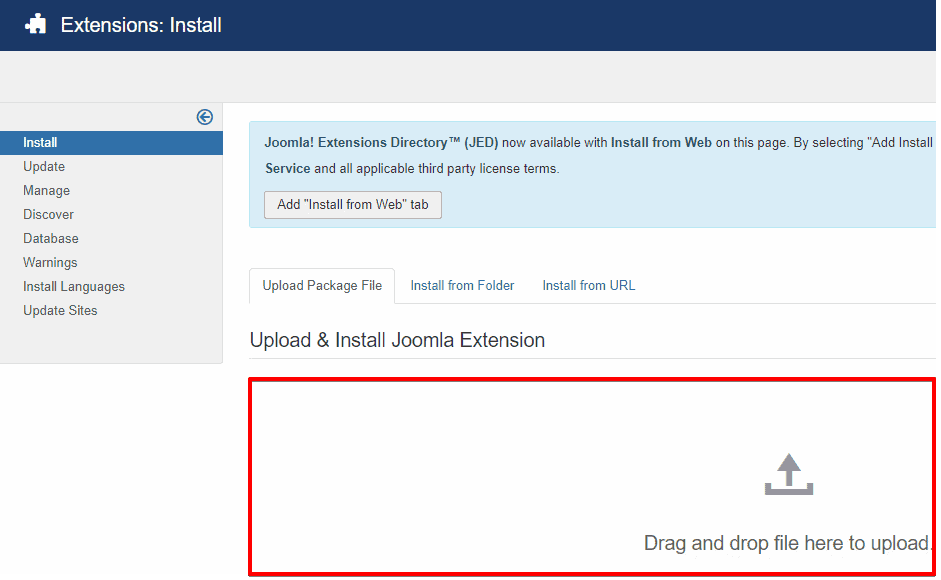
Extension> Manage> Installand under Install from Folder tab, select your downloaded plg_digicom_domaincontrol.zip file and click Check and Install button. It will show you a successful installation message as soon as it installed successfully. Else, you can drop your downloaded file under the Upload Package File tab, and it will automatically upload your addon.
Enabling
You can find it on the plugin list. What you need to do to enable it is-
- Go to
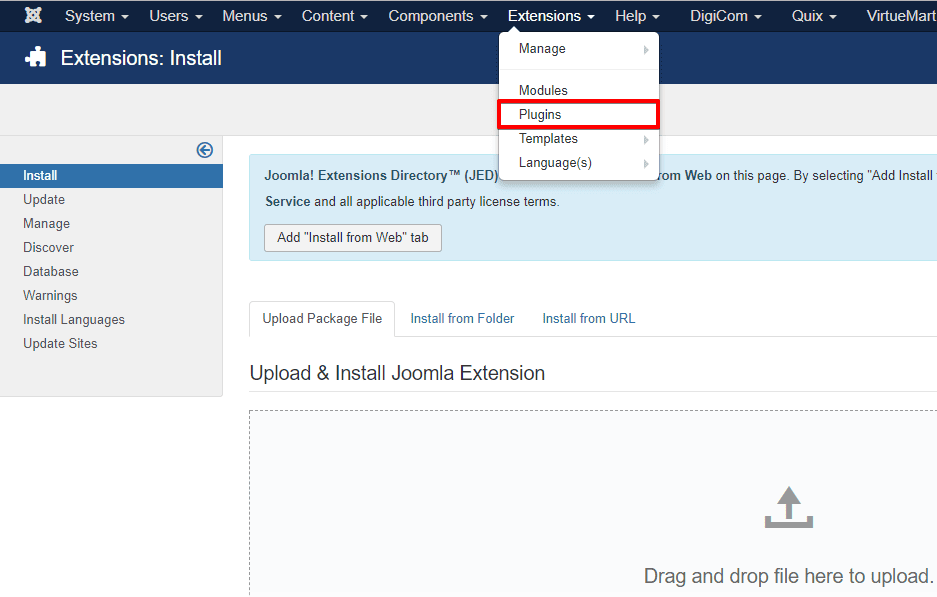
Extensions> Plugins
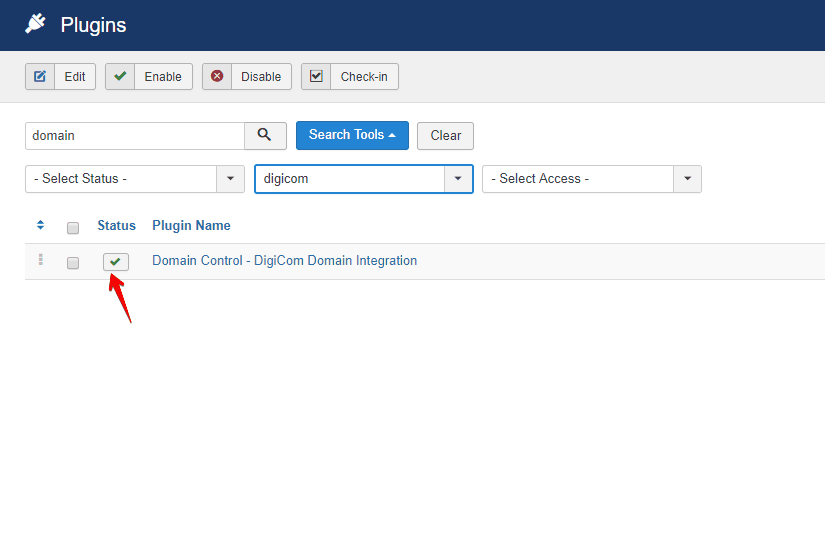
- Find the plugin from the list. You can use the search box to find it quickly. Just write
domainon the Ajax search box, and you’ll find it on the top of the module. After you find it, enable it just by clicking on the pointed area shown in the screenshot below.
After enabling this plugin,you will find a new menu on your DigiCom dashboard, named Domain Control
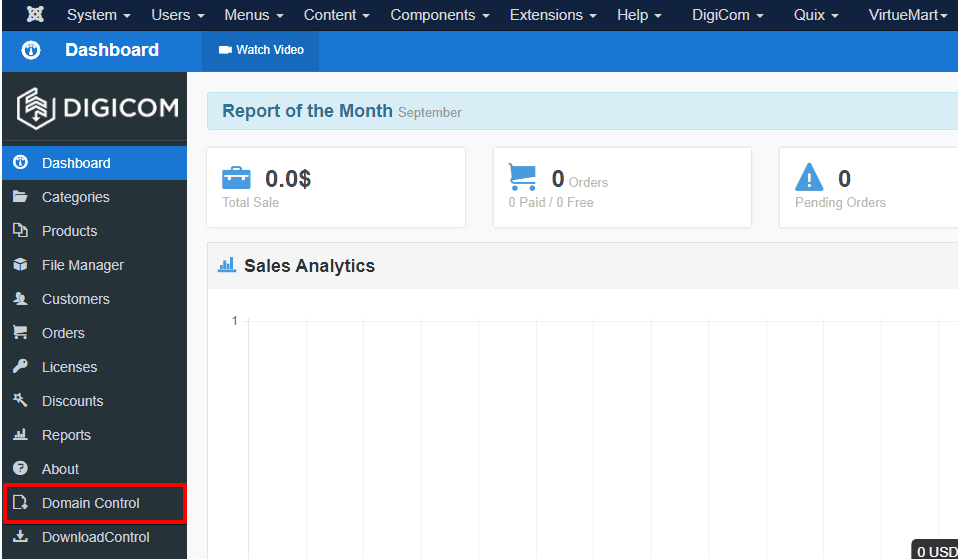
Configuration
Click on the plugin and the configuration modal window will appear.
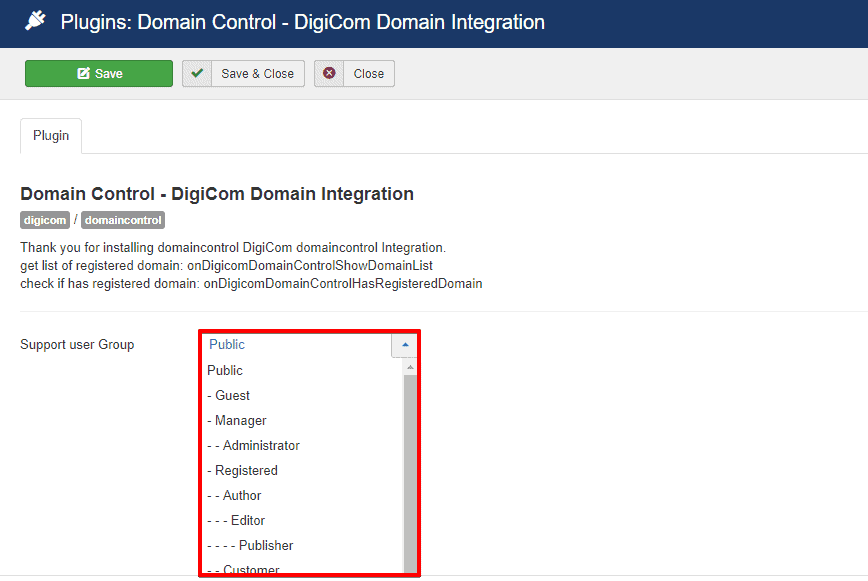
- Support User Group : Define which user group is to be infected by this protocol.
Ho To’s
Add Domain & Check User Log
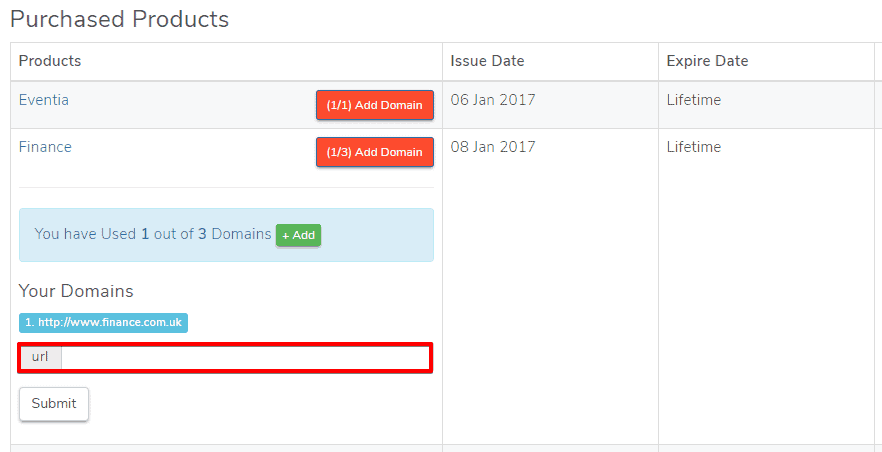
User can add a domain from his dashboard after successfully login with the valid username and password.
- Click on Add Domain button and put the domain URL on the url text box and click on the Submit button below the box.
User Log can be found on DigiCom Dashboard> Domain Control
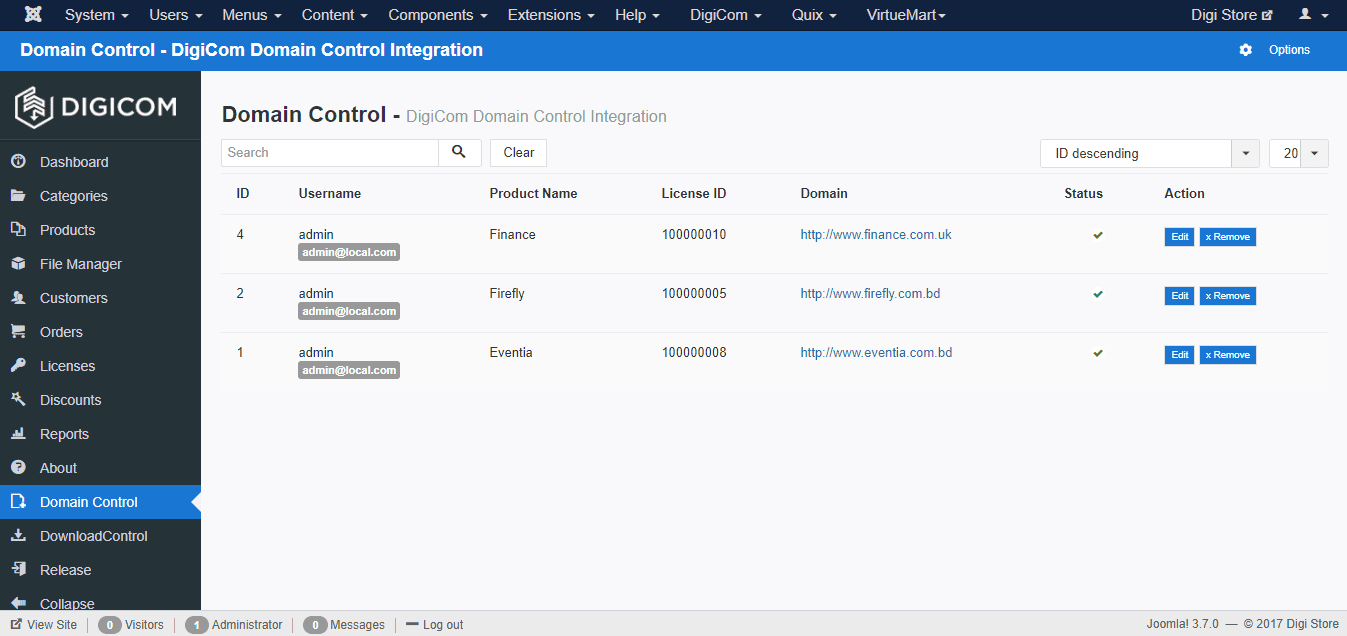
Update Domain
Updating a domain URL is pretty simple, that can be done by DigiCom Dashboard> Domain Control
- Click on the Edit button
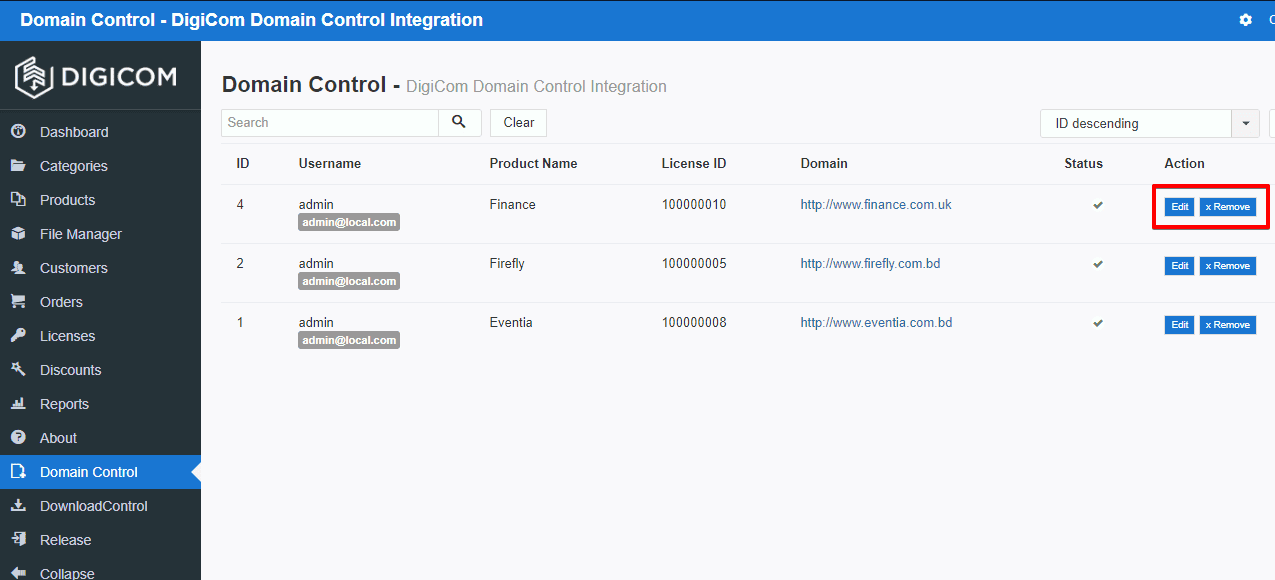
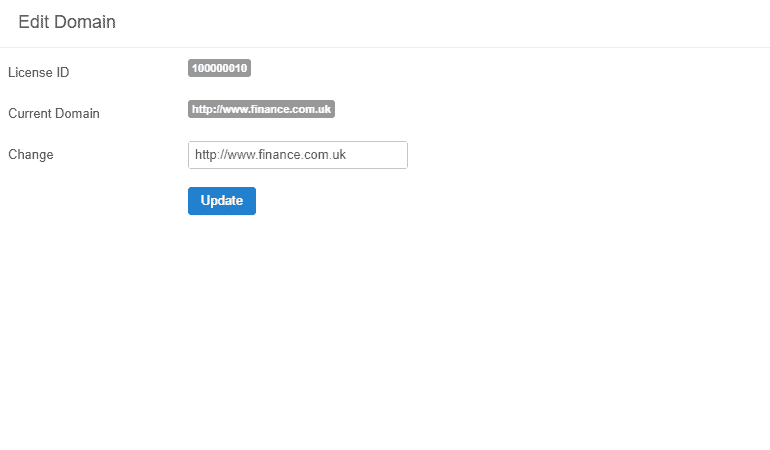
- Put the updated URL on the Change text box and click on the Update button to successfully update the domain.
Define the number of domain
From the DigiCom Dashboard> Products
- Click on any existing product,
- Under ATTRIBUTES tab, put a numeric value on the number of domain text box in order to specify that how many domain can be added for this item.
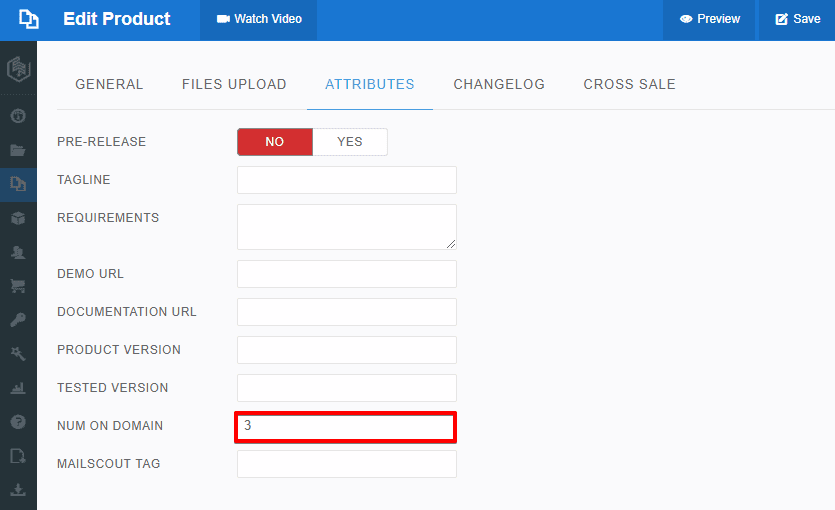
- Click on the Save button from the top of the module and you are done.

